支持在线可视化编辑的Hexon
什么是 Hexon ?
Hexon是一款在线hexo博客编辑器,在 0.6 版本之前叫winwin-hexo-editor。
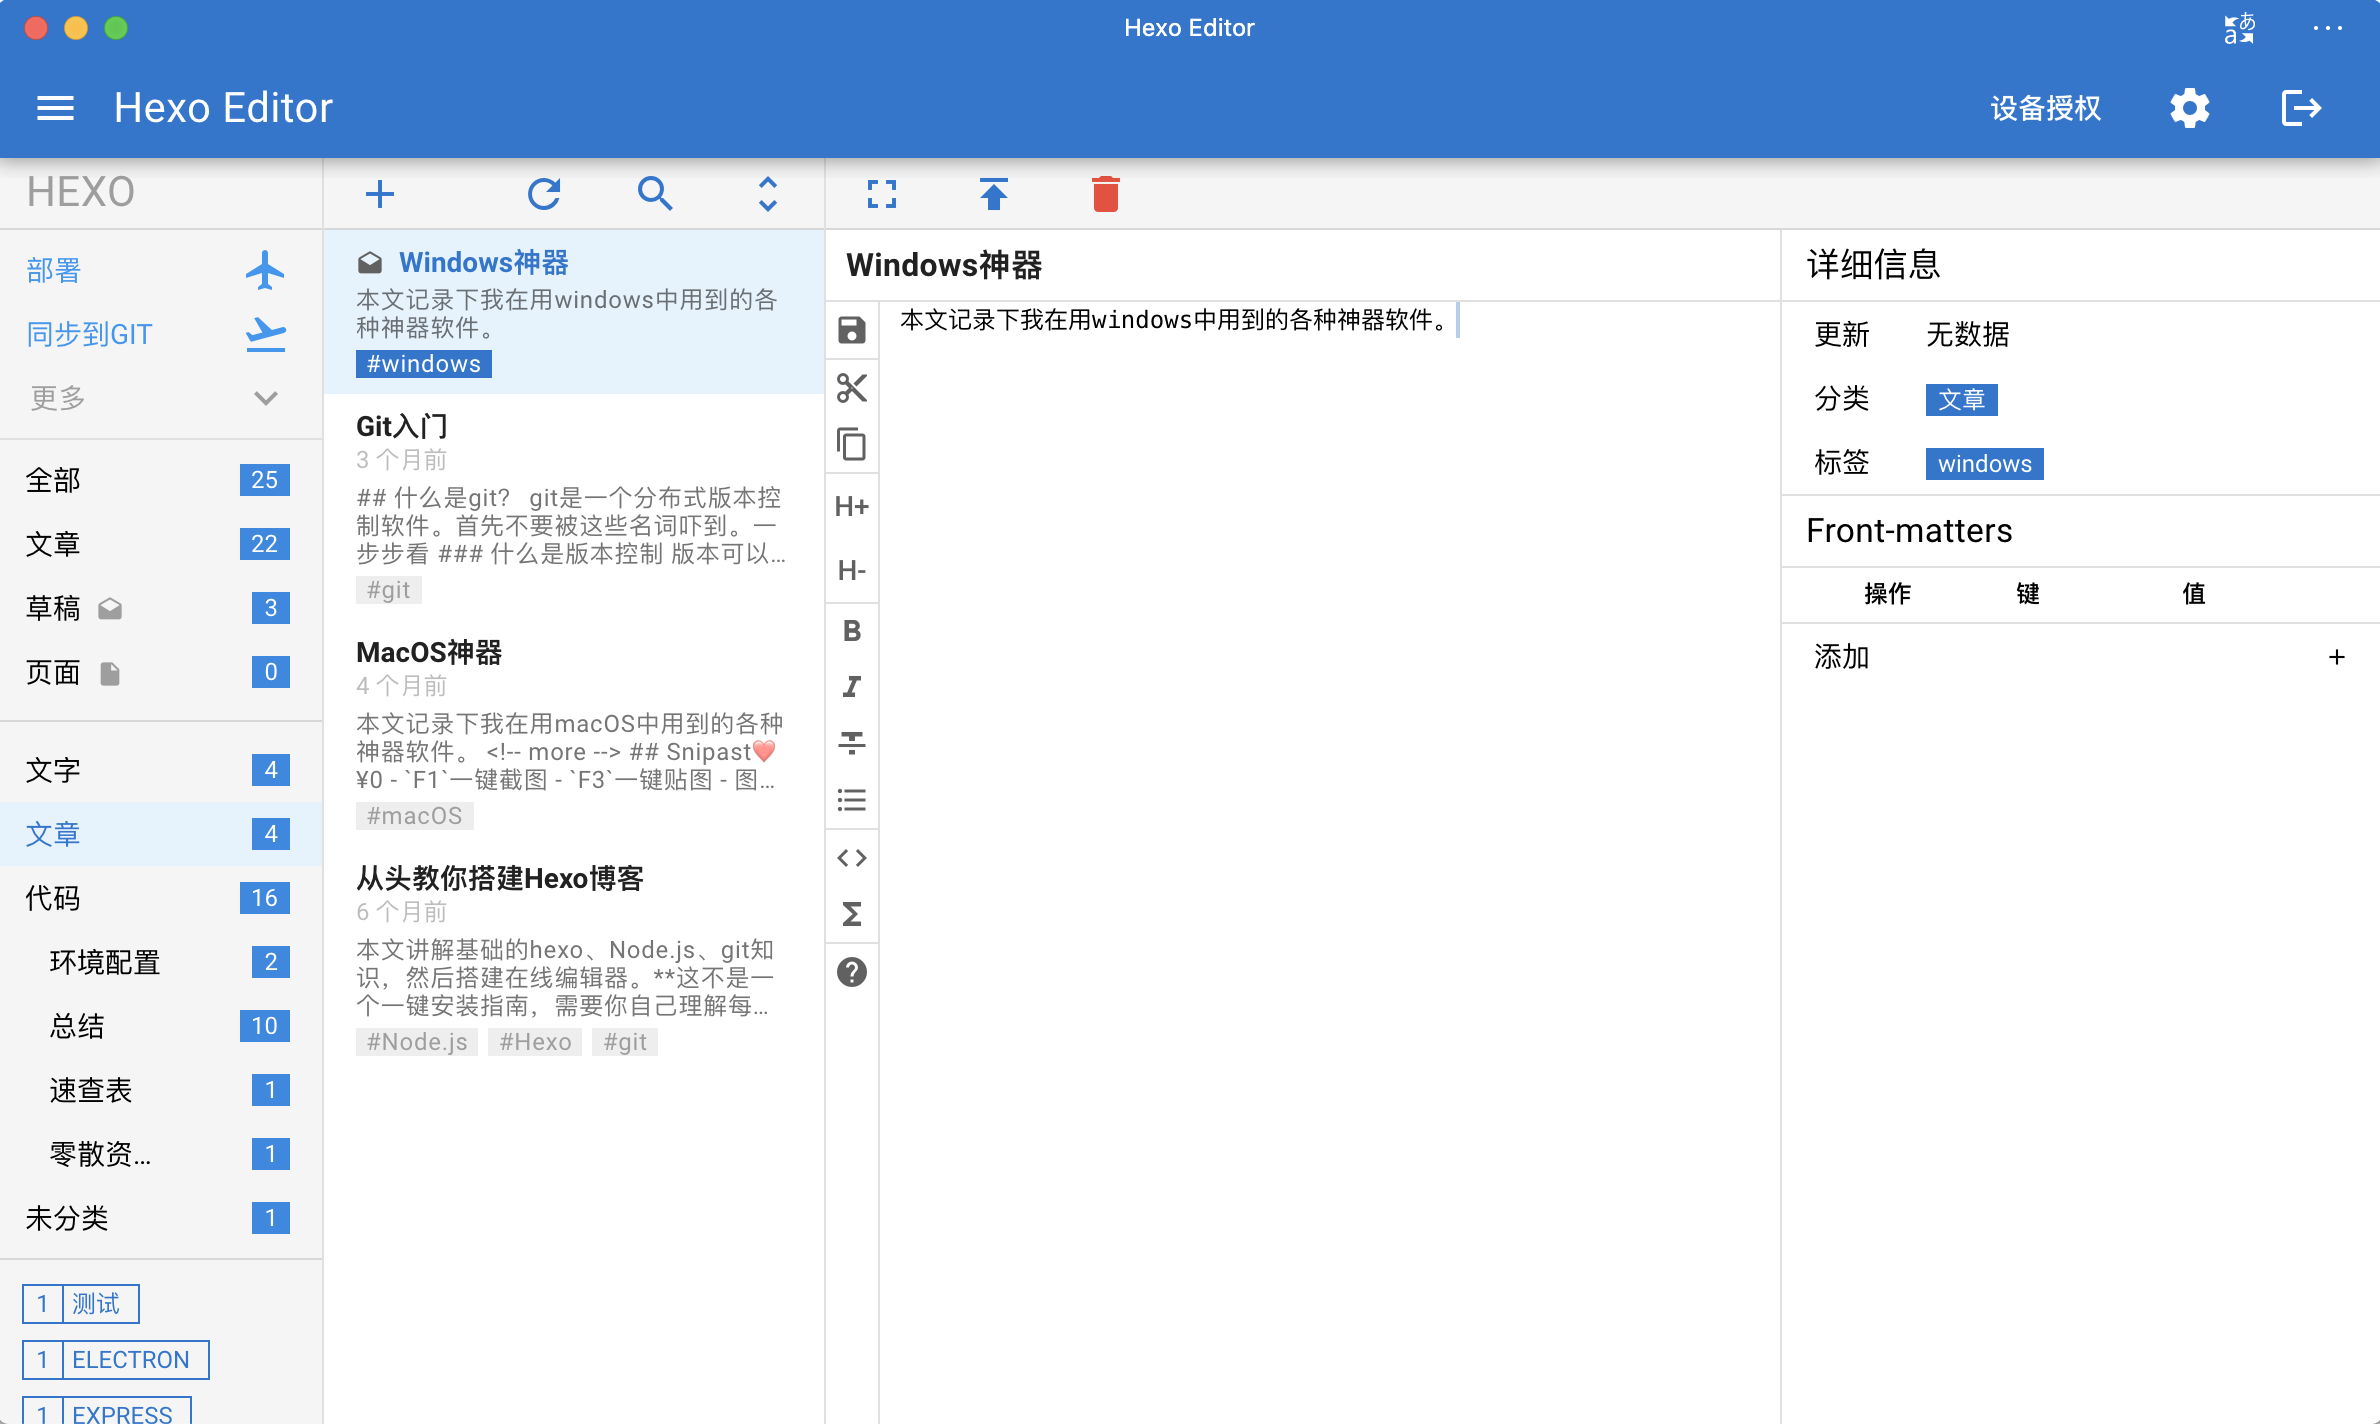
因为对 hexo-admin 的界面不满意,老苏又开始了新的搜索,最终找了 Hexon ,先上一张图感受下
官网地址:https://winwin_2011.gitee.io/winwin-hexo-editor/
以老苏有限的审美能力,觉得比 hexo-admin 好看多了,功能排布也更合理,尤其难得的是 winwin-hexo-editor 还有配套的移动客户端。
切记!!!
winwin-hexo-editor只是hexo博客的编辑器,所以在部署前需确保hexo博客可用。如果您还不知道怎么部署,请参考老苏的上一篇文章『 在群晖上复刻公网的Hexo 』
准备
没有找到 Hexon 或者 winwin-hexo-editor 的镜像,所以这次我们准备自己来构建。
如果你觉得自己构建麻烦,可以直接跳到方式二,下载老苏已经构建好的镜像。
方式一
注意:这次构建的是
winwin-hexo-editor,而不是Hexon
编写 Dockerfile
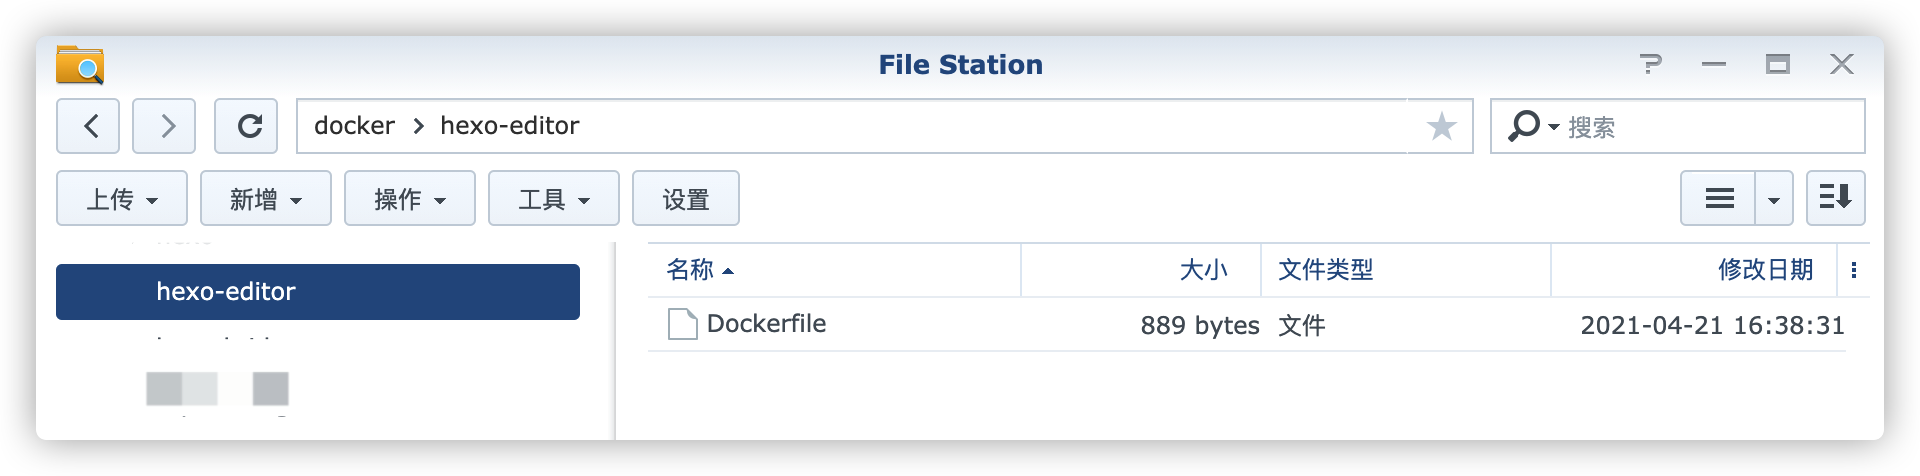
在群晖的 docker 目录中新建 hexo-editor 目录,然后 SSH 客户端登录到群晖 ,执行下面的命令:
1 | # 进入 hexo-editor 目录 |
在 Dockerfile 中写入下面的内容并保存
1 | FROM node:13-slim |
当然更简单的办法可以用你喜欢的编辑器保存为 Dockerfile 文件,再把 Dockerfile 文件上传到 hexo-editor 目录。
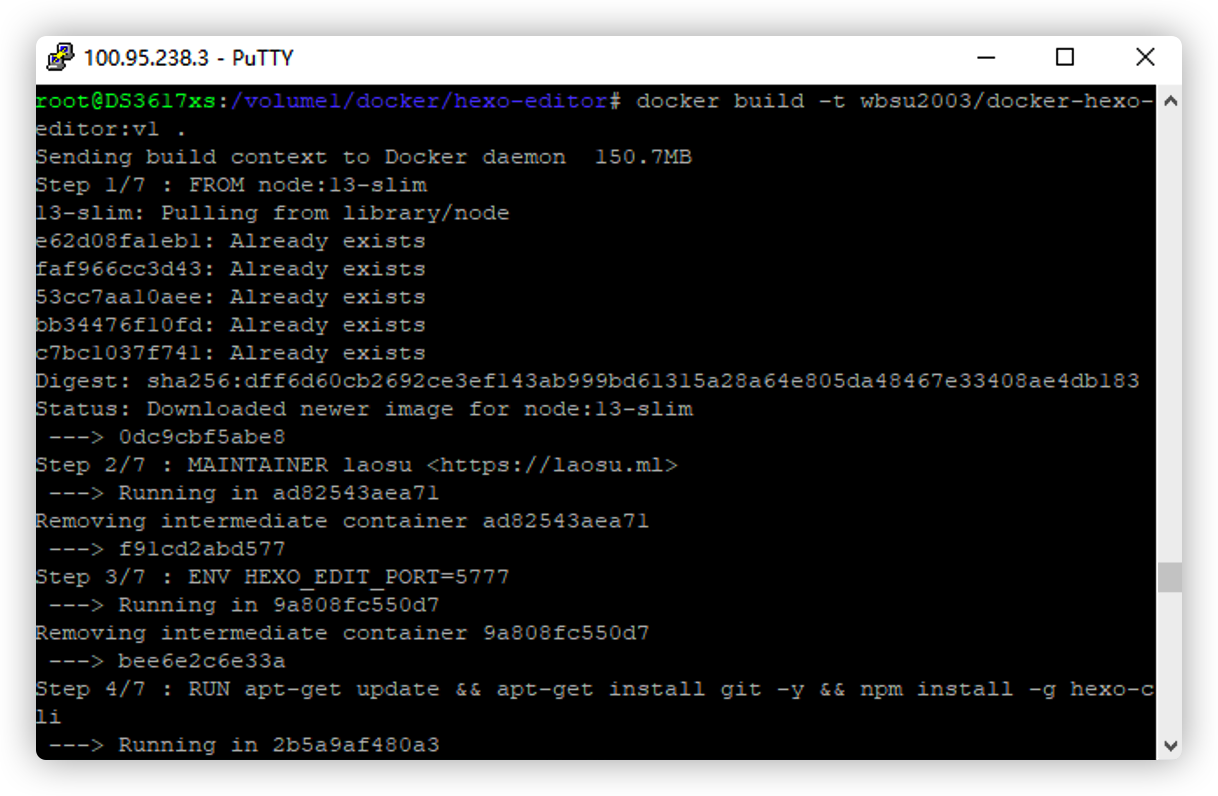
构建镜像
在 hexo-editor 目录执行生成镜像的操作
1 | # 注意后面的小点 |
完成后,在镜像中会找到

创建容器
其中
/volume1/docker/hexo/blog是已经安装好的hexo的根目录,不了解的看看上一篇『 在群晖上复刻公网的Hexo 』
1 | # 创建容器 |
创建完成后,可以在容器中看到

1 | # 启动容器 |
因为有下载代码的动作,所以会耗费一些时间来完成,可能跟网络情况相关
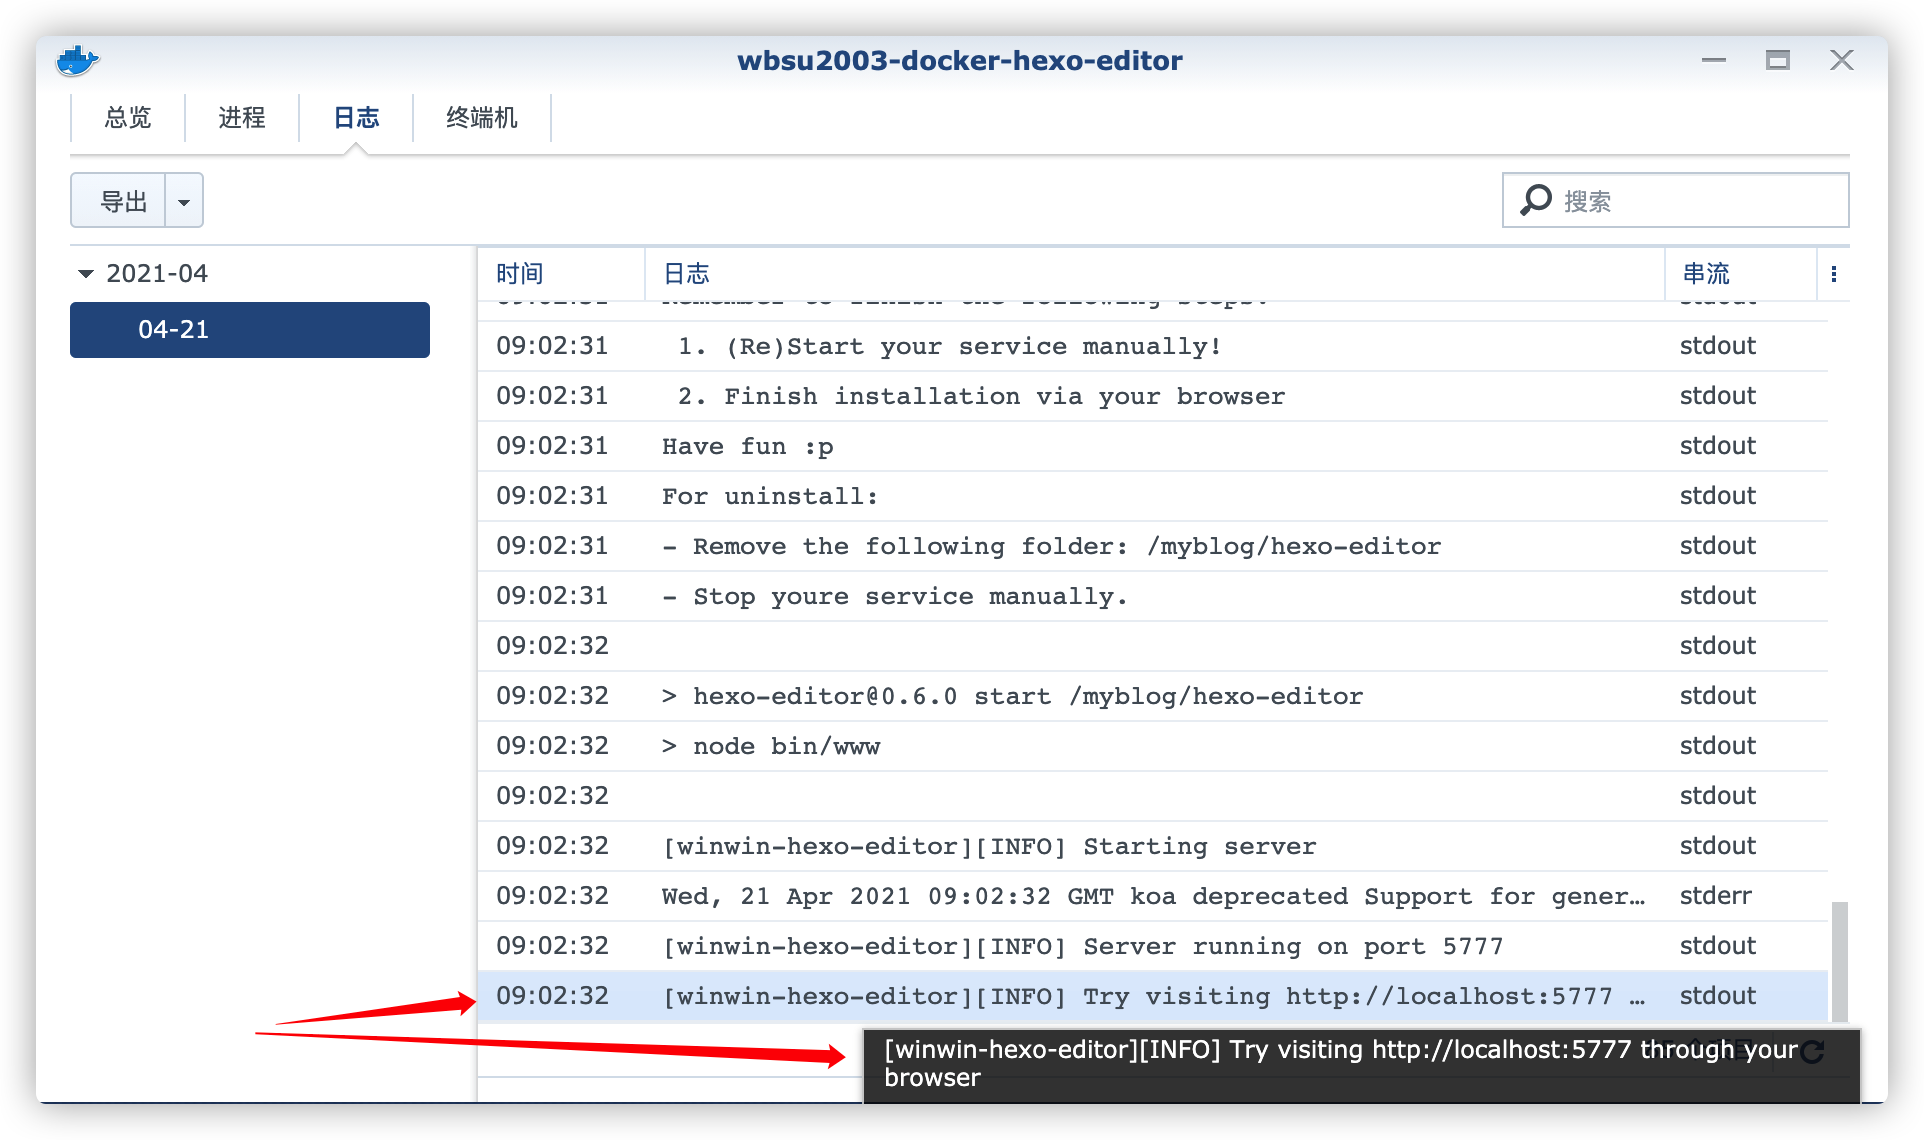
要等日志中出现上图的提示才能开始访问。
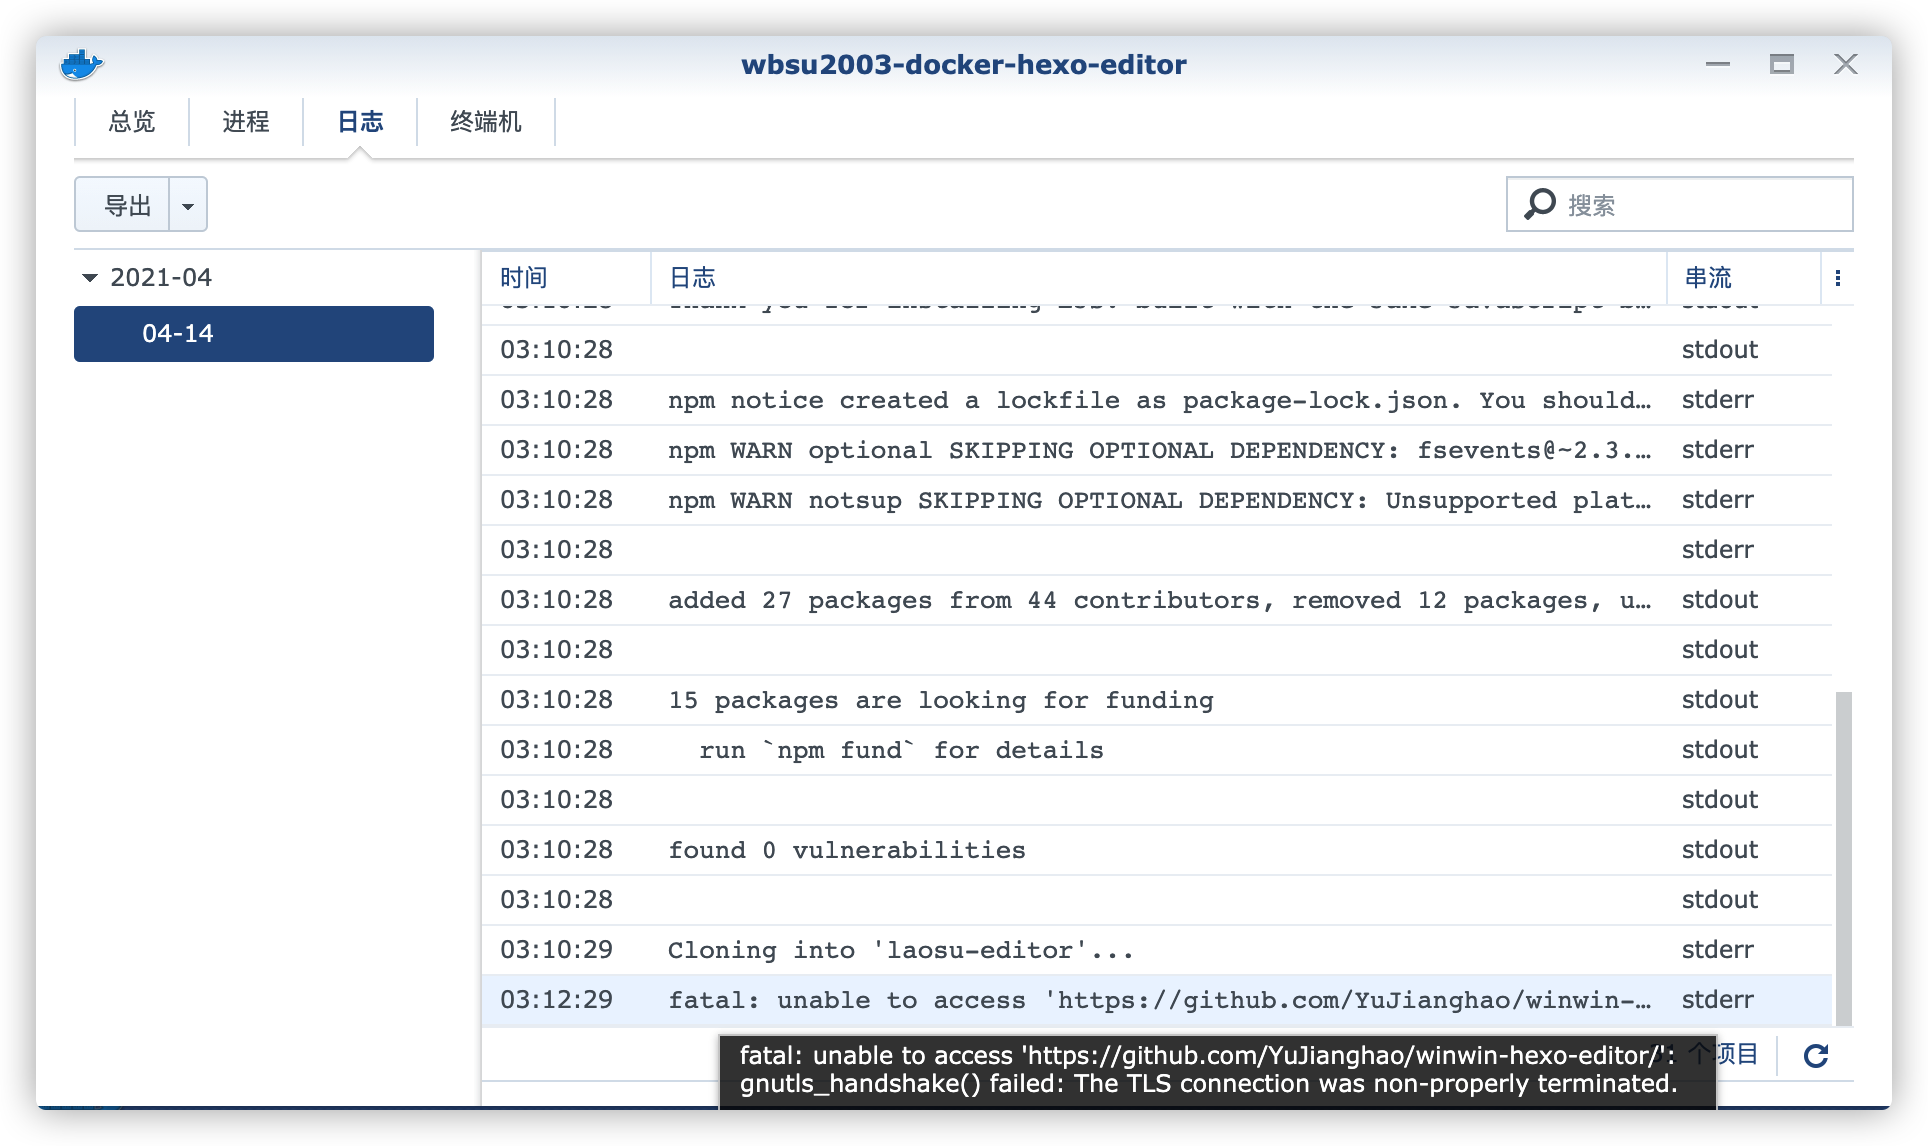
如果遇到这样的错误,需要删除
myblog/hexo-editor目录,也就是/volume1/docker/hexo/blog/hexo-editor目录,再重新执行docker start
方式二
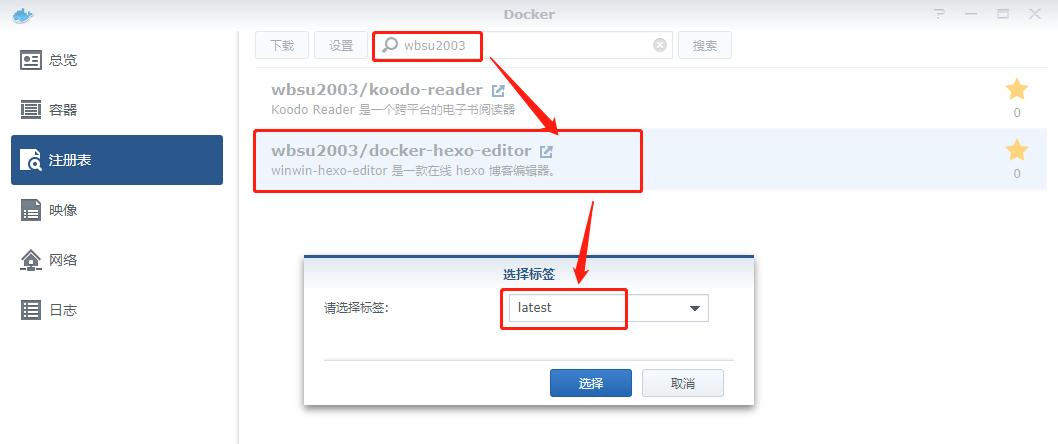
在注册表中搜索 wbsu2003 ,选择第二个 wbsu2003/docker-hexo-editor,版本选择 latest。
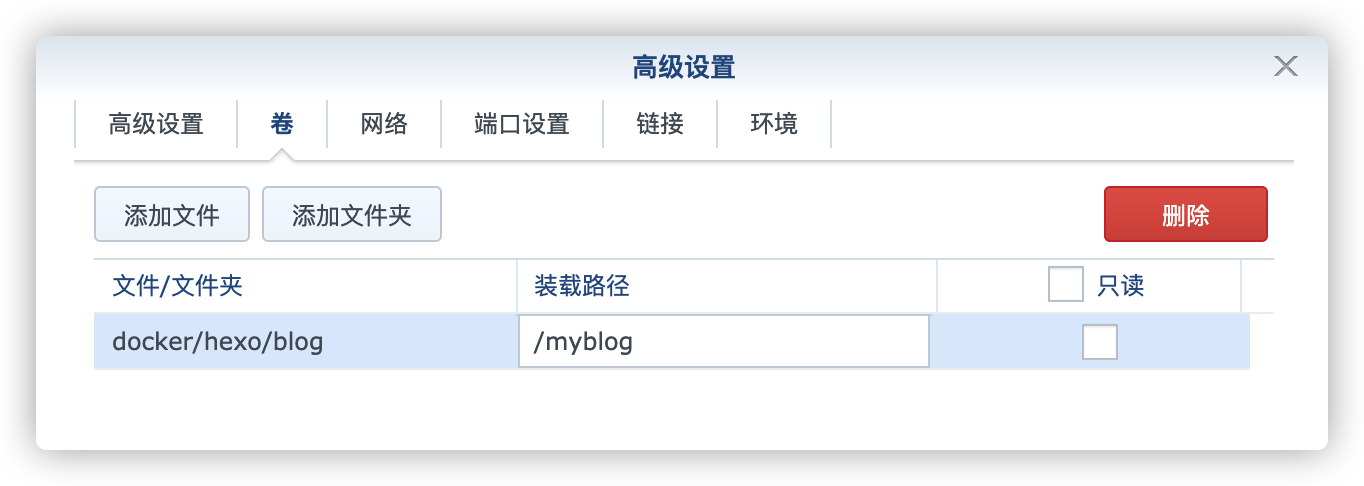
卷
| 文件夹 | 装载路径 | 说明 |
|---|---|---|
docker/hexo/blog |
/myblog |
指向 hexo 安装的目录 |
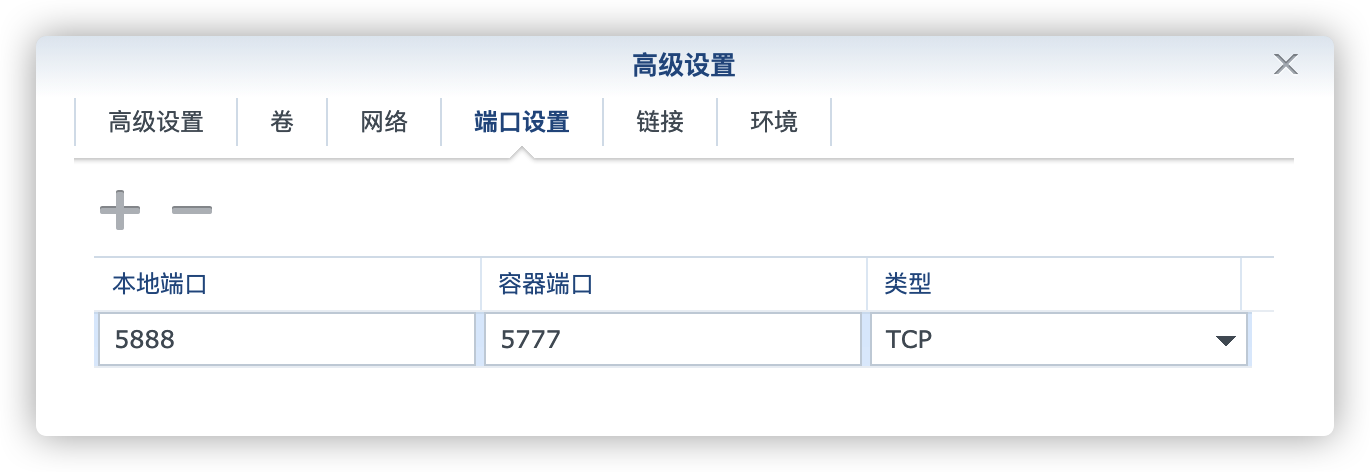
端口
| 本地端口 | 容器端口 |
|---|---|
5888 |
5777 |
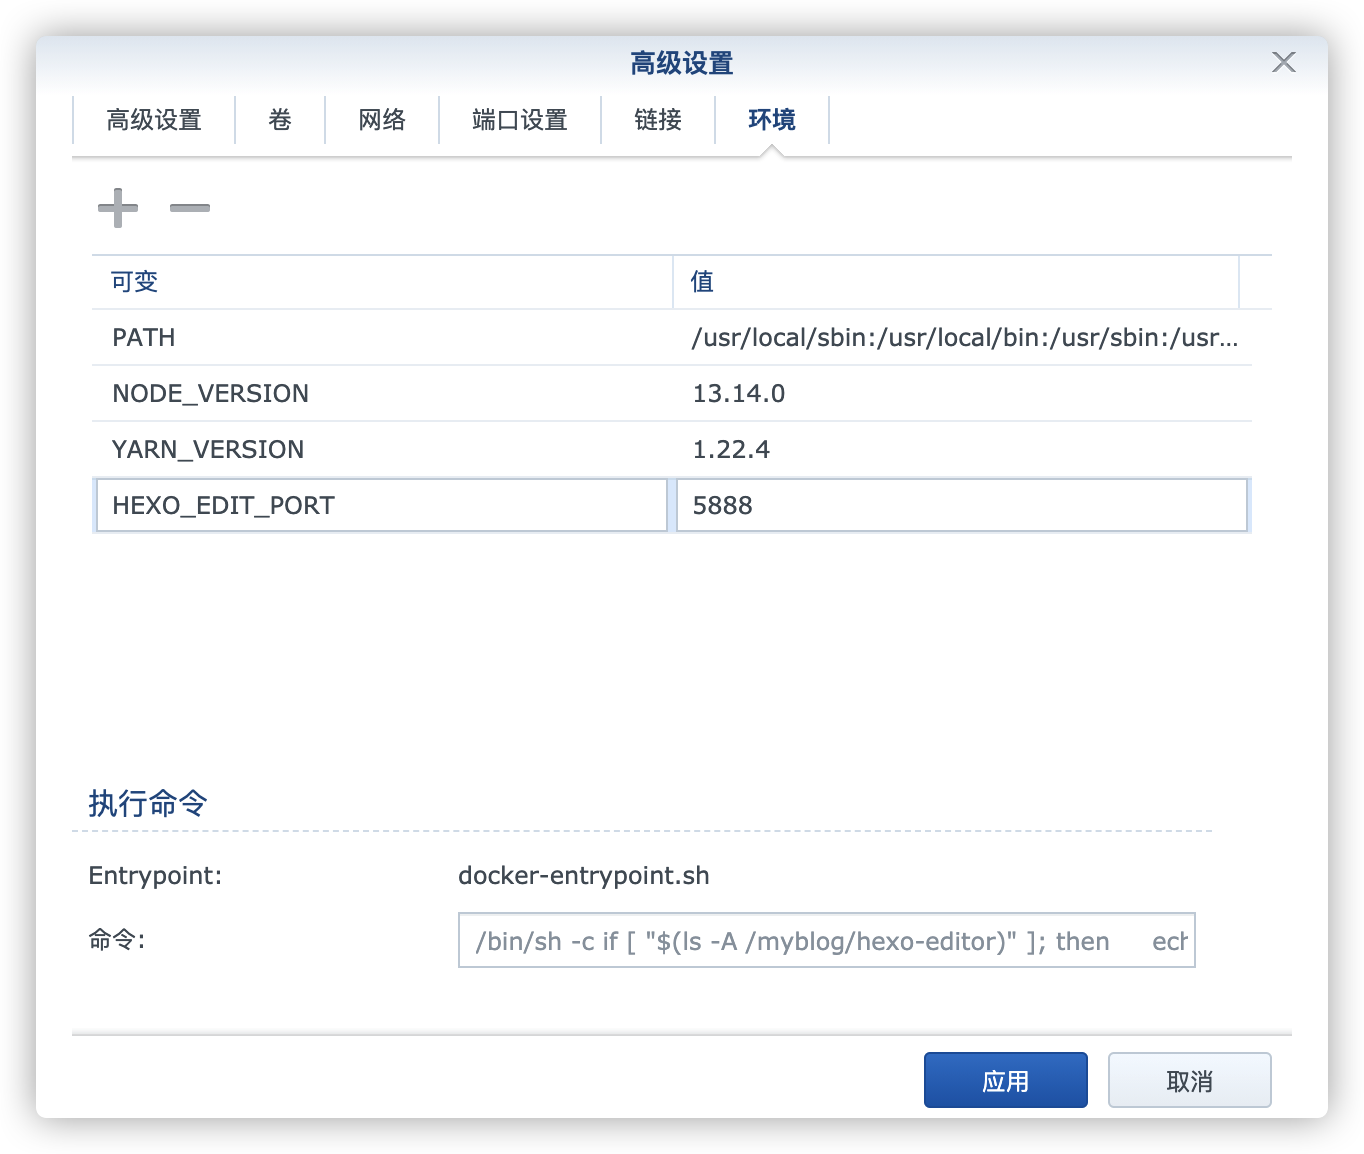
环境
| 可变 | 值 |
|---|---|
HEXO_EDIT_PORT |
5888 |
默认值为 5777,请根据前面的 本地端口 填写;
注意事项和错误处理可以参考方式一启动容器之后的部分,这里就不重复了。
运行
设置
在浏览器中输入 http://群晖IP:5888 就能看到主界面
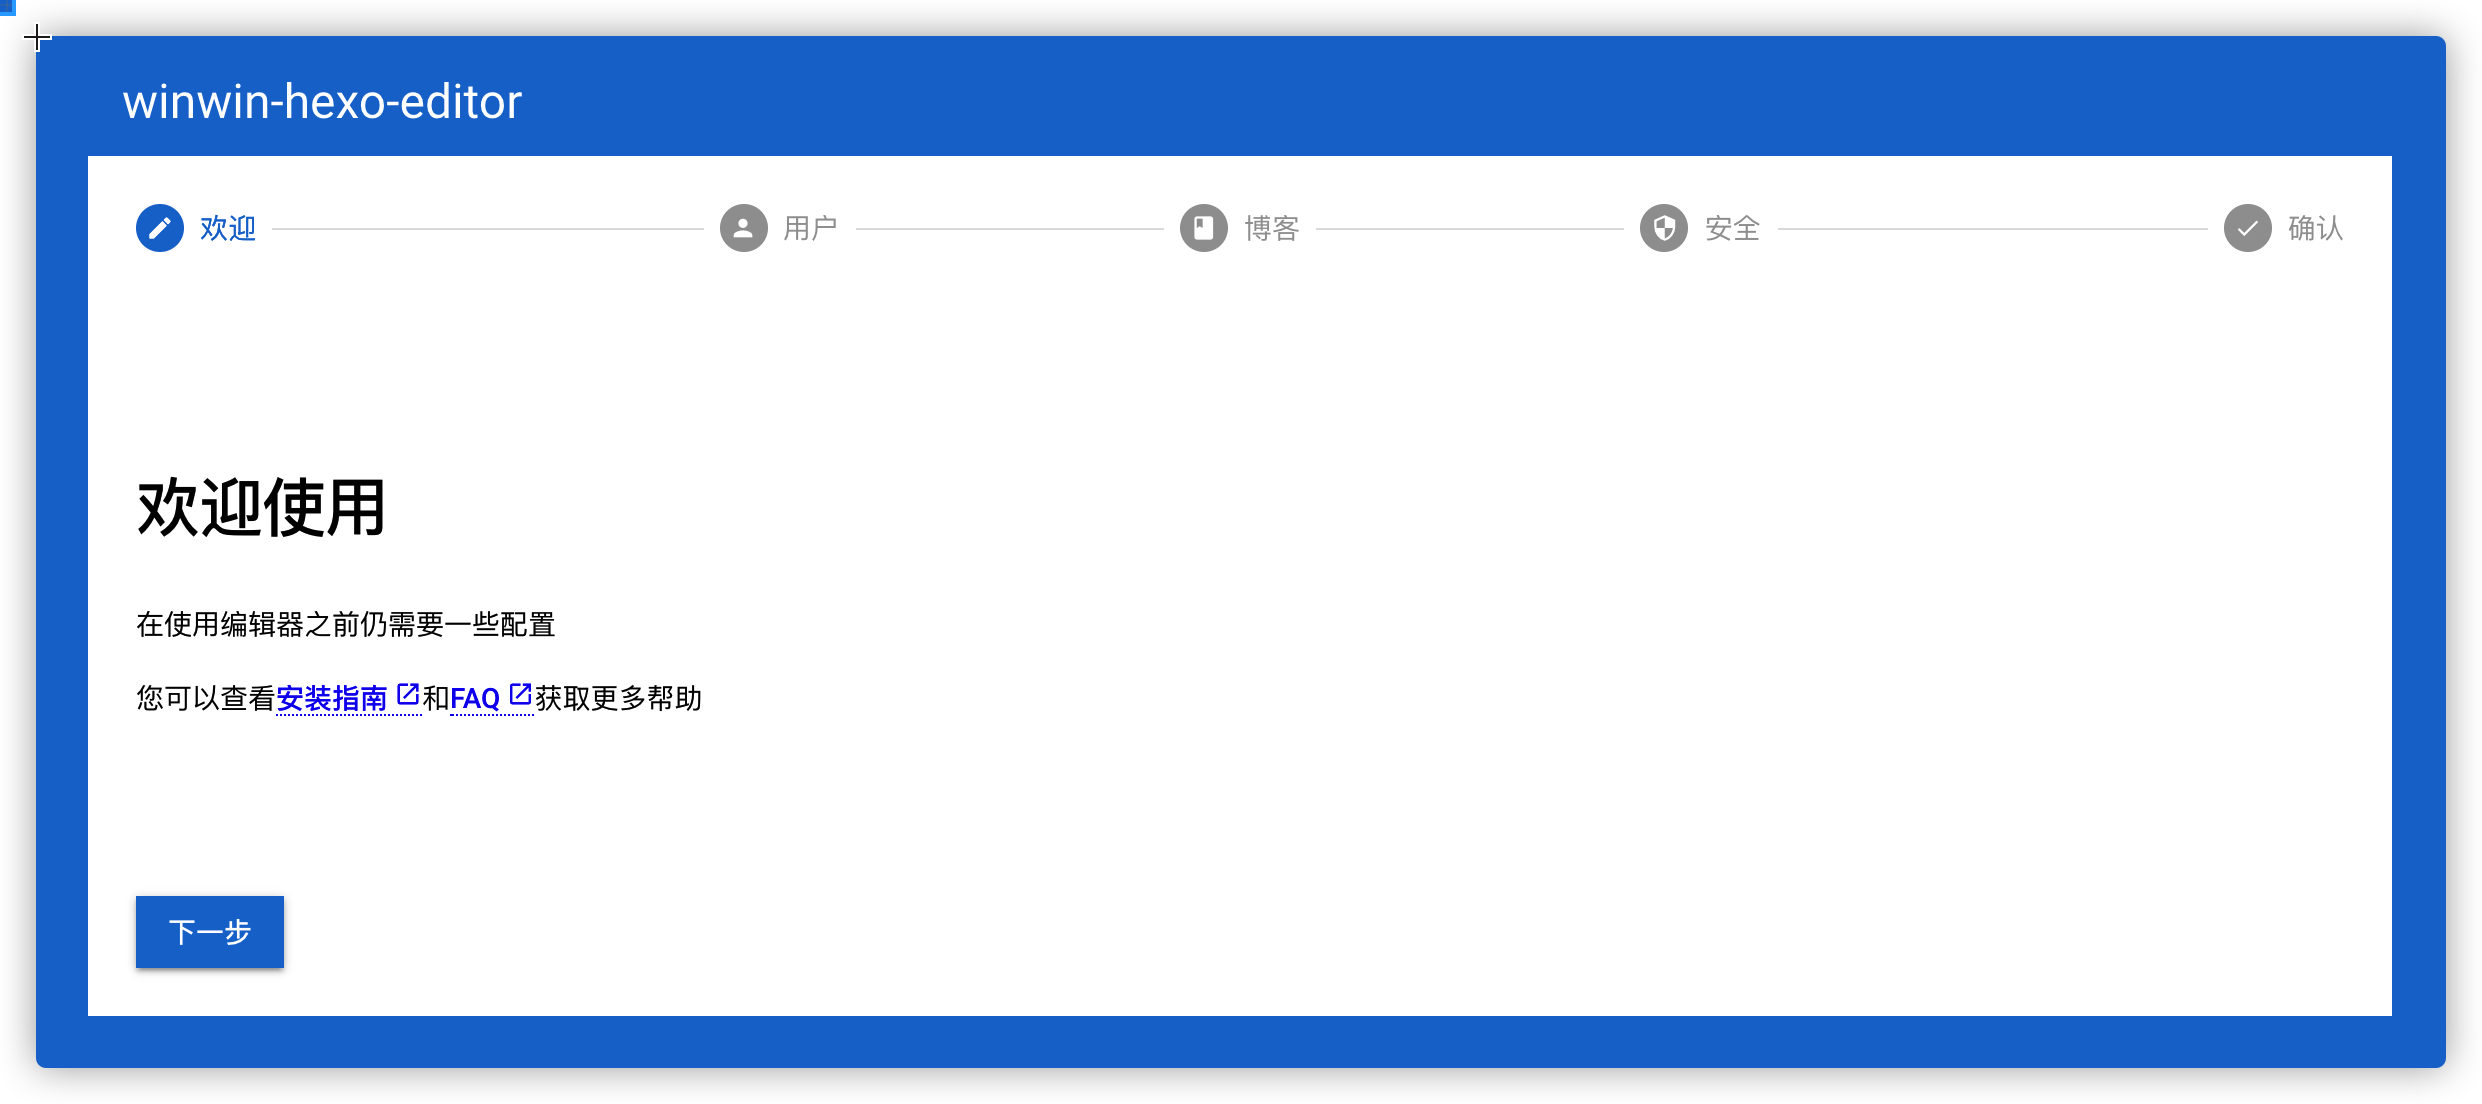
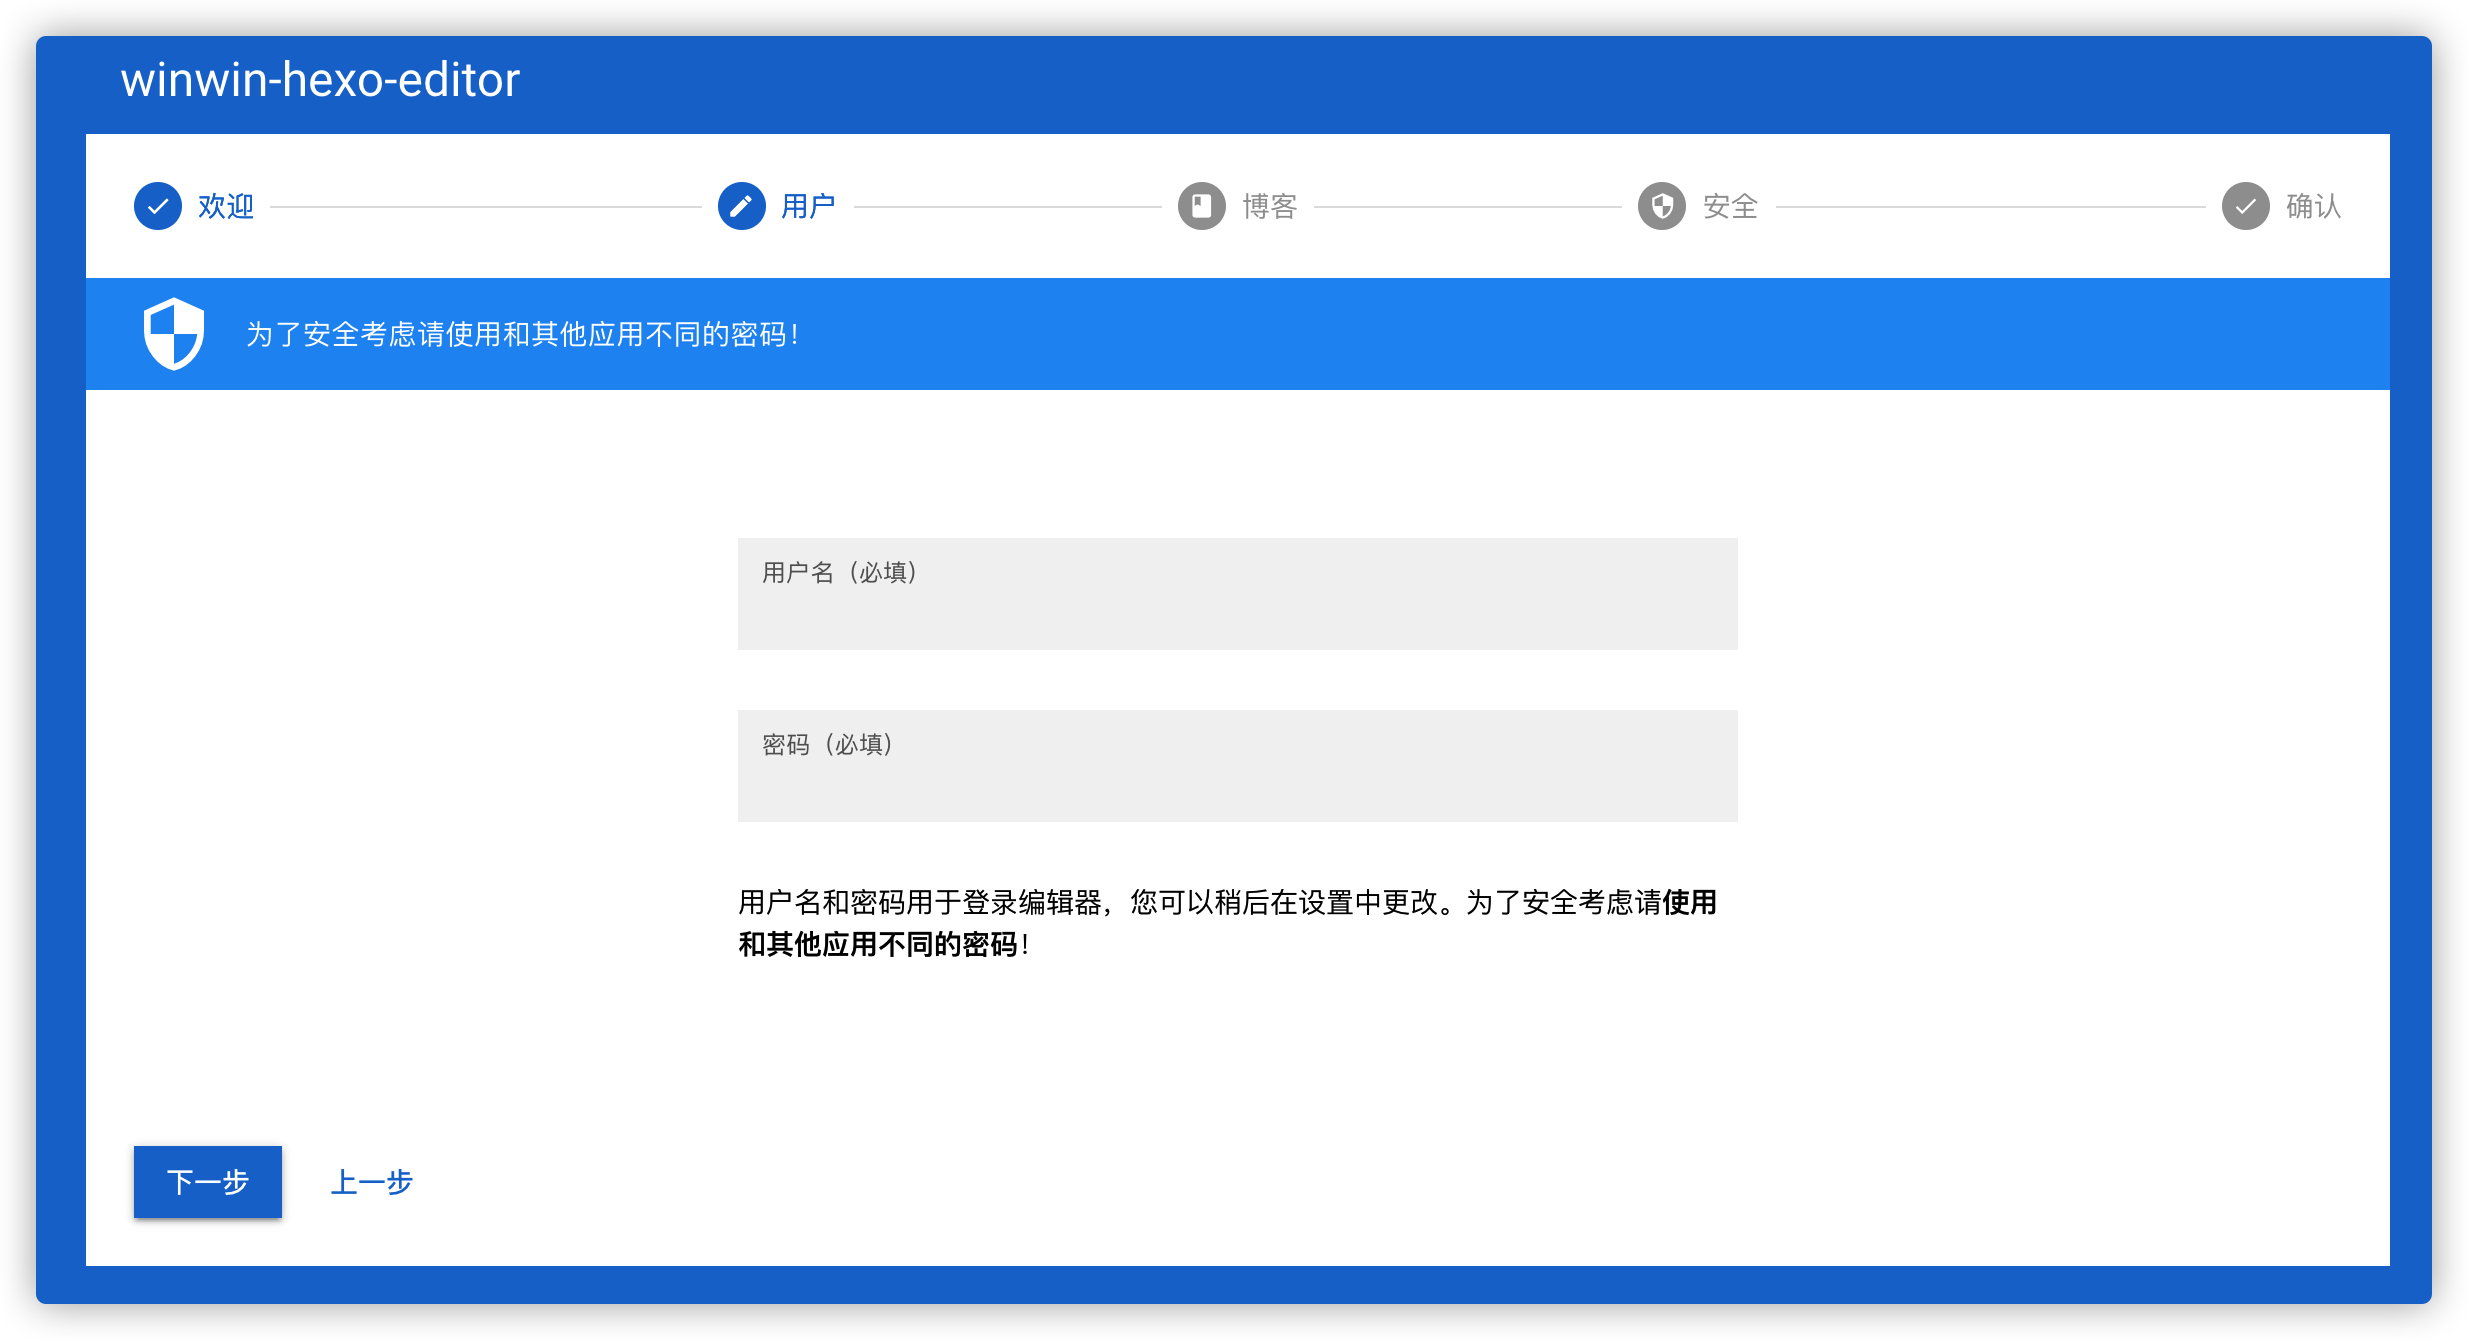
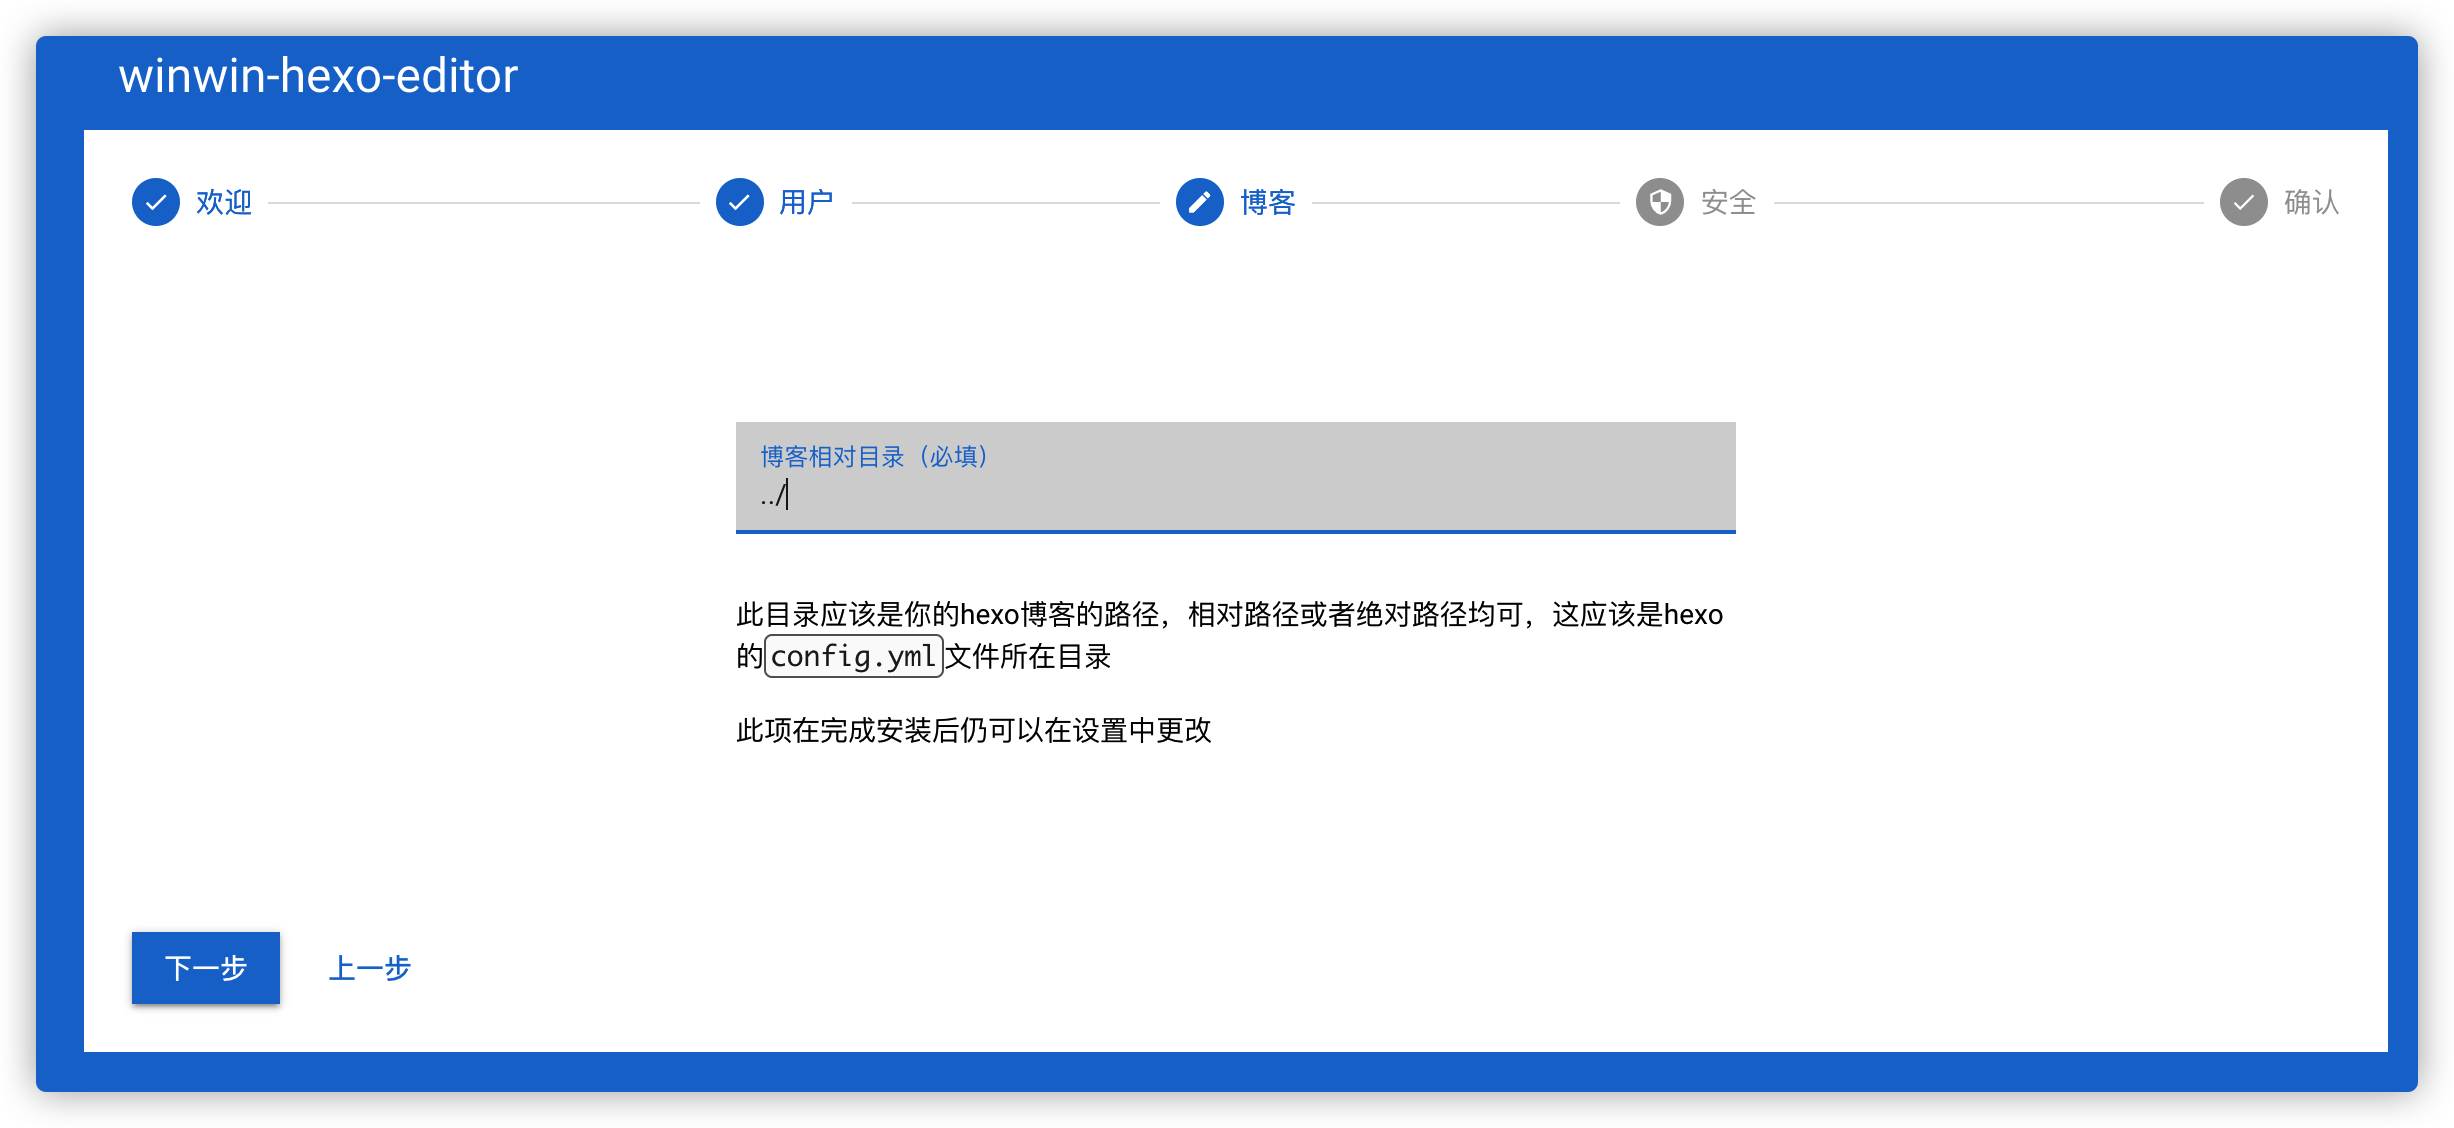
第一次运行还需要设置,比如用户和密码
hexo 的路径,也就是 _config.yml 文件所在路径,也就是上一级目录,所以这里应该填入 ../
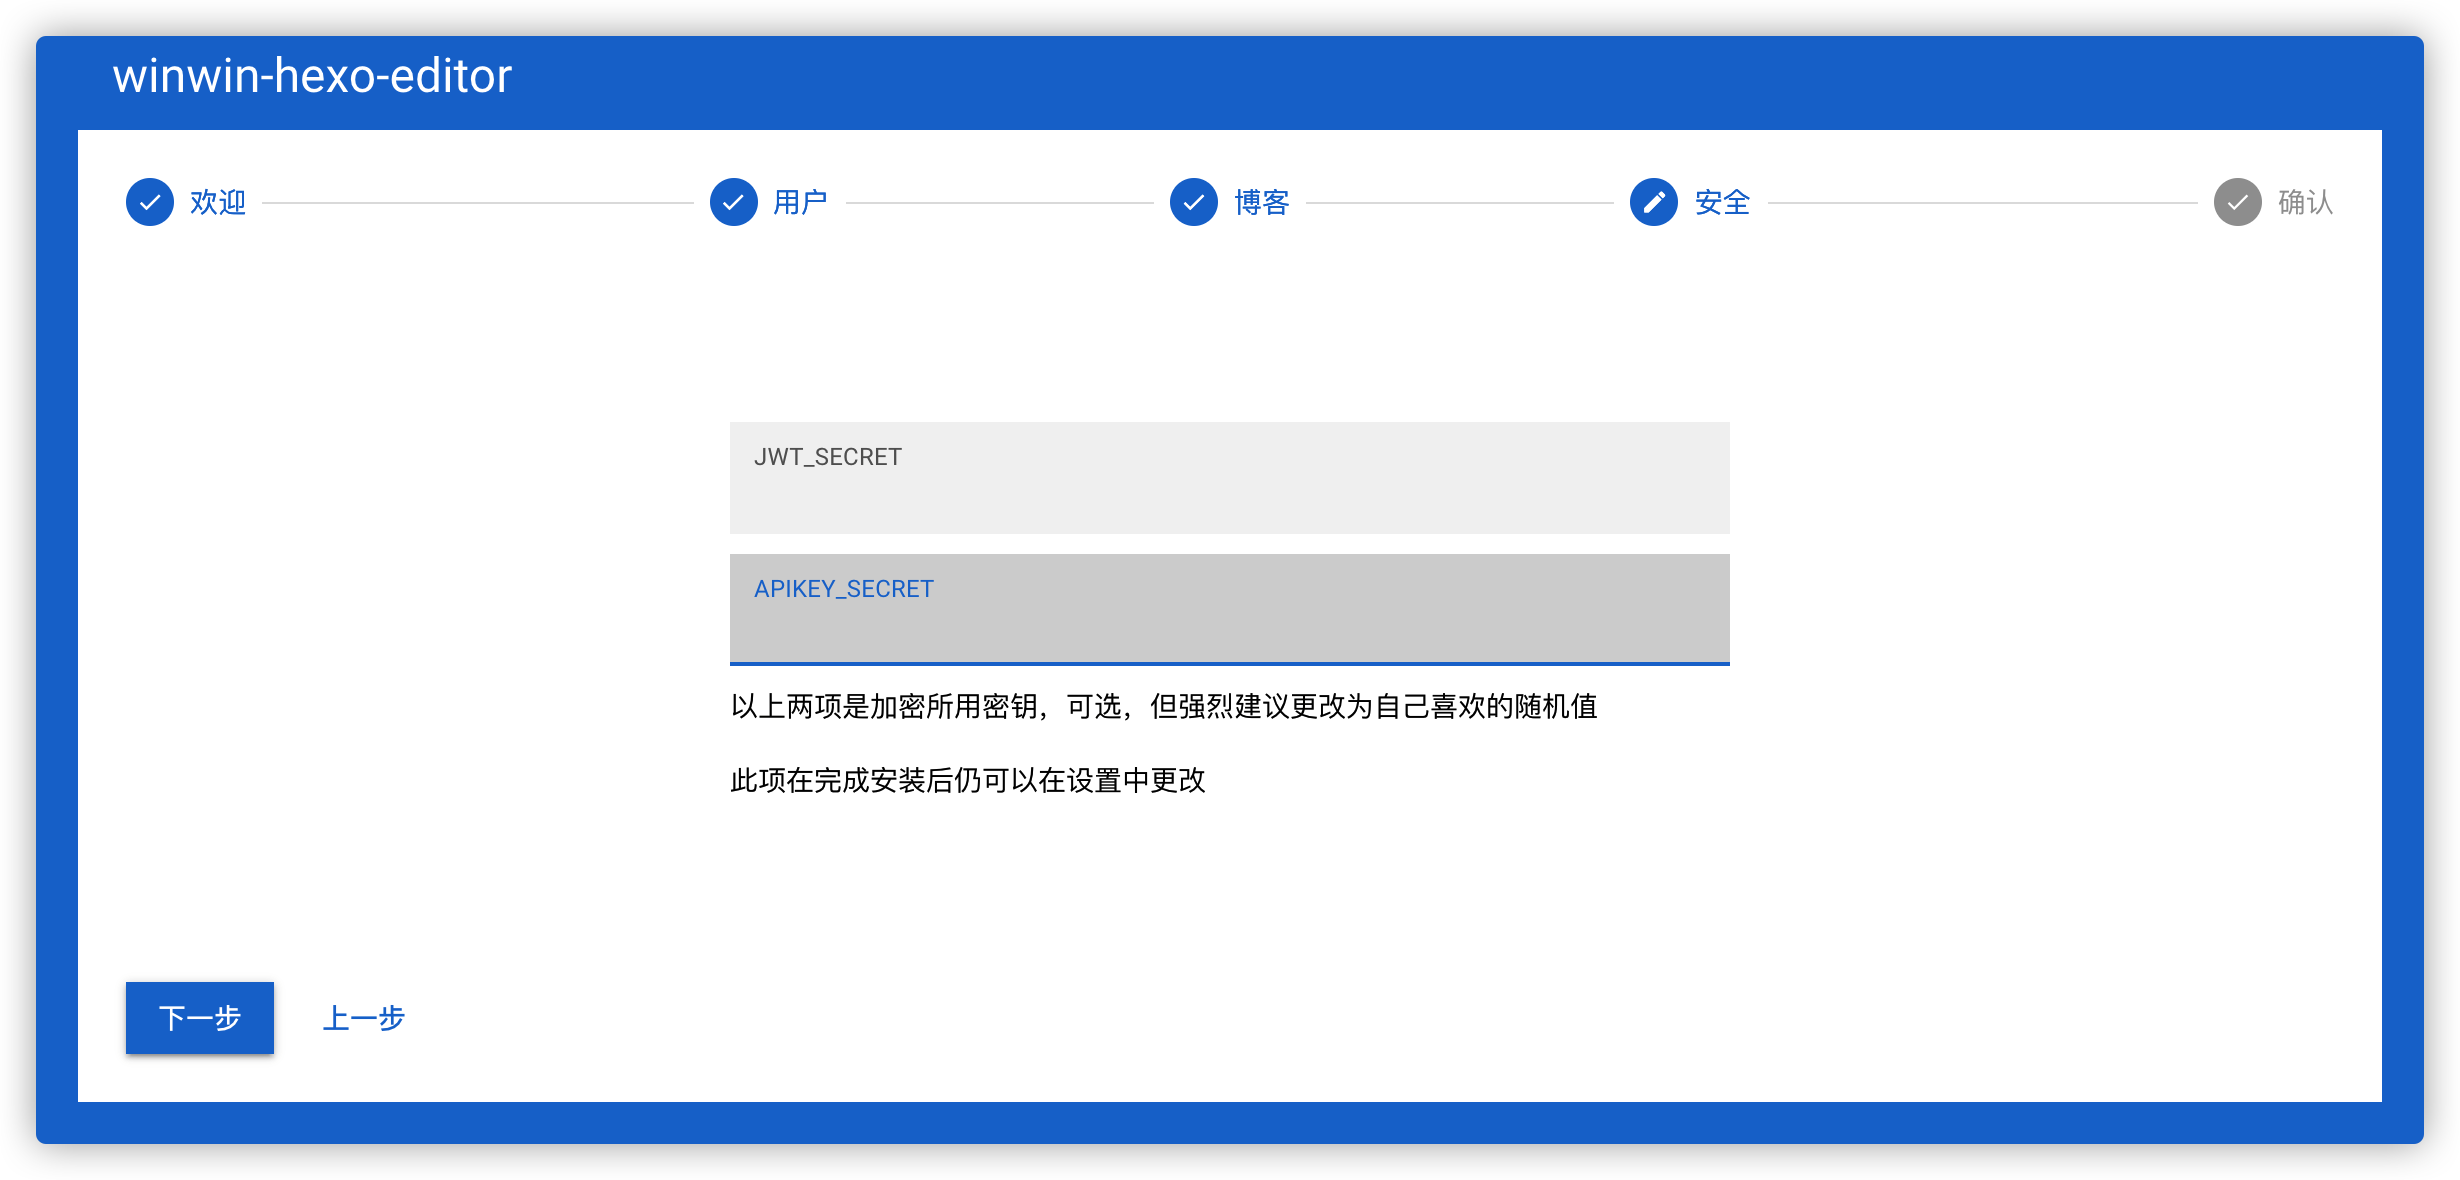
设置 JWT_SECRET 和 APIKEY_SECRET
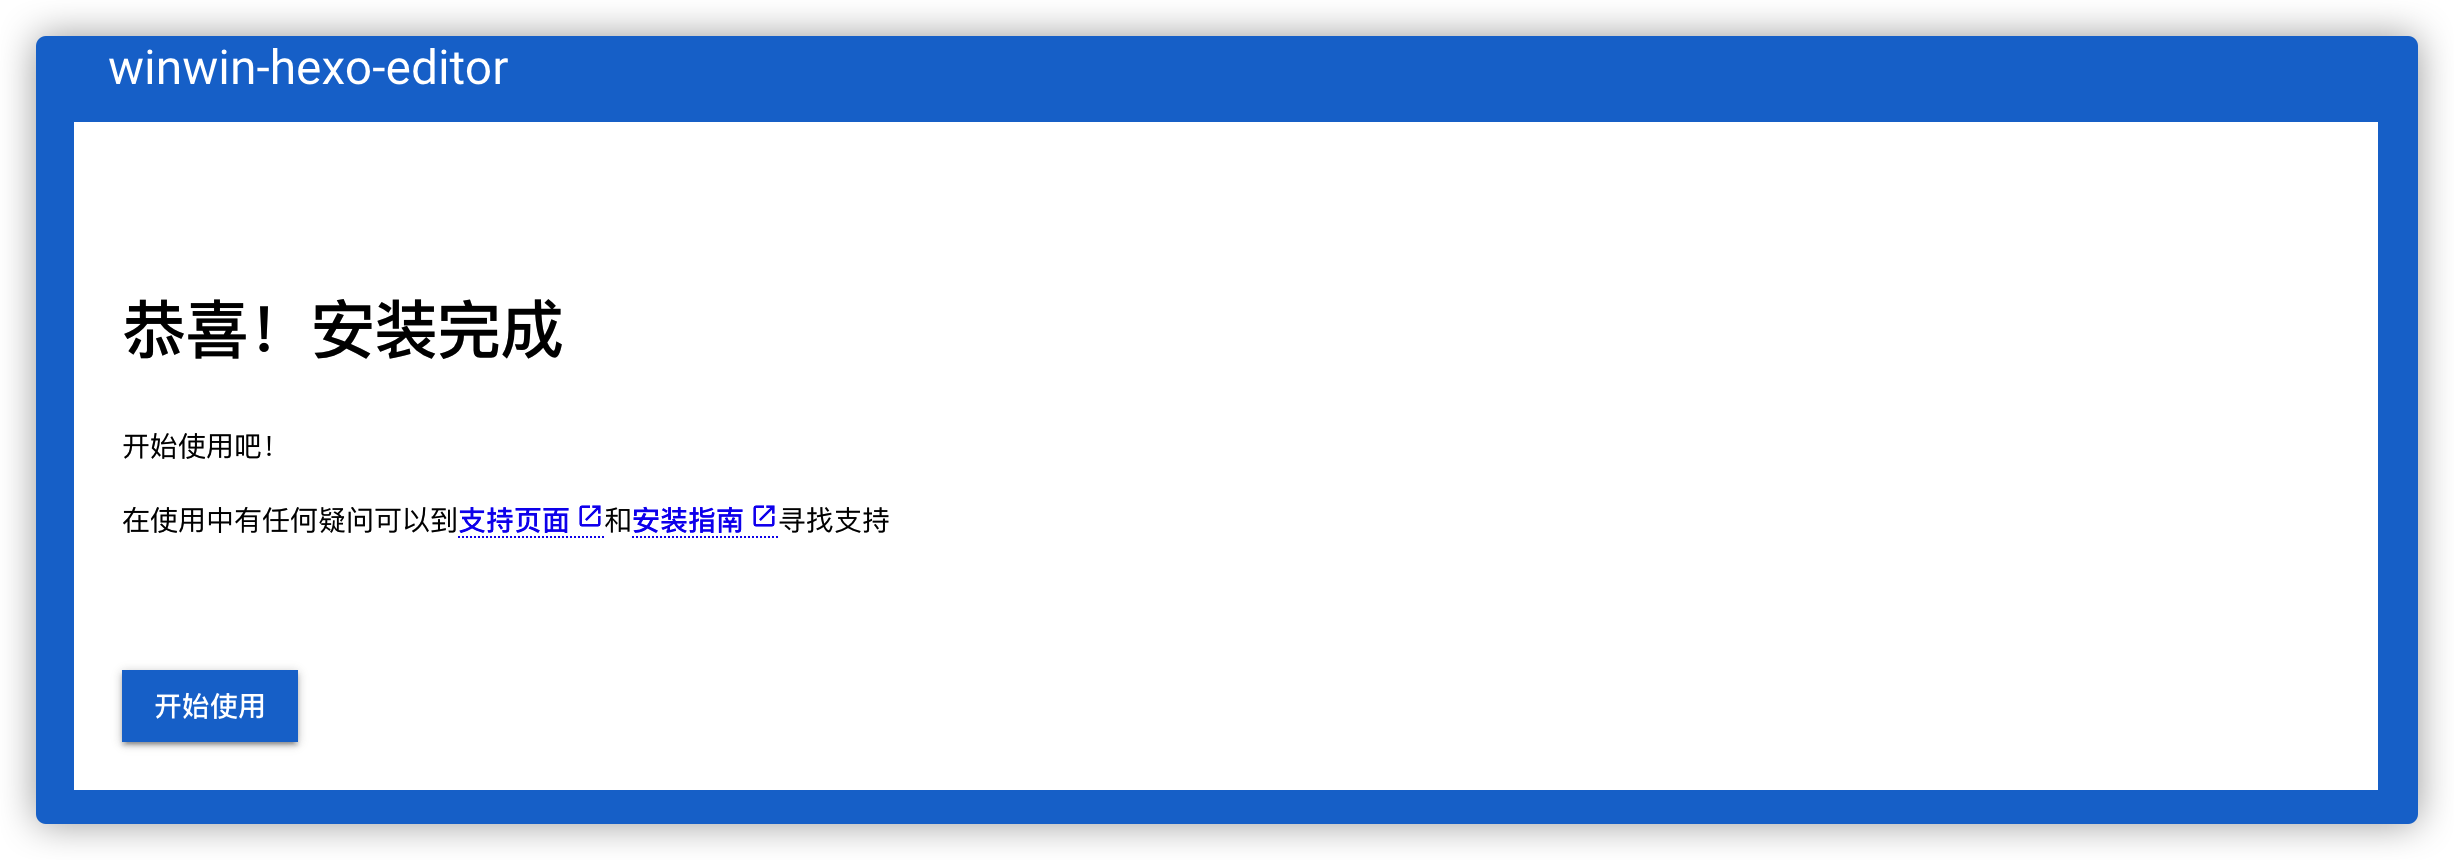
设置成功
登录
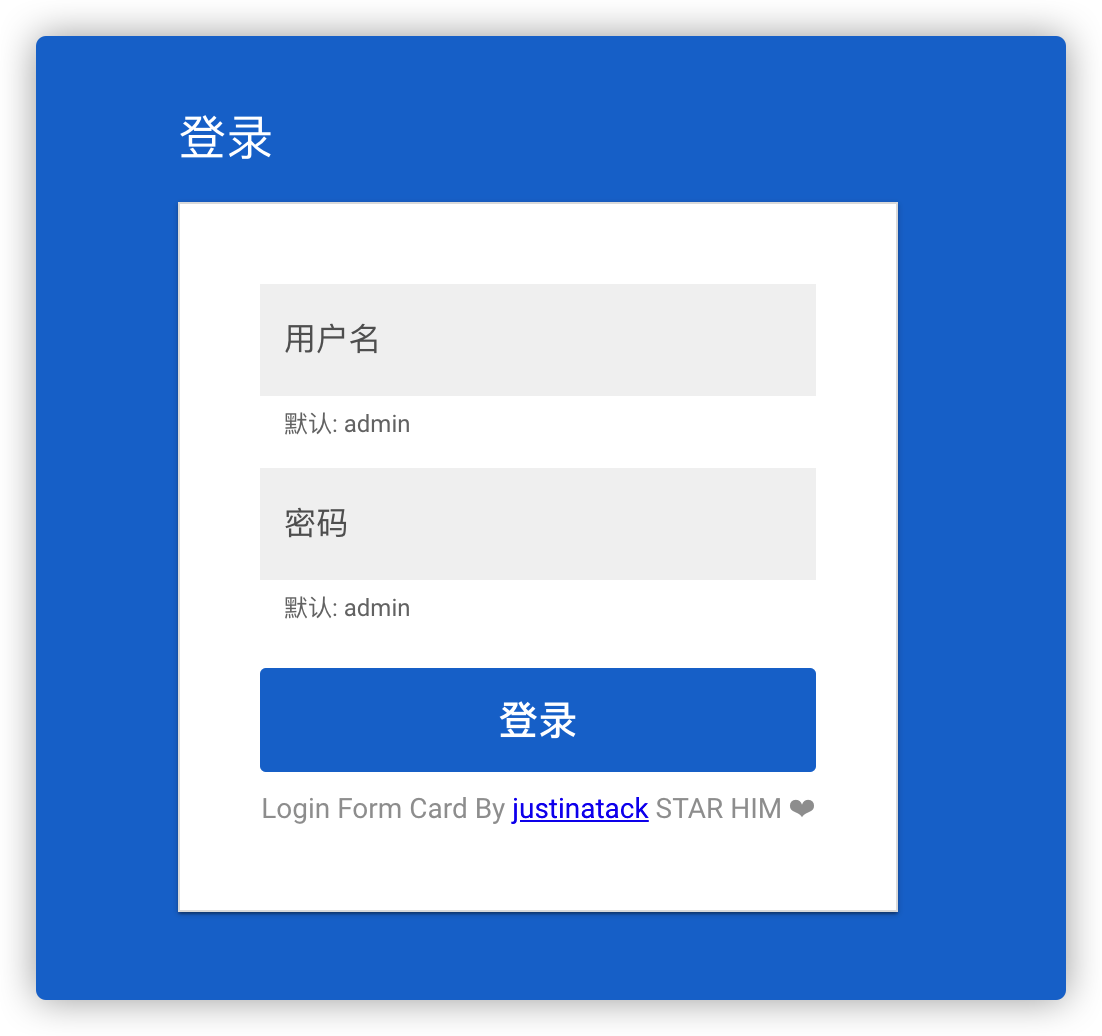
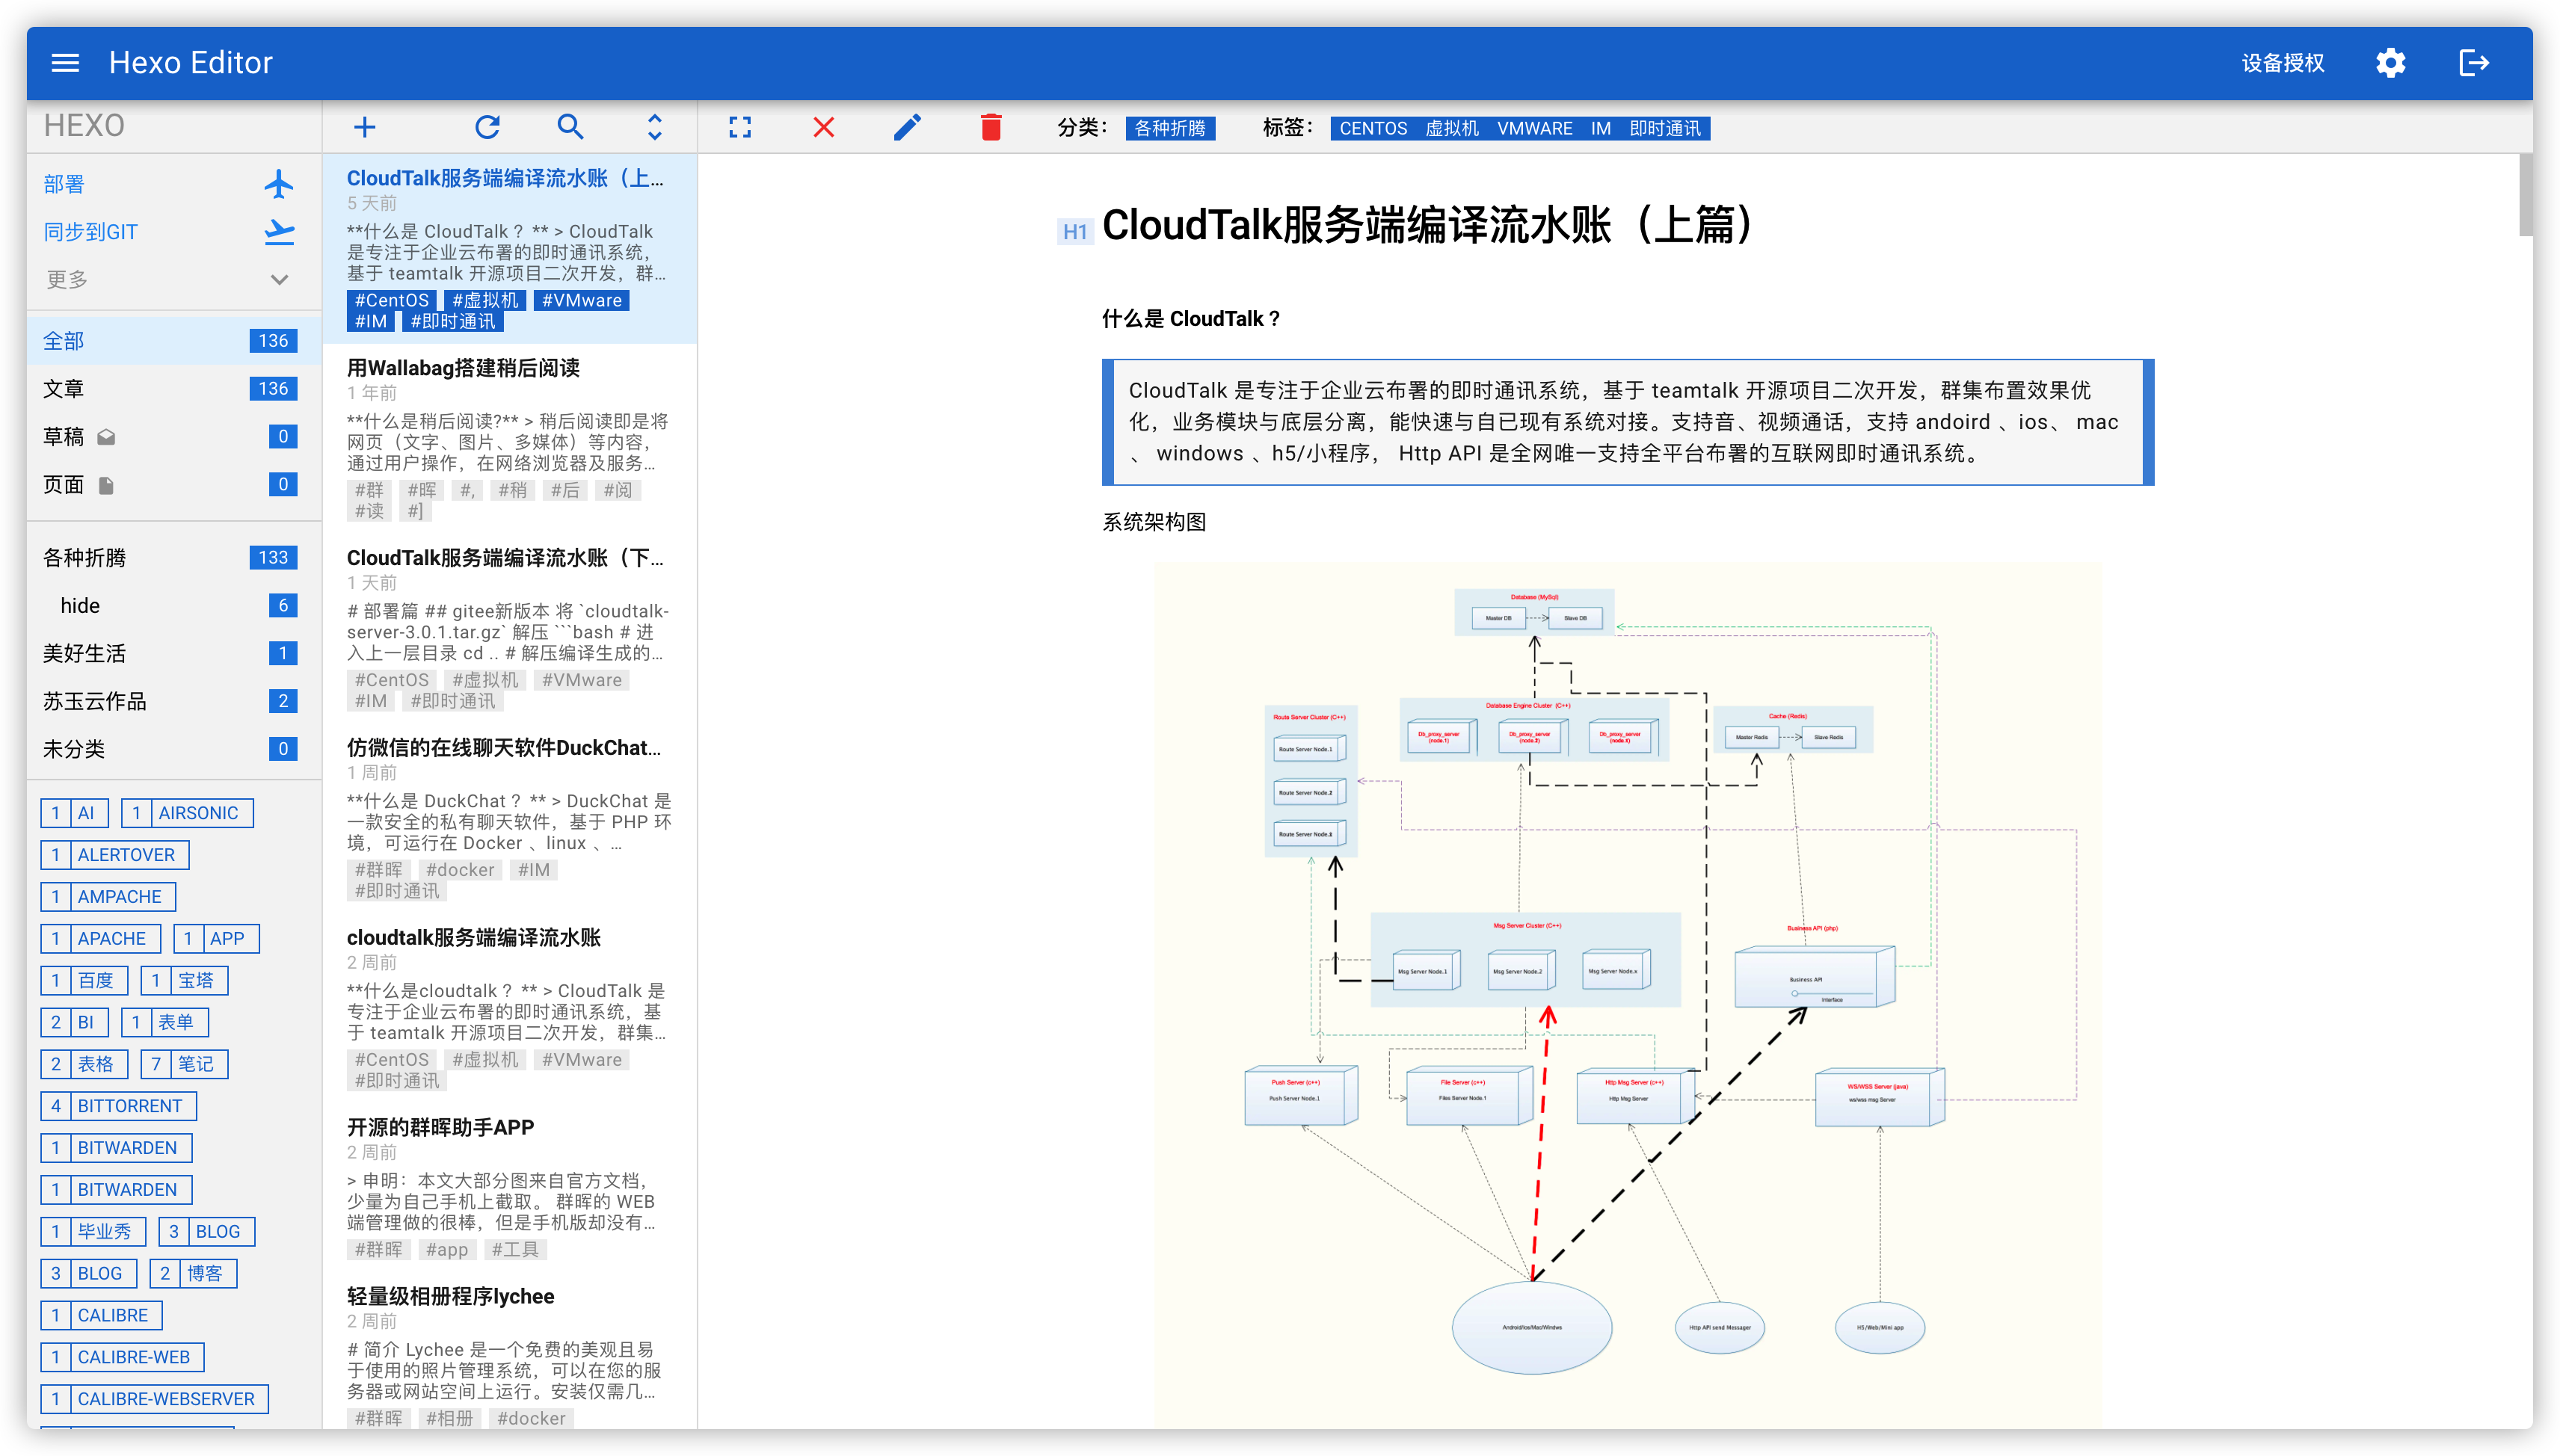
登录成功后
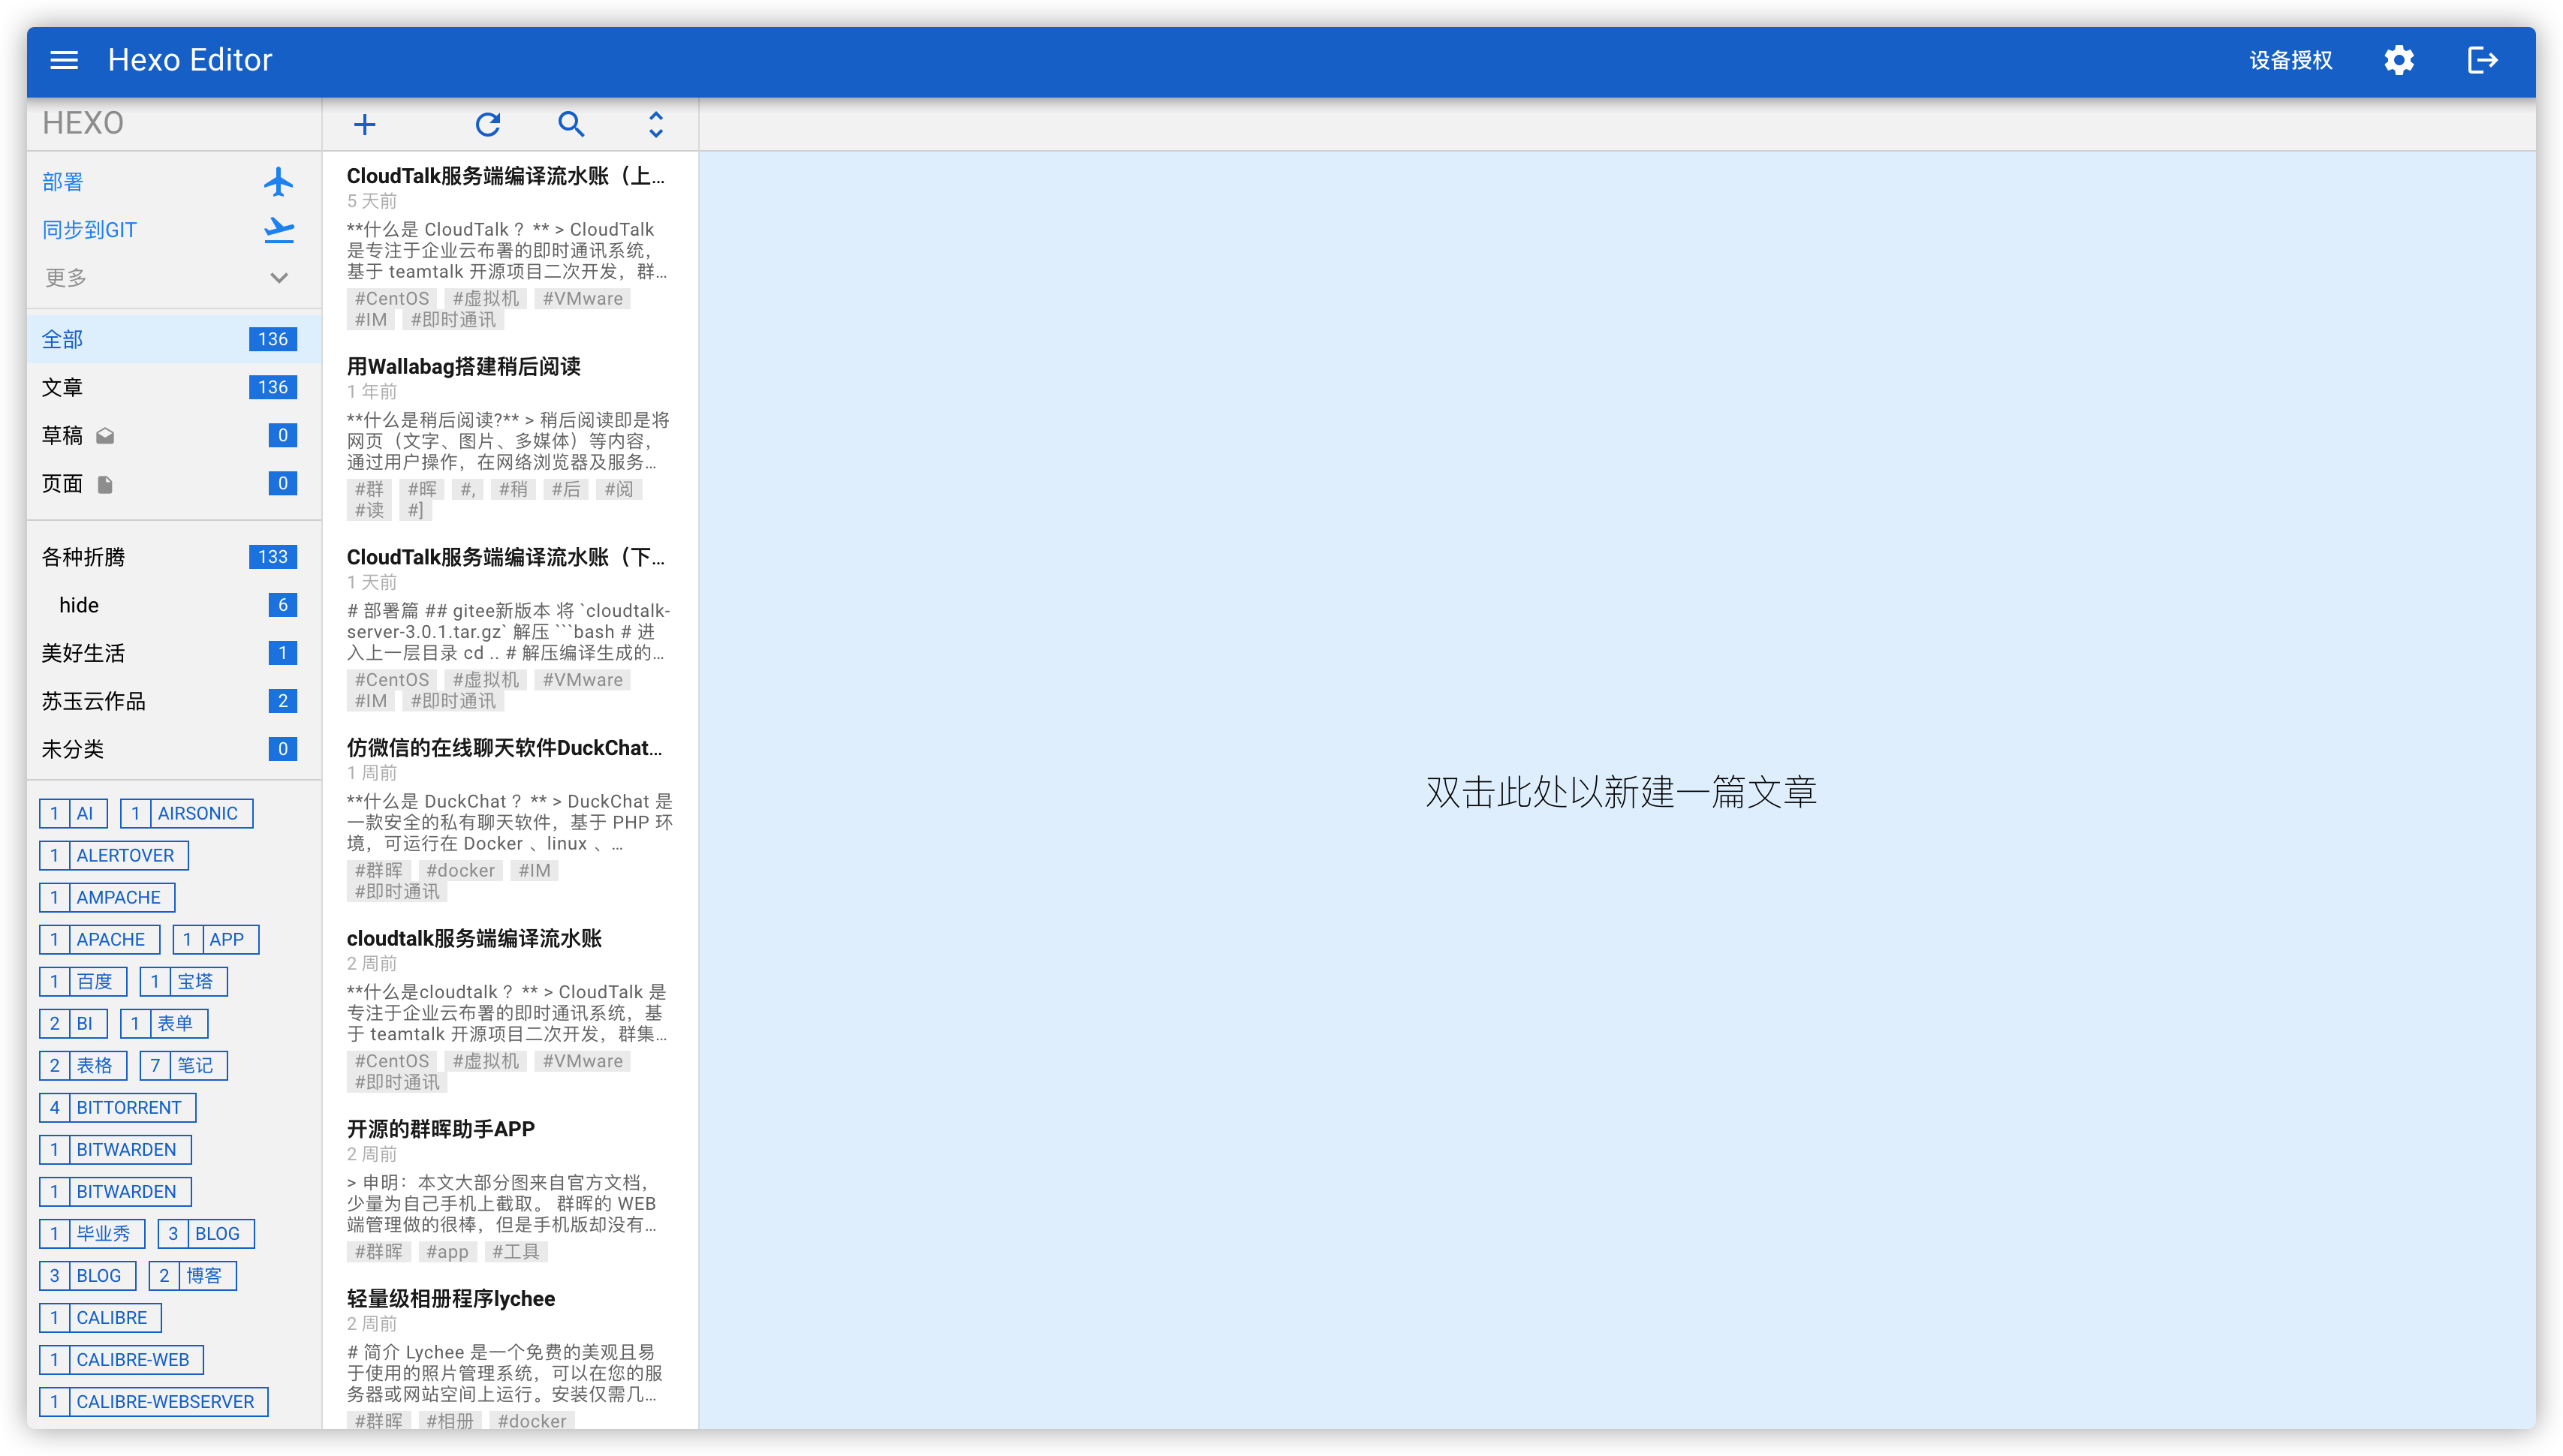
直接点击文章开始预览
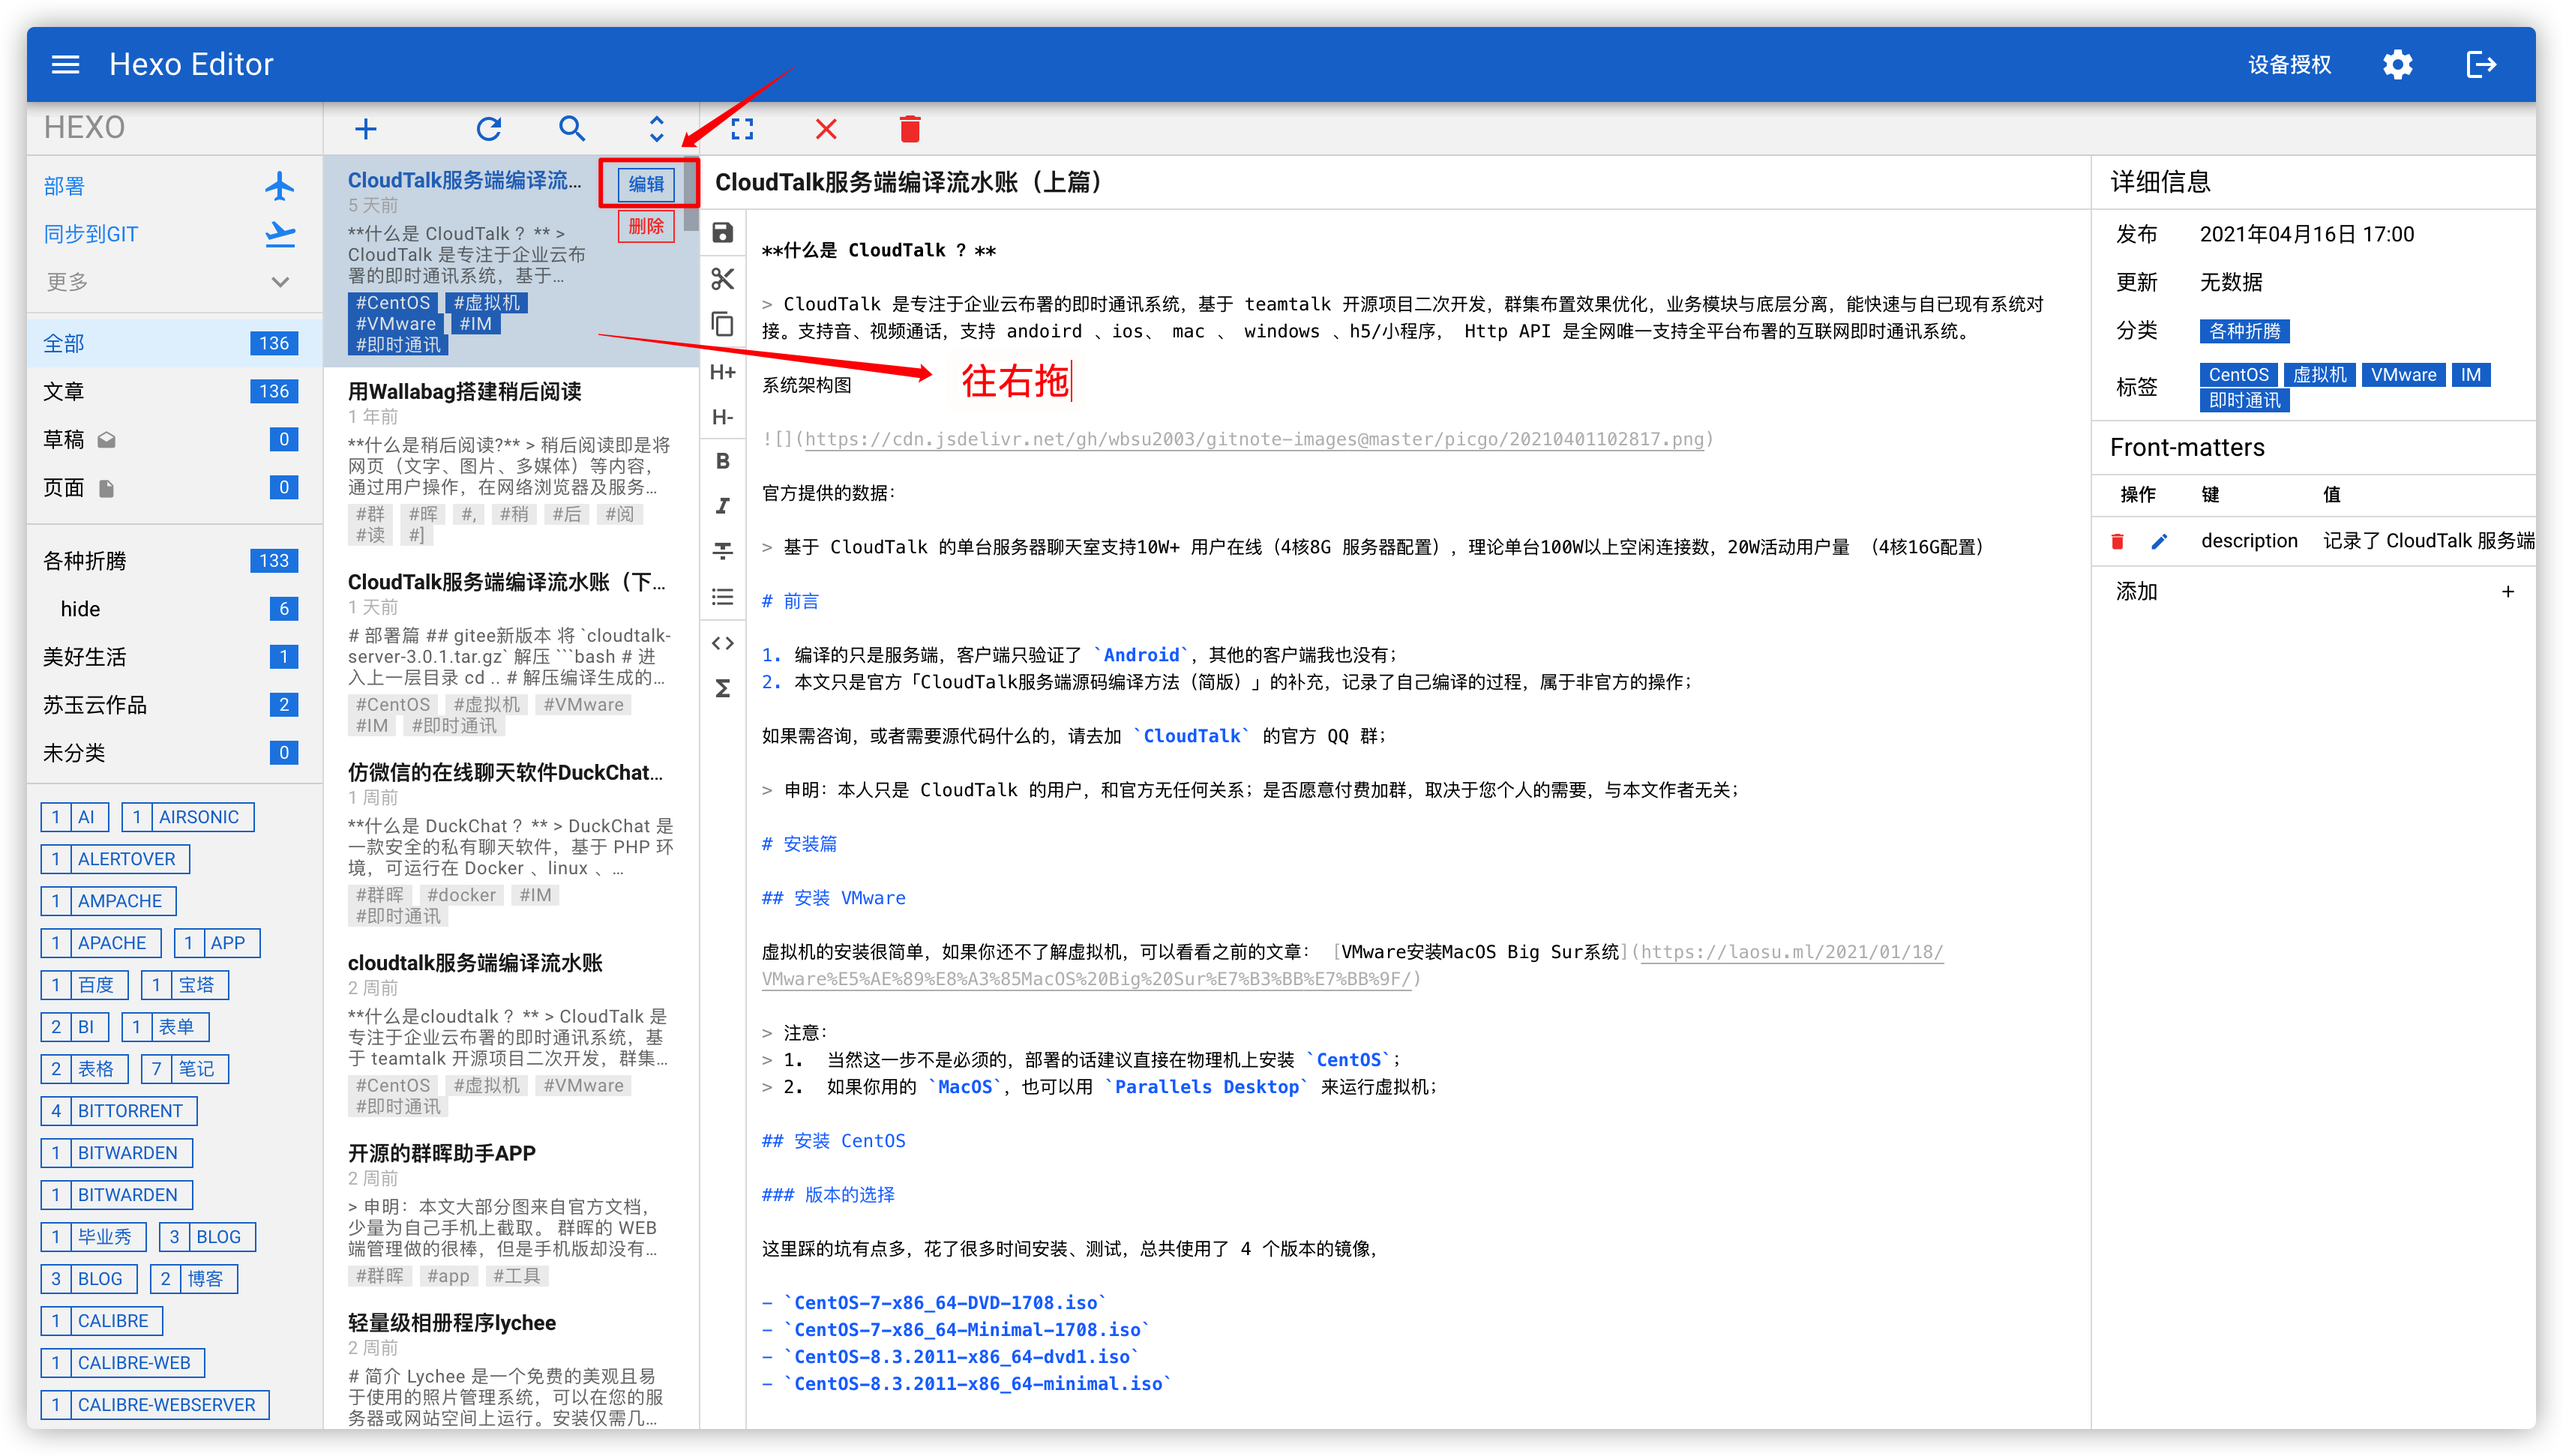
选择文章–> 编辑 或者 往右拖 进入编辑状态
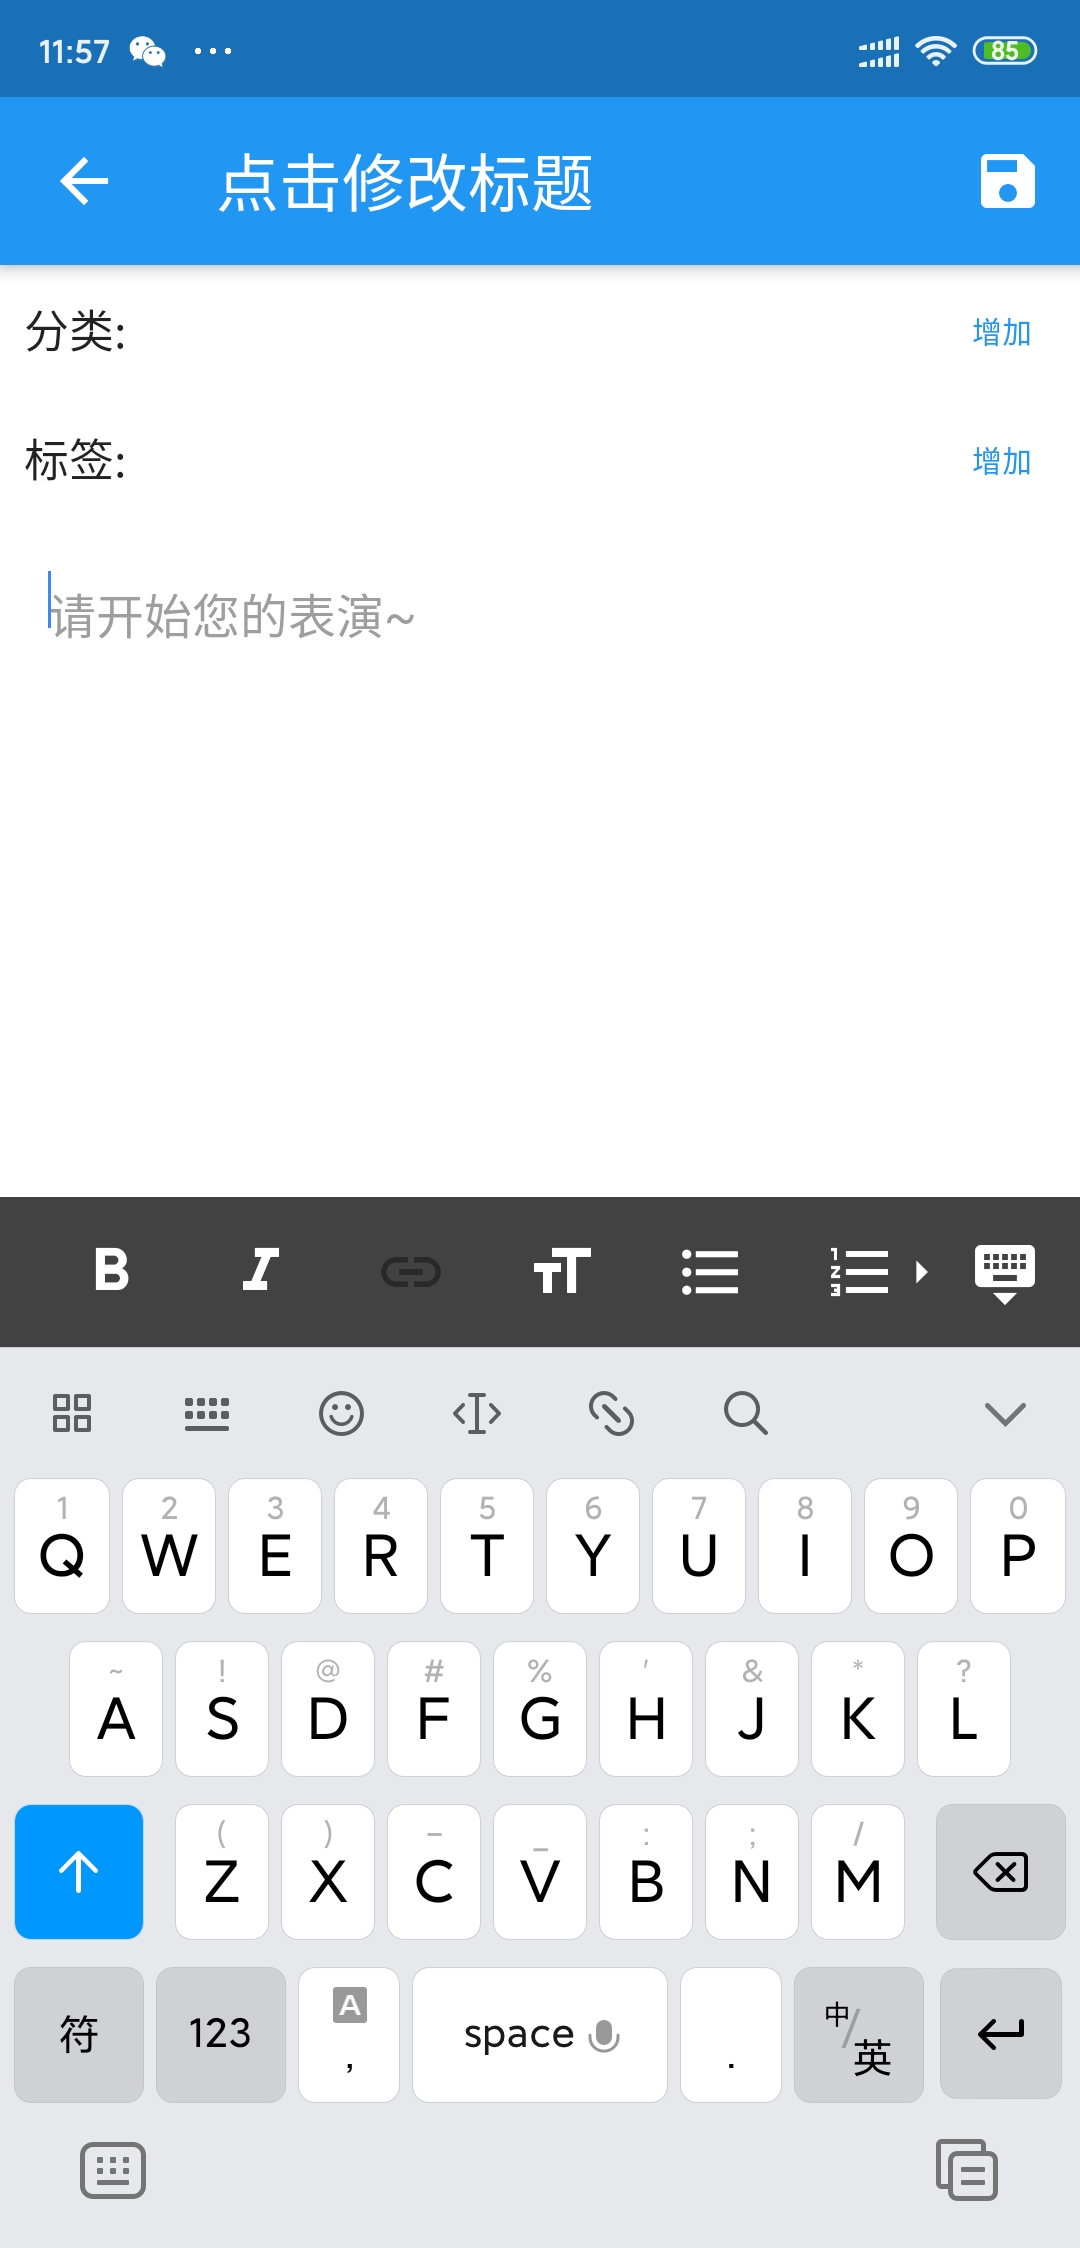
移动端
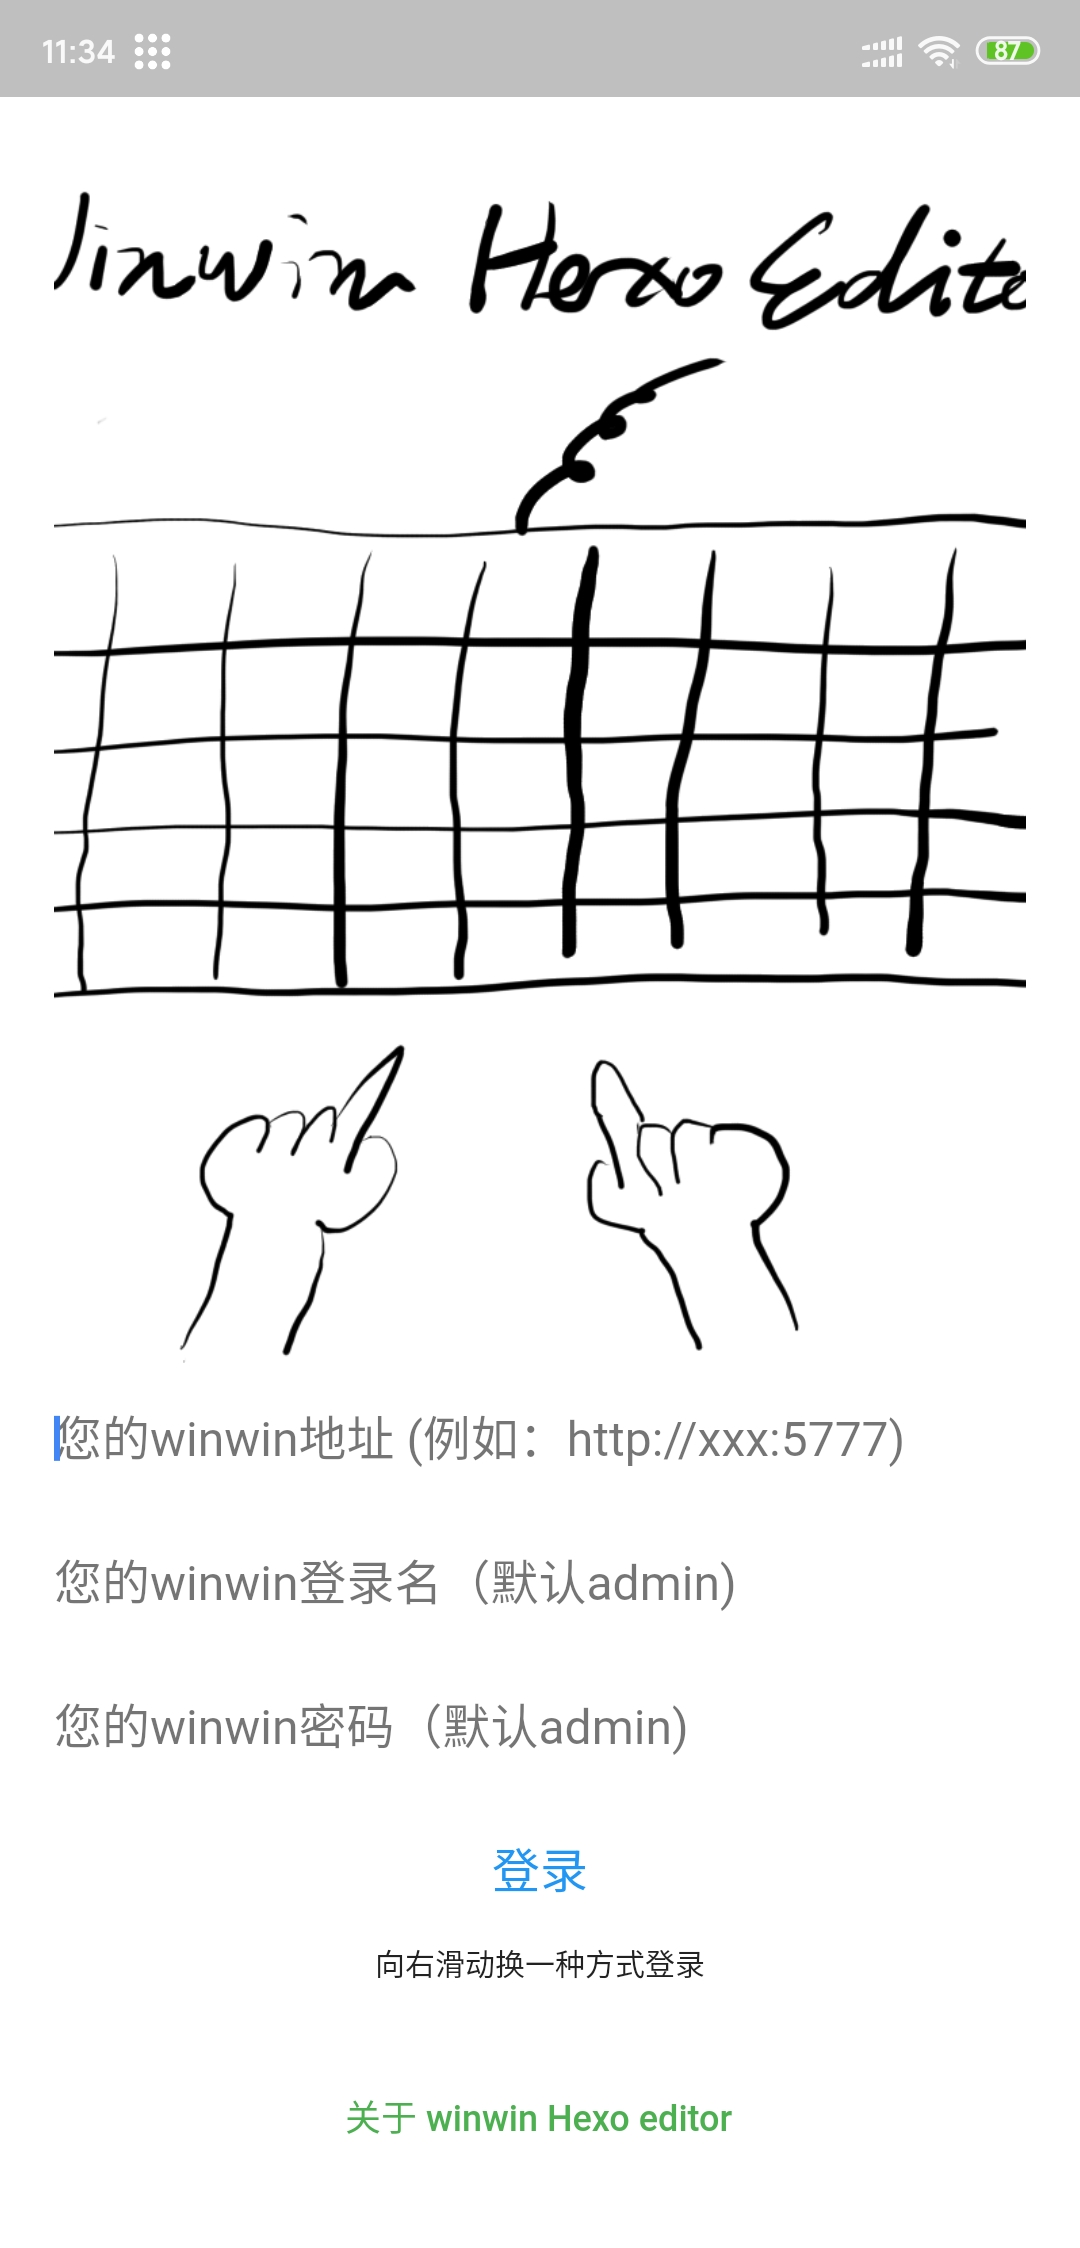
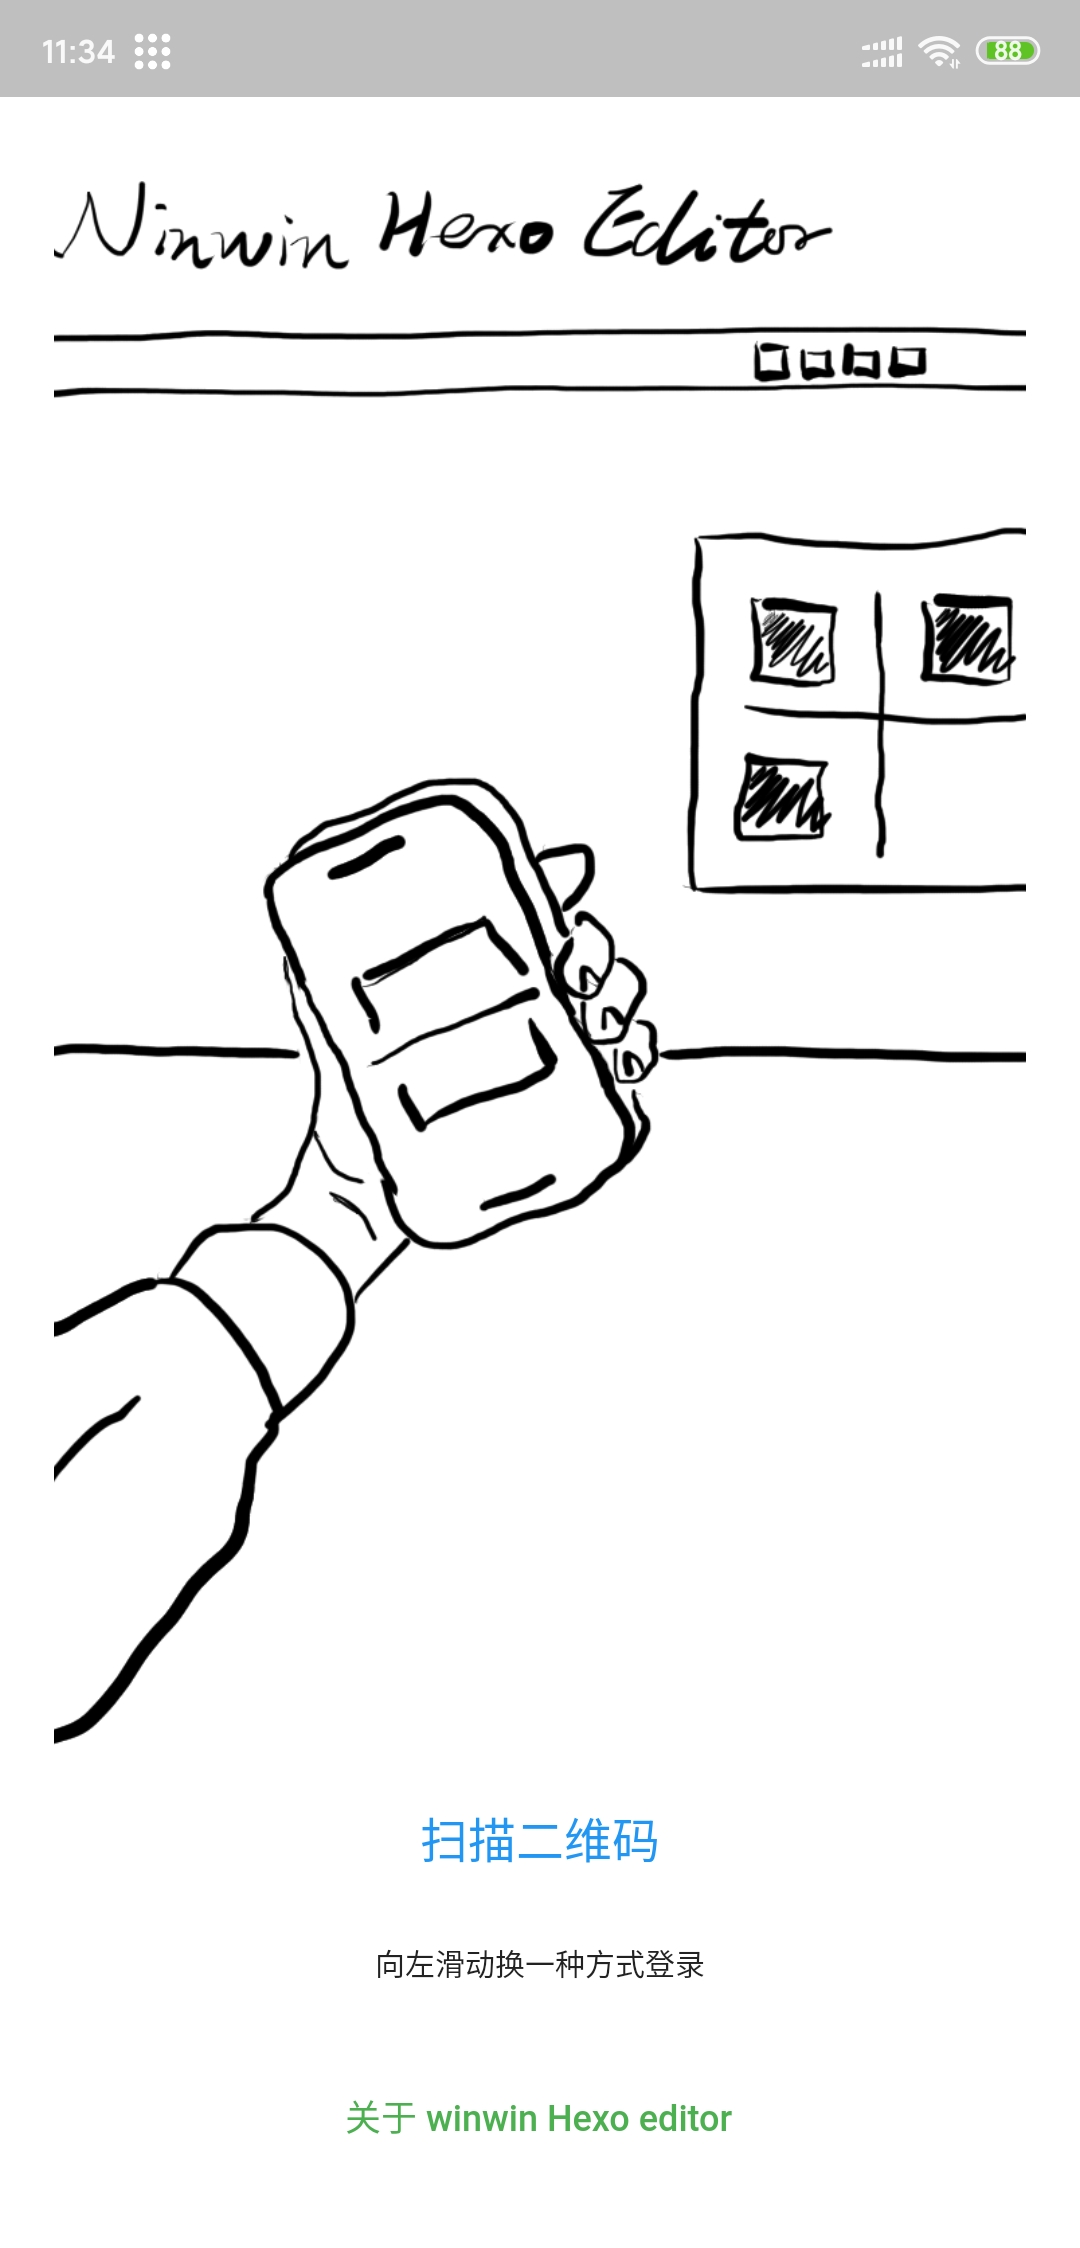
因为Android 端在Google Play 下载不了,可以在这里下载: https://github.com/gethexon/winwin-hexo-editor-mobile/releases
可以手动输入方式登录
也可以扫描二维码方式登录
网页端
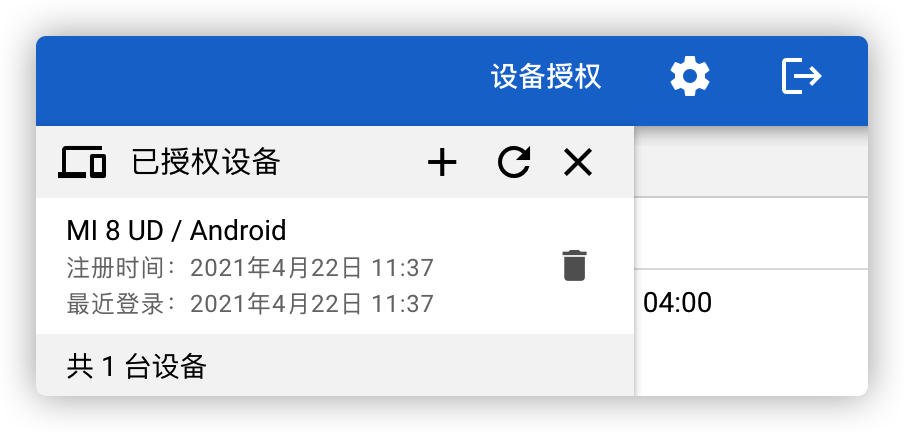
设备授权–>+号,会有用于移动设备的二维码
扫码登录后,Web 页面上会看到授权的设备
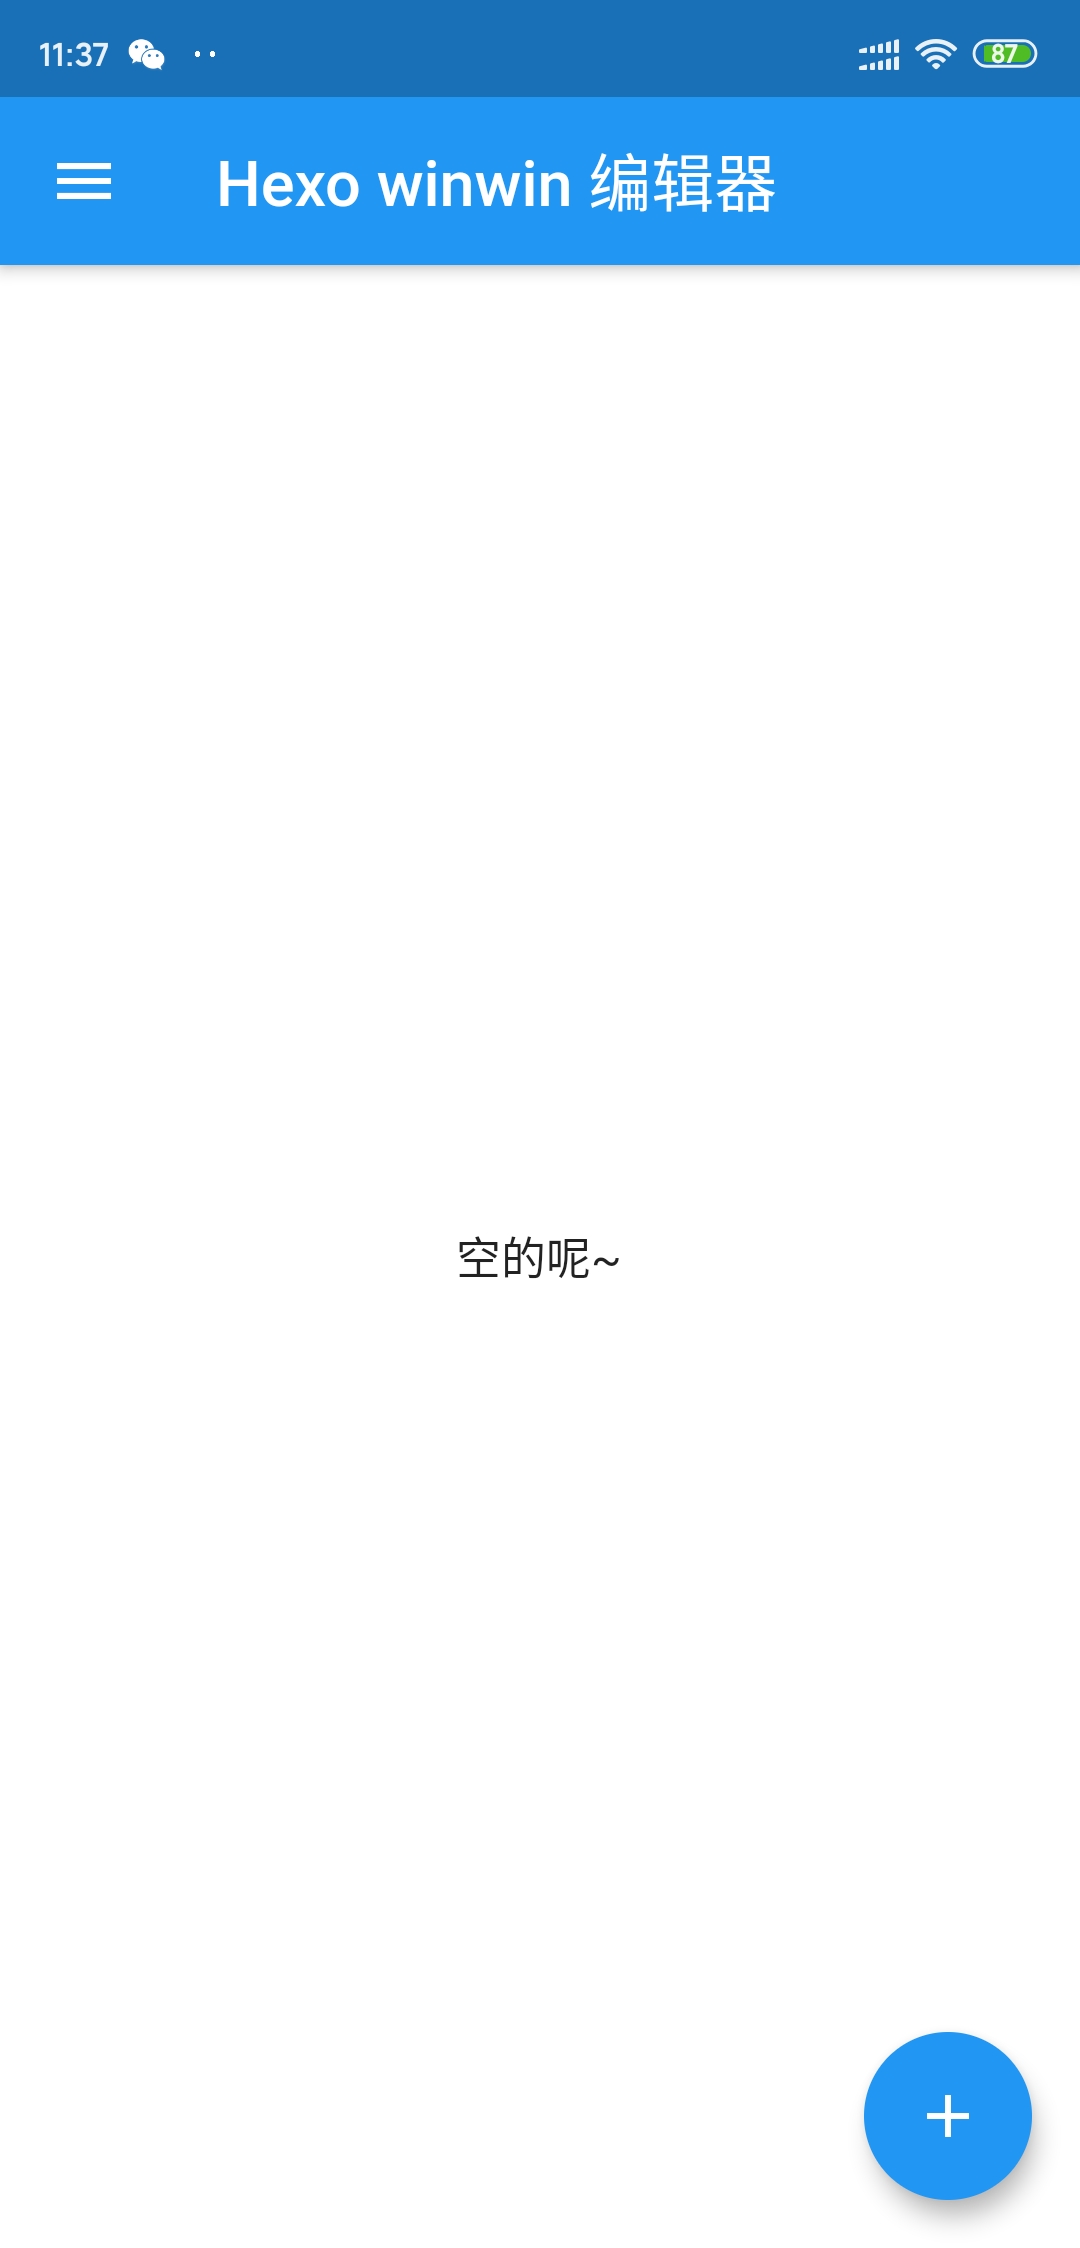
登录成功后还是空空的
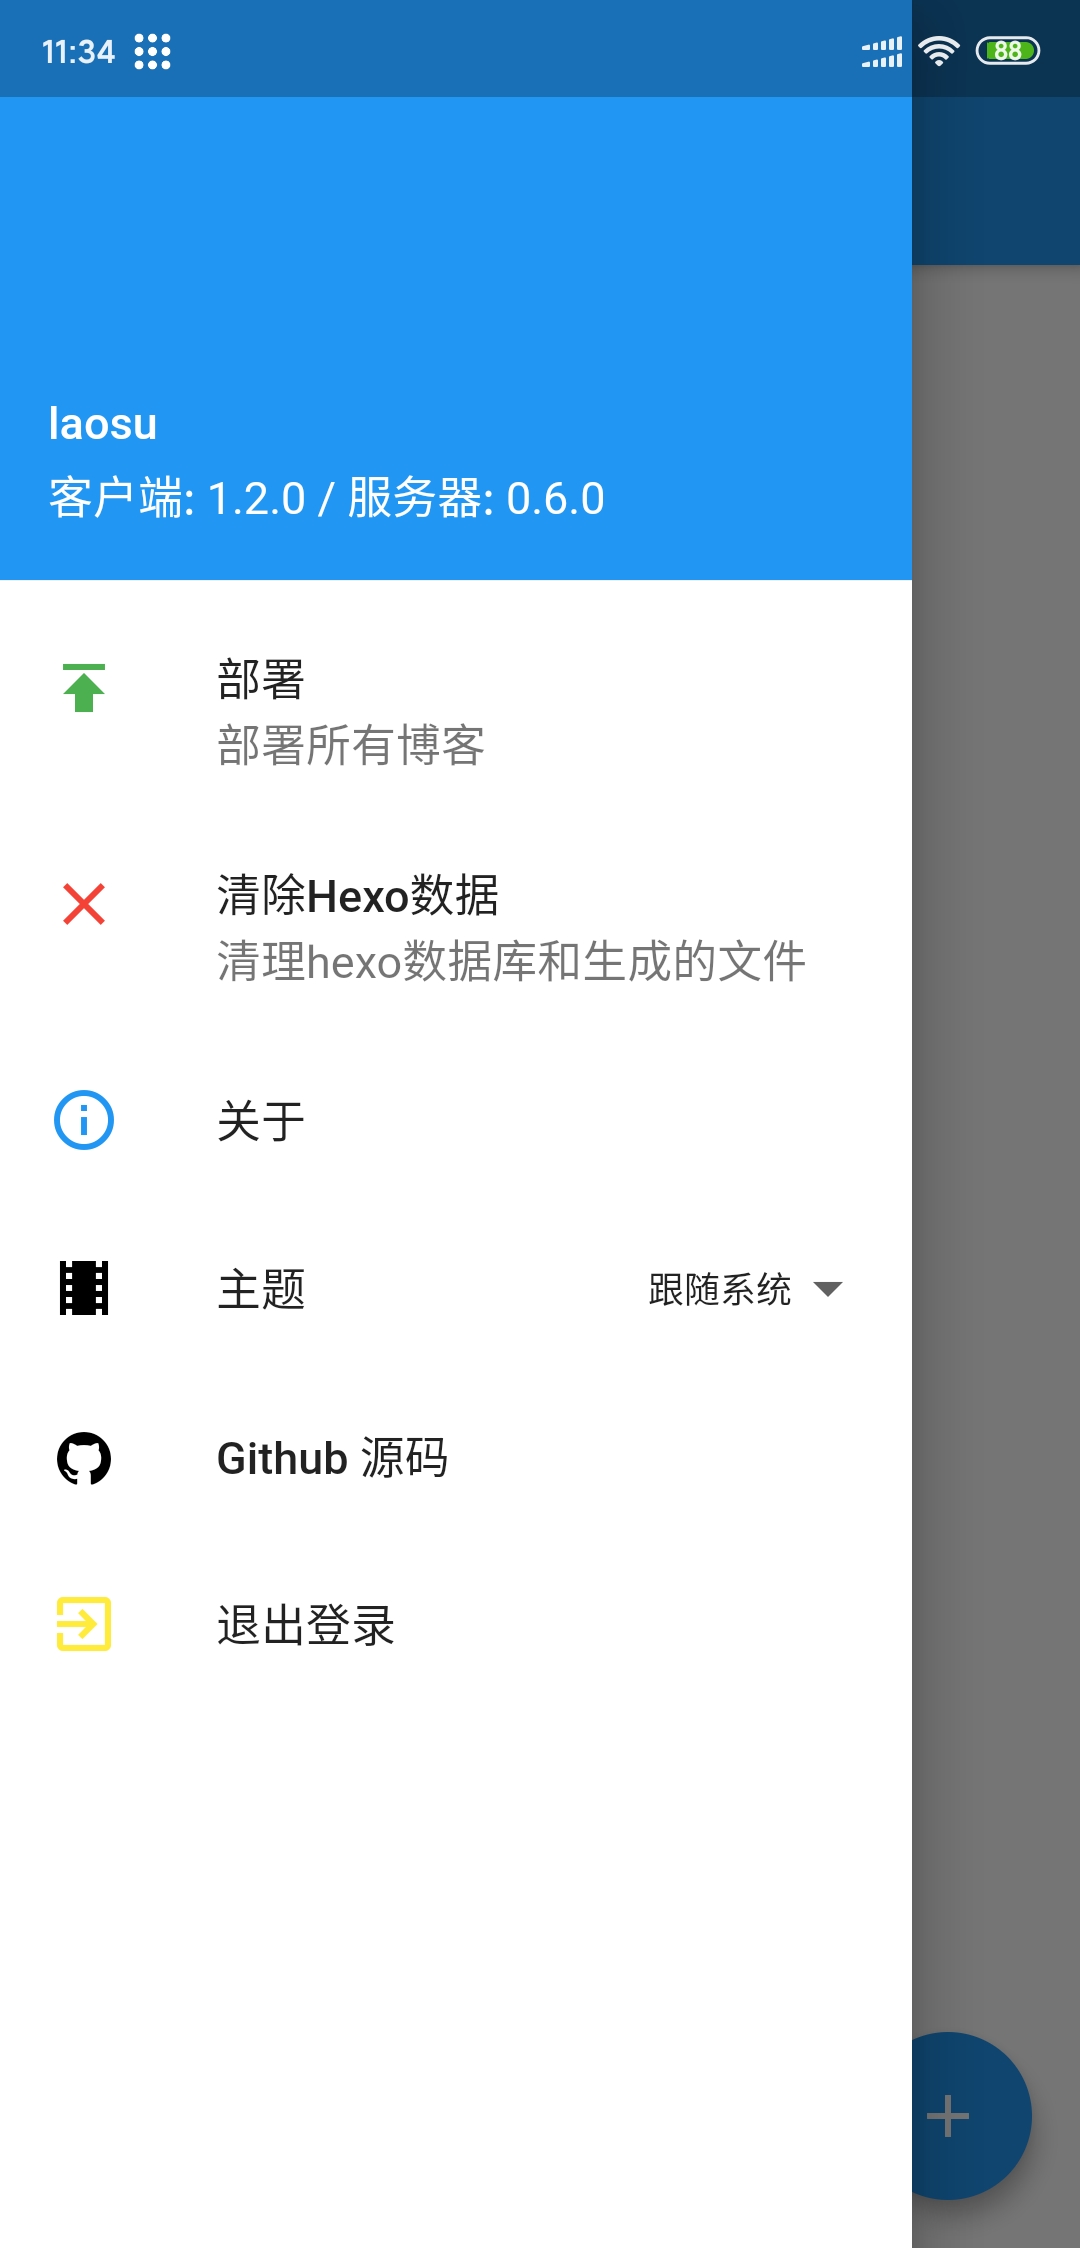
左侧的菜单
点右下角的 “+” 号新建文档
配置
如果不需要在 winwin-hexo-editor 中 部署、同步到GIT、从GIT同步,这个章节可以略过。
如果你已经在
Hexo-admin中配置了Deploy,建议这里就不要配置了,免得相互干扰,反正老苏只用了编辑功能。
- 进入容器
1 | docker exec --user root -it wbsu2003-docker-hexo-editor /bin/bash |
- 常用命令
假设你将hexo博客源码部署在了
myblog目录,相应的,hexo配置文件应该在myblog/_config.yml。
以下命令需要在 myblog/ 目录里执行
hexo generate:生成hexo博客hexo deploy: 生成hexo博客并部署git add . -all && git commit -m 'server updates': 将博客更改添加进 gitgit pull: 从远端拉取博客内容git push: 将本地博客内容推送到远端
- 更新
以下命令需要在 myblog/hexo-editor/ 目录里执行
node update.js更新后你需要手动重启服务
- 其他
以下命令需要在 myblog/ 目录里执行
1 | # 停止 |
参考文档
gethexon/hexon: Let’s hexo online.
地址:https://github.com/gethexon/hexonYuJianghao/winwin-hexo-editor: An online hexo blog editor.
地址:https://github.com/YuJianghao/winwin-hexo-editor/winwin-hexo-editor: 在线hexo博客编辑器
地址:https://gitee.com/winwin_2011/winwin-hexo-editorgethexon/winwin-hexo-editor-mobile: https://github.com/YuJianghao/winwin-hexo-editor
地址:https://github.com/gethexon/winwin-hexo-editor-mobile快速上手 | winwin-hexo-editor
地址:https://yujianghao.github.io/winwin-hexo-editor/guide.html