今晚继续,周日还有
本文是应网友 哈哈 的要求折腾的;
什么是 YuIndex ?
YuIndex 是一个很特别的浏览器主页,支持使用输入命令的方式来操作,目标是帮你在一个 web 终端中高效完成所有的事情!
all in one,你可以将音乐、游戏,甚至可以将自己的偶像封装到主页~
官方提供了演示站点:https://www.yuindex.com/,不想自己安装的话,也可以去体验一下。
视频演示:https://www.bilibili.com/video/BV19B4y1Y7m8/
构建镜像
如果你不想自己构建,可以跳过,直接阅读下一章节
老苏开始都是基于官方的 Dockerfile 构建的

后端就算了,前端实在有点看不下去,老苏的强迫症又犯了,于是在官方的基础上,用多阶段构建调整了一下
1
2
3
4
5
6
7
8
9
10
11
12
13
14
15
16
17
18
19
20
| FROM node:18-buster-slim as build-deps
WORKDIR /src
COPY . .
RUN npm install
RUN npm run build
FROM nginx:1.12-alpine
LABEL maintainer=laosu<wbsu2003@gmail.com>
COPY --from=build-deps /src/dist /usr/share/nginx/html
COPY ./replace_api_url.sh ./replace_api_url.sh
RUN chmod +x replace_api_url.sh
EXPOSE 80
CMD ["./replace_api_url.sh"]
|
依然还是采用了占位替换法,所以 replace_api_url.sh 是少不了的
1
2
3
4
5
| #!/usr/bin/env sh
find '/usr/share/nginx/html' -name '*.js' -exec sed -i -e 's,'https://yuindex-server-974538-1256524210.ap-shanghai.run.tcloudbase.com','"$BACKEND_URL"',g' {} \;
nginx -g "daemon off;"
|
【说明】:
本次前端镜像的构建,依然采用了惯用的占位替换法,用于修改 src/plugins/myAxios.ts 文件中的后端地址:
- 产品模式:
"https://yuindex-server-974538-1256524210.ap-shanghai.run.tcloudbase.com/api"
- 开发模式:
"http://localhost:7345/api"
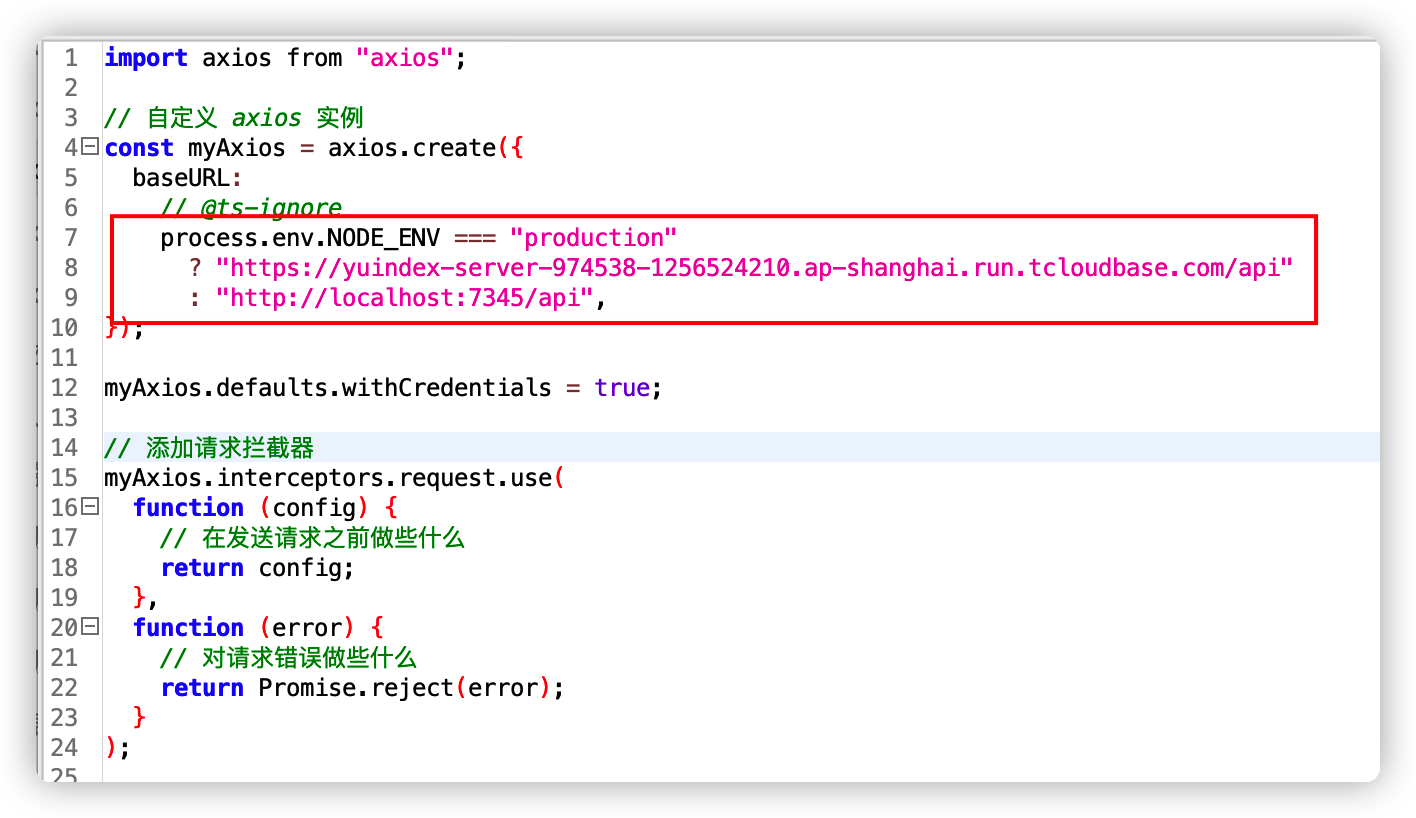
将产品模式的地址替换为我们设定的 BACKEND_URL 地址;
构建镜像和容器运行的基本命令如下👇
1
2
3
4
5
6
7
8
9
10
11
12
13
14
15
16
17
18
19
20
|
git clone https://github.com/liyupi/yuindex.git
git clone https://ghproxy.com/https://github.com/liyupi/yuindex.git
cd yuindex/server
docker build -t wbsu2003/yuindex-server:v1 .
cd yuindex
docker build -t wbsu2003/yuindex-client:v1 .
|
现在的前端还不到 20M 了

命令行安装
docker-compose.yml
应用涉及到多个容器,在群晖上用 docker-compose 安装,请将下面的内容保存为 docker-compose.yml 文件
1
2
3
4
5
6
7
8
9
10
11
12
13
14
15
16
17
18
19
20
21
22
23
24
25
26
27
28
29
30
31
32
33
34
35
36
37
38
39
40
41
42
43
44
45
46
47
48
49
50
51
52
53
54
55
| version: '3'
services:
backend:
image: wbsu2003/yuindex-server
container_name: yi_server
volumes:
- ./config:/usr/src/app/src/config
depends_on:
- db
- redis
restart: unless-stopped
frontend:
image: wbsu2003/yuindex-client
container_name: yi_client
environment:
BACKEND_URL: http://192.168.0.197:3443
depends_on:
- backend
restart: unless-stopped
db:
image: mysql:5.7
container_name: yi_mysql
environment:
MYSQL_ROOT_PASSWORD: 'Eig7r3DDmfvP'
MYSQL_DATABASE: 'yuindex'
MYSQL_USER: 'yuindex'
MYSQL_PASSWORD: '123456'
volumes:
- ./data:/var/lib/mysql
- ./init:/docker-entrypoint-initdb.d/
command: --character-set-server=utf8 --collation-server=utf8_unicode_ci
redis:
image: redis
container_name: yi_redis
command: redis-server --requirepass 123456
depends_on:
- db
restart: always
proxy:
image: nginx
container_name: yi_nginx
ports:
- 3443:80
volumes:
- ./nginx.conf:/etc/nginx/conf.d/default.conf:ro
depends_on:
- backend
- frontend
restart: unless-stopped
|
参数说明:
proxy 中的端口 3443 为群晖的本地端口,可以根据需要进行修改;frontend 中的 BACKEND_URL 为外部访问地址,其中 IP 为群晖主机的局域网 IP,如果你反代了,这里用域名+端口,例如:https://yuindex.laosu.ml:444;MYSQL_ROOT_PASSWORD 为数据库用户 root 的密码;MYSQL_PASSWORD 为数据库用户 MYSQL_USER 的密码;
除非你知道自己在做什么,否则其他的就不建议你改了。
nginx.conf
nginx.conf 是配合 nginx 做代理的,可以根据请求的网址,做前、后端的分流处理
1
2
3
4
5
6
7
8
9
10
11
12
13
14
15
| server {
listen 80;
location / {
proxy_pass http://frontend:80;
}
location ~* /api/ {
proxy_pass http://backend:7345;
proxy_set_header Host $host;
proxy_set_header X-Real-IP $remote_addr;
proxy_set_header X-Forwarded-Proto $scheme;
proxy_set_header X-Forwarded-For $proxy_add_x_forwarded_for;
}
}
|
config.prod.js
config.prod.js 是服务端的设置文件,包含了 MySQL 和 Redis 的配置,当然要根据前面 docker-compose.yml 的设置进行修改。
1
2
3
4
5
6
7
8
9
10
11
12
13
14
15
16
17
18
19
20
21
22
23
24
25
|
module.exports = {
redisConfig: {
host: "redis",
port: "6379",
password: "123456",
db: 2,
},
dbConfig: {
database: "yuindex",
username: "yuindex",
password: "123456",
host: "db",
port: 3306,
},
baiduFanYiConfig: {
appid: "",
key: "",
},
};
|
getConfig.js
getConfig.js 是用来读取当前环境配置的,不需要做任何修改。源文件地址:https://github.com/liyupi/yuindex/blob/master/server/src/config/getConfig.js
1
2
3
4
5
6
7
8
9
10
11
12
13
14
|
let config;
const env = process.env.NODE_ENV ?? "local";
if (env === "local") {
config = require("./config");
} else {
config = require(`./config.${env}`);
}
module.exports = config;
|
ddl.sql
ddl.sql 是用来初始化数据库用户表的,不需要做任何修改。源文件地址: https://github.com/liyupi/yuindex/blob/master/server/db/ddl.sql
1
2
3
4
5
6
7
8
9
10
11
12
| CREATE TABLE `user`
(
`id` bigint(20) NOT NULL AUTO_INCREMENT COMMENT 'id',
`username` varchar(256) NOT NULL COMMENT '用户名',
`password` varchar(512) NOT NULL COMMENT '密码',
`email` varchar(512) DEFAULT NULL COMMENT '邮箱',
`status` int(11) NOT NULL DEFAULT '0' COMMENT '状态 0 - 正常',
`createTime` datetime DEFAULT CURRENT_TIMESTAMP COMMENT '创建时间',
`updateTime` datetime DEFAULT CURRENT_TIMESTAMP ON UPDATE CURRENT_TIMESTAMP,
`isDelete` tinyint(4) NOT NULL DEFAULT '0' COMMENT '是否删除',
PRIMARY KEY (`id`)
) ENGINE = InnoDB COMMENT ='用户'
|
然后执行下面的命令安装
1
2
3
4
5
6
7
8
9
10
11
12
|
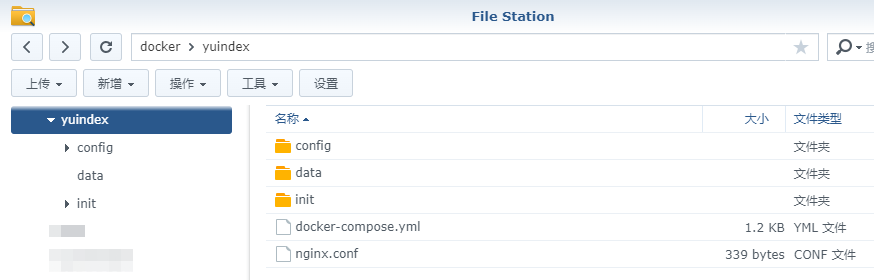
mkdir -p /volume2/docker/yuindex/{config,data,init}
cd /volume2/docker/yuindex
docker-compose up -d
|
运行
在浏览器中输入 http://群晖IP:3443 就能看到主界面
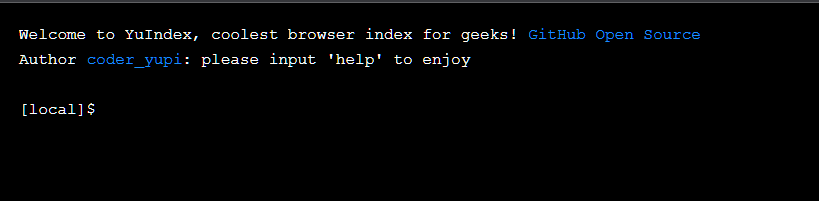
首先要创建一个用户
1
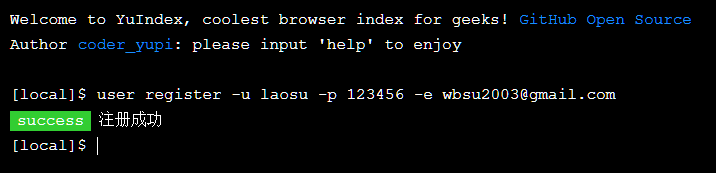
| user register -u laosu -p 123456 -e wbsu2003@gmail.com
|
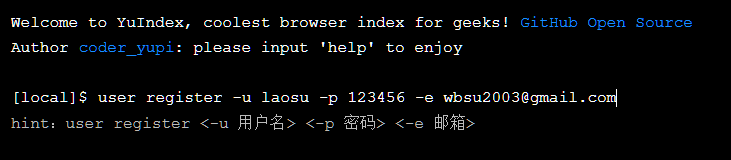
如果配置没问题,应该会注册成功的
接下来怎么用,建议看看官方的 YuIndex 命令大全(https://github.com/liyupi/yuindex/blob/master/doc/commands.md),老苏就不越俎代庖了。
后记
本文中用到的文件,老苏都放在了 https://github.com/wbsu2003/Dockerfile/tree/main/YuIndex,其中:
build 目录:前端镜像构建用到的文件;后端镜像构建用的官方的文件;install 目录:容器安装用到的文件;
参考文档
liyupi/yuindex: ✨ 新项目 - 极客范儿的浏览器主页 💻 Vue 3 + Node.js 全栈项目,自实现 web 终端 + 命令系统
地址:https://github.com/liyupi/yuindex
yuindex/commands.md at master · liyupi/yuindex
地址:https://github.com/liyupi/yuindex/blob/master/doc/commands.md