什么是 Homer ?
Homer 是一个完全静态的 html/js 仪表板,基于一个简单的 yaml 配置文件。它旨在由 HTTP 服务器提供服务,如果您直接通过 file:// 协议打开 index.html,它将无法工作。
安装
在群晖上以 Docker 方式安装。
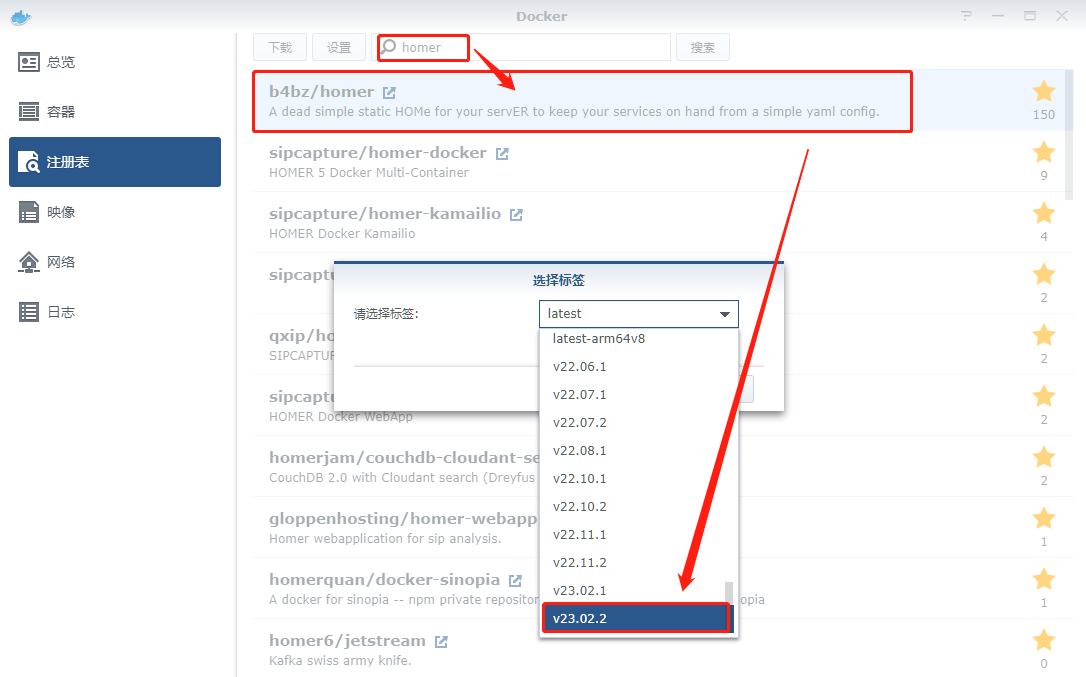
在注册表中搜索 homer ,选择第一个 b4bz/homer,版本选择 latest 或者 v23.02.02。
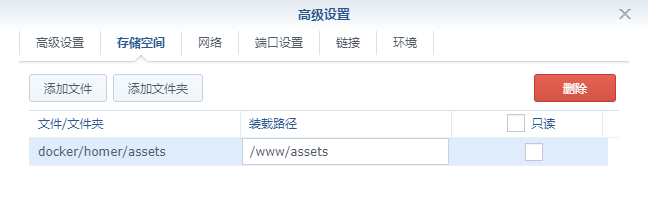
卷
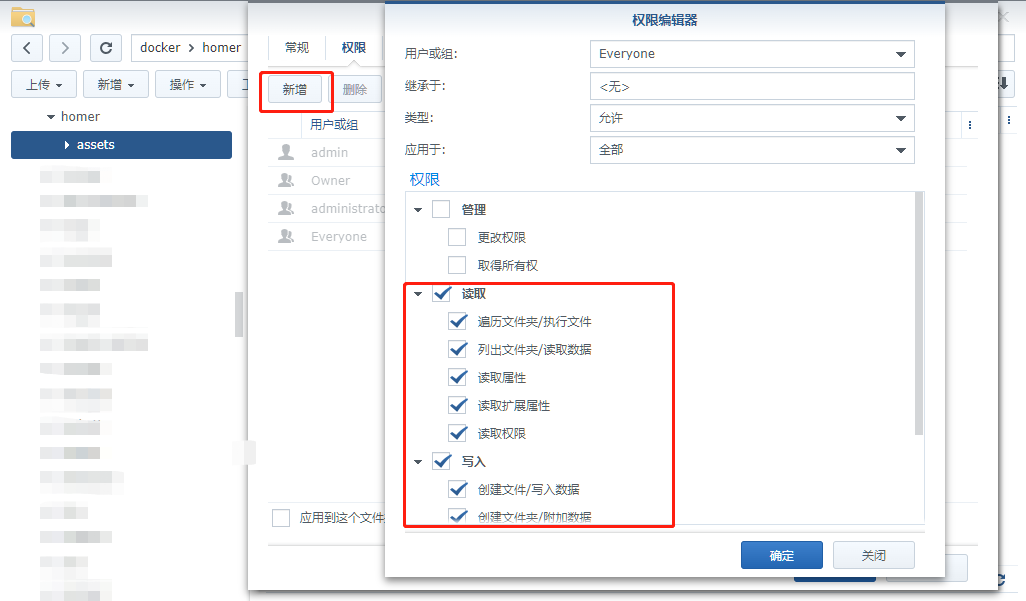
在 docker 文件夹中,创建一个新文件夹 homer,并在其中建一个子文件夹assets,需要给 assets 增加 Everyone 的读写权限
| 文件夹 |
装载路径 |
说明 |
docker/homer/assets |
/www/assets |
存放设置文件 |
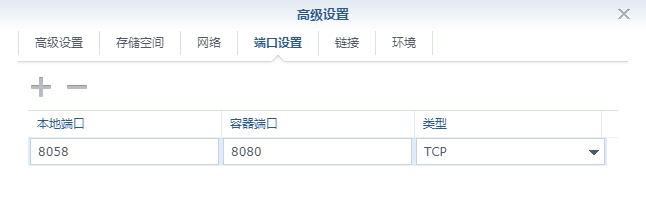
端口
本地端口不冲突就行,不确定的话可以用命令查一下
1
2
|
netstat -tunlp | grep 端口号
|
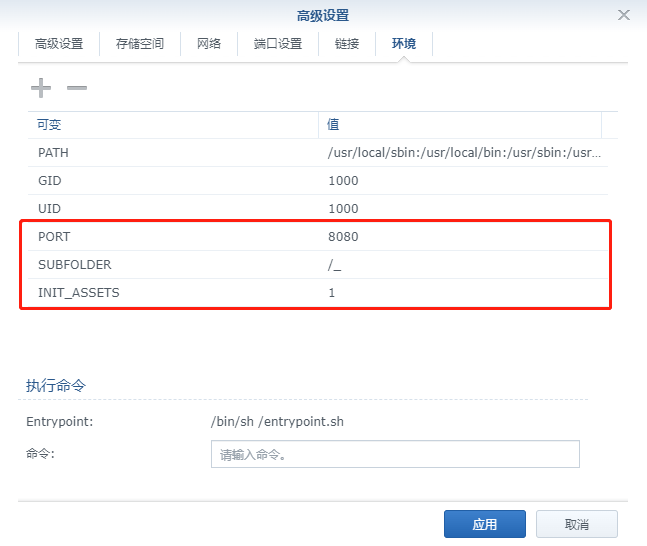
环境
| 可变 |
值 |
INIT_ASSETS |
缺省值为 1 |
SUBFOLDER |
缺省值为 null |
PORT |
缺省值为 8080 |
INIT_ASSETS:默认为 1,会安装示例配置文件来帮助您入门。SUBFOLDER:如果您想在子文件夹中托管 Homer,(例如:http://my-domain/homer),将 SUBFOLDER设置为子文件夹路径(/homer)。PORT:如果您想将 Homer 的内部端口从默认的 8080更改为您选择的端口。
以上几个参数,老苏都采用的默认值
命令行安装
如果你熟悉命令行,可能用 docker cli 更快捷
1
2
3
4
5
6
7
8
9
10
11
12
13
14
15
16
|
mkdir -p /volume2/docker/homer/assets
cd /volume2/docker/homer
chmod 777 assets
docker run -d \
--restart unless-stopped \
--name homer \
-p 8058:8080 \
-v $(pwd)/assets:/www/assets \
b4bz/homer:latest
|
也可以用 docker-compose 安装,将下面的内容保存为 docker-compose.yml 文件
1
2
3
4
5
6
7
8
9
10
11
12
13
| version: "2"
services:
homer:
image: b4bz/homer
container_name: homer
volumes:
- ./assets/:/www/assets
ports:
- 8058:8080
user: 1000:1000
environment:
- INIT_ASSETS=1
|
然后执行下面的命令
1
2
3
4
5
6
7
8
9
10
11
12
13
|
mkdir -p /volume2/docker/homer/assets
cd /volume2/docker/homer
chmod 777 assets
docker-compose up -d
|
运行
在浏览器中输入 http://群晖IP:8058 就能看到主界面
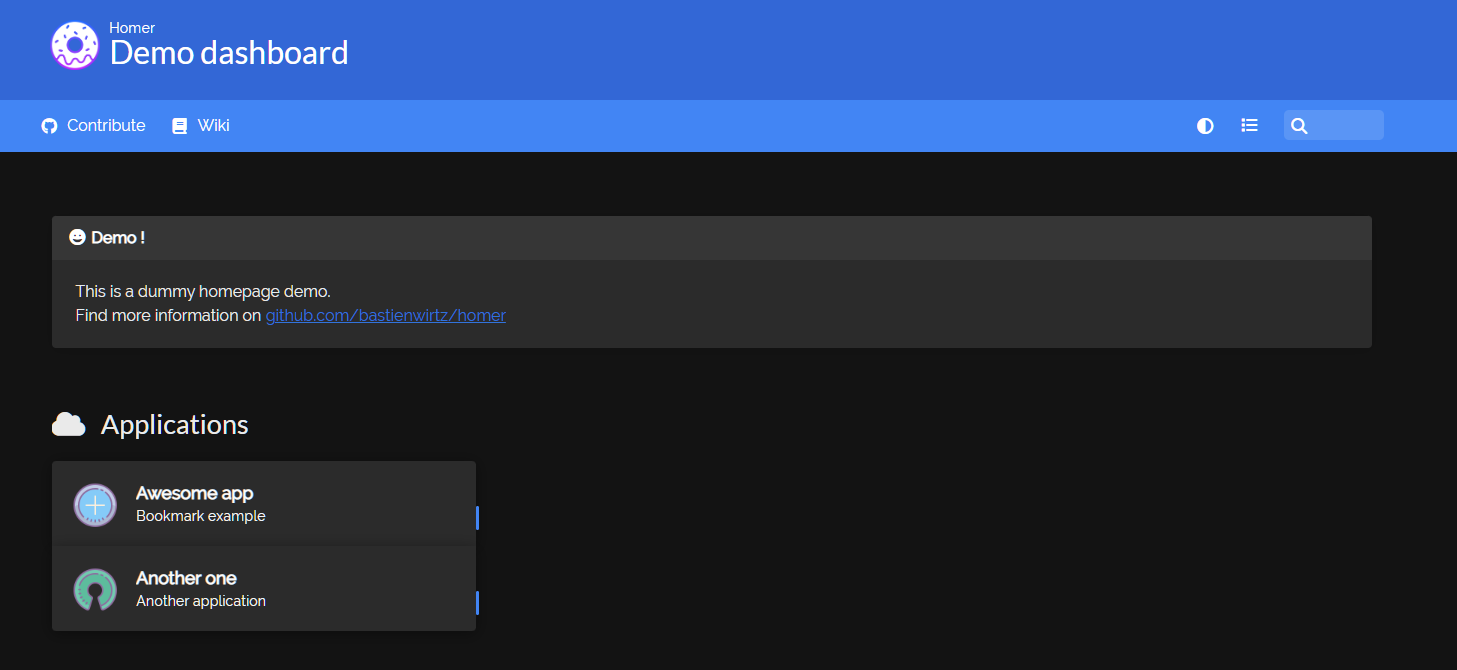
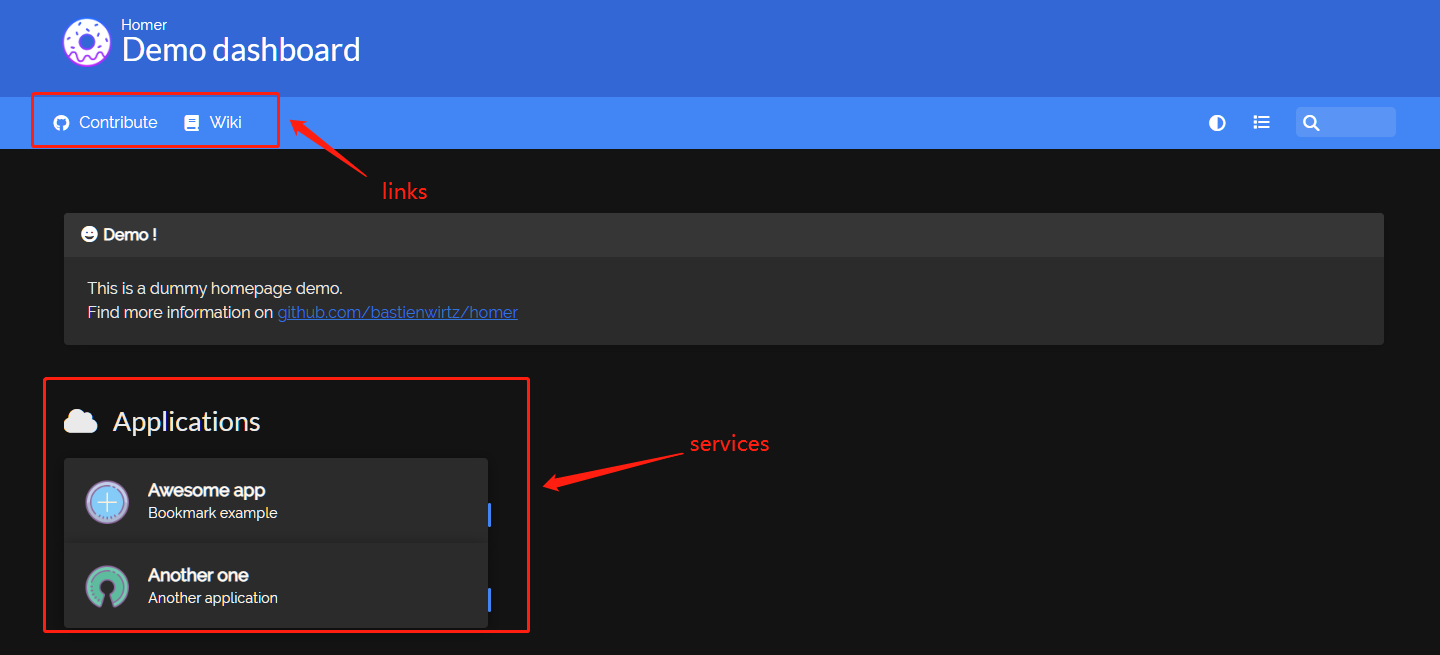
因为使用了默认的环境变量,所以安装了示例,进入 assets,找到 config.yml 文件
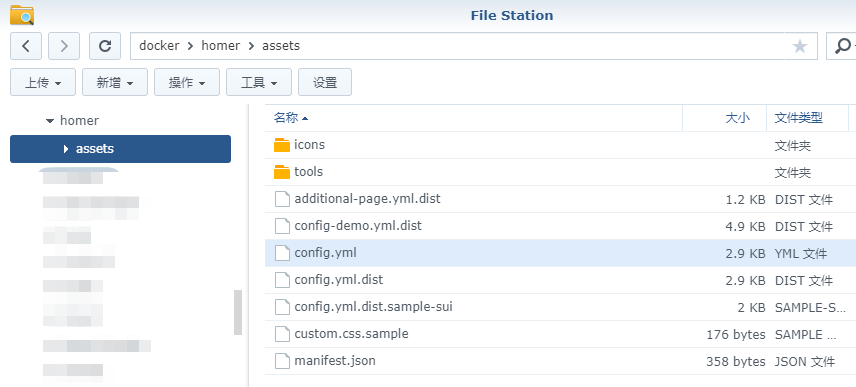
其中 links 节对应于网页的导航条部分,而 services 节对应于我们要设置的书签
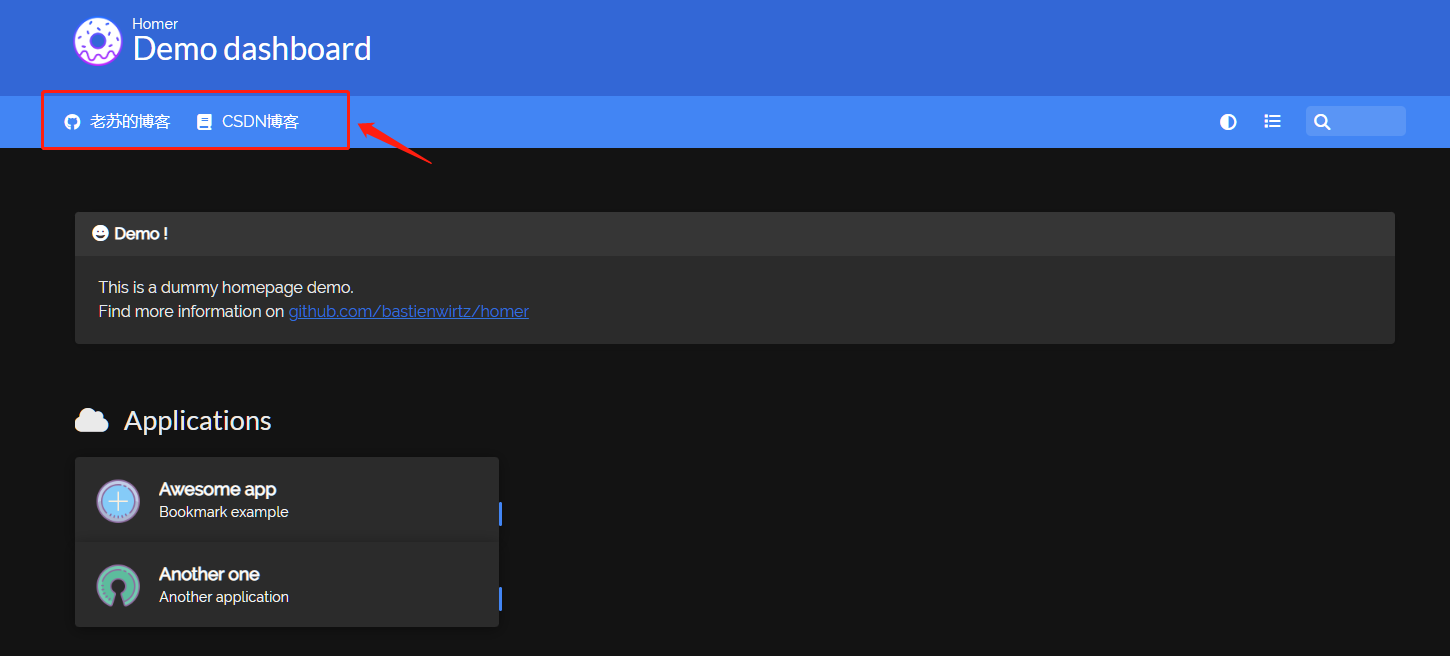
老苏将 links 部分改成了下面这样
记得将 config.yml 的编码改为 UTF-8,否则中文会显示成乱码
1
2
3
4
5
6
7
8
| links:
- name: "老苏的博客"
icon: "fab fa-github"
url: "https://laosu.tech"
target: "_blank"
- name: "CSDN博客"
icon: "fas fa-book"
url: "https://blog.csdn.net/wbsu2004"
|
保存之后,只要刷新页面就可以了,不需要重启容器
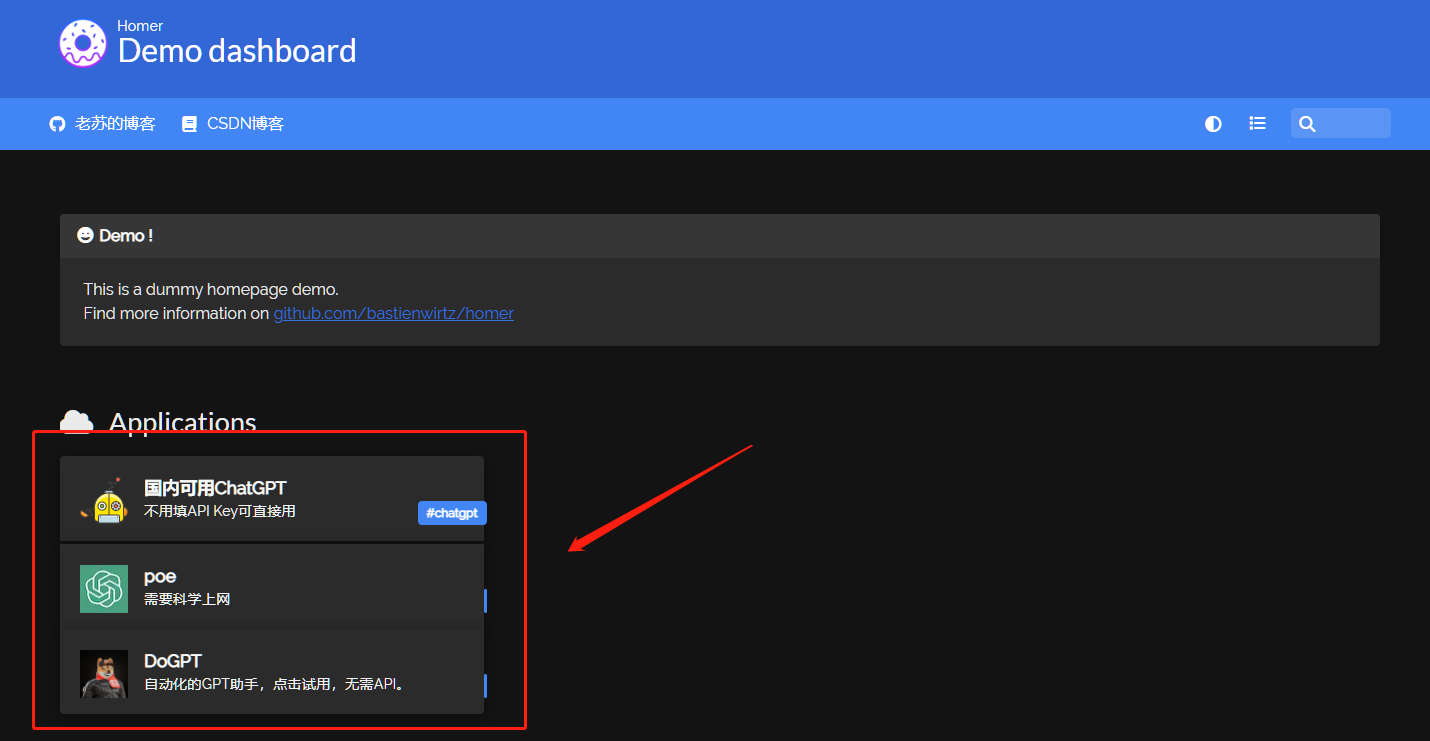
接下来改改 services 节
logo 可以保存到 assets/icons 目录中,也可以直接用 url
1
2
3
4
5
6
7
8
9
10
11
12
13
14
15
16
17
18
19
20
21
22
23
24
25
| services:
- name: "Applications"
icon: "fas fa-cloud"
items:
- name: "国内可用ChatGPT"
logo: "https://www.sunboy.cf/favicon.svg"
subtitle: "不用填API Key可直接用"
tag: "chatgpt"
keywords: "chatgpt"
url: "https://www.sunboy.cf/"
target: "_blank"
- name: "poe"
logo: "https://poe.com/_next/image?url=%2F_next%2Fstatic%2Fmedia%2FchatGPTAvatar.04ed8443.png&w=48&q=75"
subtitle: "需要科学上网"
tag: "chatgpt"
keywords: "chatgpt"
url: "https://poe.com/ChatGPT"
target: "_blank"
- name: "DoGPT"
logo: "https://pbs.twimg.com/profile_images/1604437547836248066/7RscimSD_400x400.png"
subtitle: "自动化的GPT助手,点击试用,无需API。"
tag: "chatgpt"
keywords: "chatgpt"
url: "https://www.dogpt.ai/"
target: "_blank"
|
本文完成于 4 月,上面的网址,有些已不能使用;
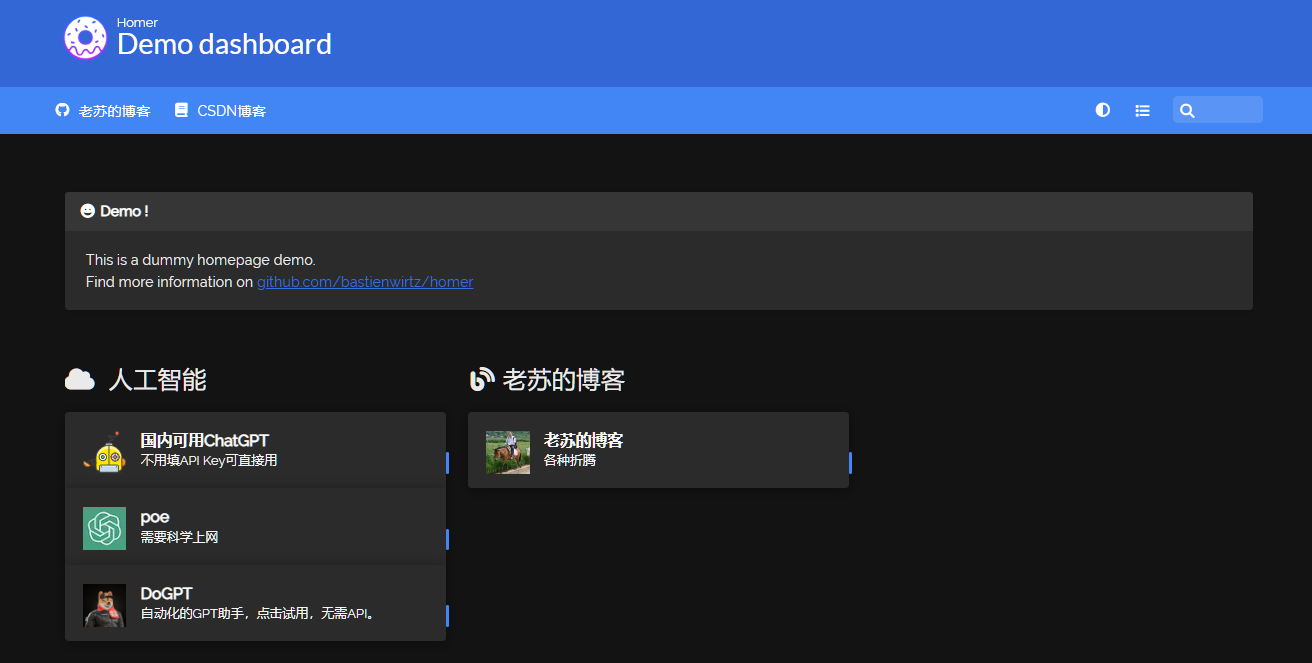
如果要增加一个分组也很简单,只要增加一组
1
2
3
| - name: "Applications"
icon: "fas fa-cloud"
items:
|
还是举个栗子吧,这样看起来会更容易理解
1
2
3
4
5
6
7
8
9
10
11
12
13
14
15
16
17
18
19
20
21
22
| services:
- name: "人工智能"
icon: "fas fa-cloud"
items:
- name: "国内可用ChatGPT"
logo: "https://www.sunboy.cf/favicon.svg"
subtitle: "不用填API Key可直接用"
tag: "chatgpt"
keywords: "chatgpt"
url: "https://www.sunboy.cf/"
target: "_blank"
- name: "老苏的博客"
icon: "fa-solid fa-blog"
items:
- name: "老苏的博客"
logo: "https://laosu.tech/images/laosu_wx.jpg"
subtitle: "各种折腾"
tag: "blog"
keywords: "nas,docker"
url: "https://laosu.tech"
target: "_blank"
|
中间的 demo 是消息,放在 message 节,不需要可以删掉,也可以设置需要提醒的内容
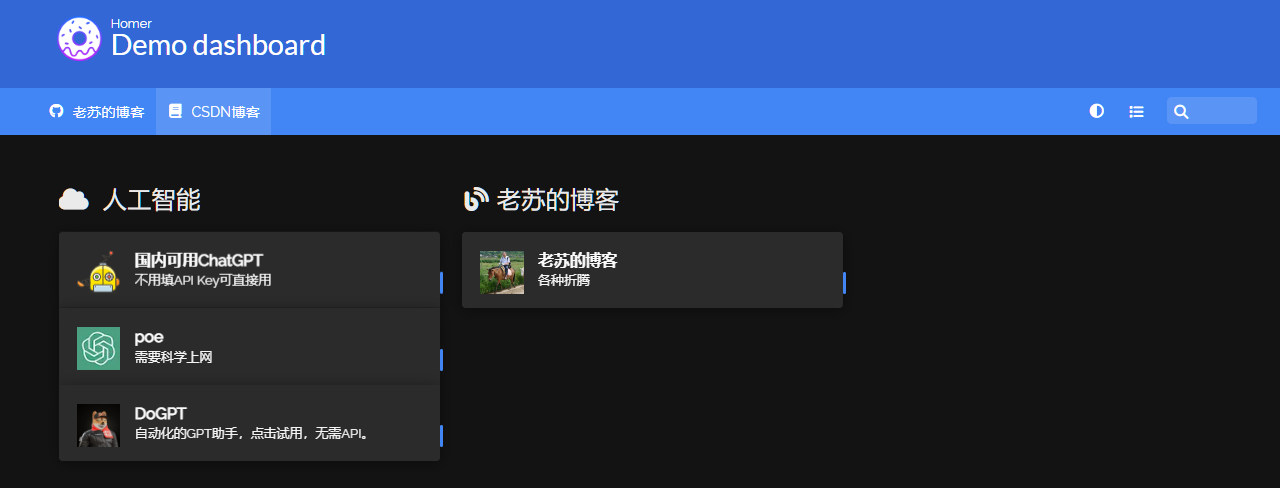
是不是挺简单的?
参考文档
bastienwirtz/homer: A very simple static homepage for your server.
地址:https://github.com/bastienwirtz/homer