前言
本文是 群晖上用Docker部署Mihomo实录 的续集
因为网友 缺舟一帆渡 告诉老苏,通过 配置 external-ui和external-ui-url 就可以下载内置控制web,没必要单独开个容器
所以老苏专门研究了一下,确实是可以的,👇下面是实现的步骤
config.yaml
需要在 config.yaml 中增加几行,指定 UI 的 zip 下载地址、UI 静态文件存放目录等
1
2
3
| external-ui: /root/.config/mihomo/ui
external-ui-name: metacubexd
external-ui-url: "https://github.com/MetaCubeX/metacubexd/archive/refs/heads/gh-pages.zip"
|
external-ui:路径选在配置目录下即可,比如 /root/.config/mihomo/uiexternal-ui-url:用官方 metacubexd 的 gh-pages.zip 或国内镜像都行
首次不会自动下载,需要手动调接口 POST /upgrade/ui 来触发下载
之后再访问 http://服务器IP:9090/ui 就是面板,无需额外容器
1
2
3
4
5
6
7
8
9
10
11
12
13
14
15
16
17
18
19
20
21
22
23
24
25
26
27
28
29
30
31
32
33
34
35
36
37
38
39
40
41
42
43
44
45
46
47
48
49
50
51
52
53
54
55
56
57
58
59
60
61
62
63
64
65
66
67
68
69
70
71
72
73
74
75
76
77
78
79
80
81
82
83
84
85
86
87
88
89
90
91
92
93
| mixed-port: 7890
allow-lan: true
bind-address: "*"
mode: rule
log-level: info
external-controller: 0.0.0.0:9090
secret: "123456"
external-ui: /root/.config/mihomo/ui
external-ui-name: metacubexd
external-ui-url: "https://gh-proxy.com/github.com/MetaCubeX/metacubexd/archive/refs/heads/gh-pages.zip"
tun:
enable: true
stack: mixed
auto-route: true
auto-detect-interface: true
dns-hijack:
- any:53
- tcp://any:53
dns:
enable: true
ipv6: false
enhanced-mode: fake-ip
fake-ip-range: 198.18.0.1/16
nameserver:
- 114.114.114.114
- 223.5.5.5
fallback:
- tls://8.8.8.8:853
- tls://1.1.1.1:853
proxy-providers:
airport1:
type: http
url: "https://机场1的订阅链接"
path: ./airport1.yaml
interval: 86400
health-check:
enable: true
url: "https://www.gstatic.com/generate_204"
interval: 300
airport2:
type: http
url: "https://机场2的订阅链接"
path: ./airport2.yaml
interval: 86400
health-check:
enable: true
url: "https://www.gstatic.com/generate_204"
interval: 300
proxy-groups:
- name: "主出口"
type: select
proxies:
- "机场1-自动"
- "机场2-自动"
- DIRECT
- REJECT
- name: "机场1-自动"
type: url-test
use:
- airport1
url: "http://www.gstatic.com/generate_204"
interval: 300
tolerance: 50
- name: "机场2-自动"
type: url-test
use:
- airport2
url: "http://www.gstatic.com/generate_204"
interval: 300
- name: "全部-最低延迟"
type: url-test
use:
- airport1
- airport2
url: "http://www.gstatic.com/generate_204"
interval: 300
tolerance: 100
rules:
- GEOIP,LAN,DIRECT
- GEOIP,CN,DIRECT
- MATCH,主出口
|
docker-compose.yml
1
2
3
4
5
6
7
8
9
10
11
12
13
14
15
16
17
18
19
20
| version: '3.8'
services:
mihomo:
container_name: mihomo-core
image: docker.1ms.run/metacubex/mihomo:latest
restart: unless-stopped
network_mode: host
pid: host
ipc: host
cap_add:
- NET_ADMIN
security_opt:
- apparmor=unconfined
volumes:
- ./data:/root/.config/mihomo
- /dev/net/tun:/dev/net/tun
- /etc/localtime:/etc/localtime:ro
|
在 mihomo 根目录中执行启动命令
1
2
3
4
5
|
cd /volume1/docker/mihomo
docker-compose up -d
|
运行
触发 UI 下载
如果直接访问 http://群晖IP:9090,会看到未登录的错误
1
2
3
| {
"message": "Unauthorized"
}
|
因为当前版本里 external-ui-url 只是提供下载源,需要主动调升级接口
当然也可以自己下载 gh-pages.zip,然后解压到 /data/ui 目录中,这样可能更简单
步骤:
- 确保容器跑起来,
config.yaml 正常加载。
- 用
curl(在宿主机执行):
1
2
3
4
5
6
7
8
9
|
curl -X POST \
-H "Authorization: Bearer 你的secret值" \
http://群晖IP:9090/upgrade/ui
curl -X POST \
-H "Authorization: Bearer 123456" \
http://192.168.0.197:9090/upgrade/ui
|
如果没设 secret,就不带 Authorization 头
- 等几秒,让
mihomo 把 zip 下载并解压到 external-ui 指定目录
如果返回错误
1
| {"message":"can't download file: Get \"https://gh-proxy.com/github.com/MetaCubeX/metacubexd/archive/refs/heads/gh-pages.zip\": EOF"}
|

那就再继续执行,直到返回成功

访问面板
浏览器中输入 http://群晖IP:9090/ui (例如 http://192.168.0.197:9090/ui)
可能是因为解压带了目录
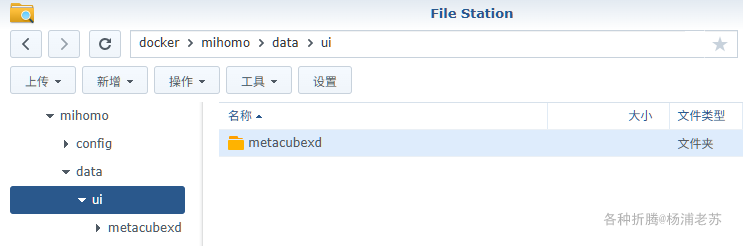
继续点击 metacubexd 就能看到登录界面,
当前完整的地址栏是 http://群晖IP:9090/ui/metacubexd/#/setup
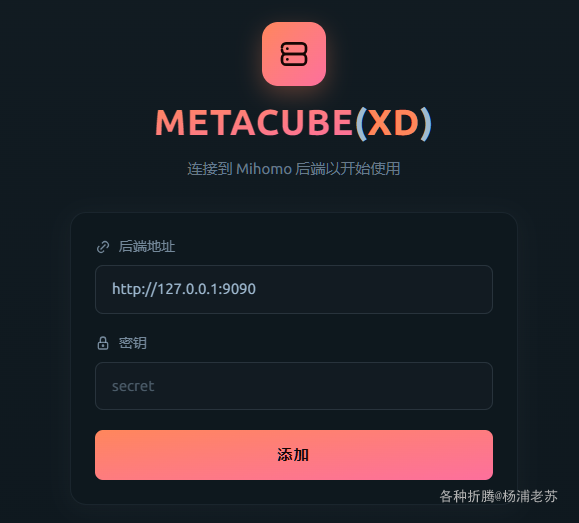
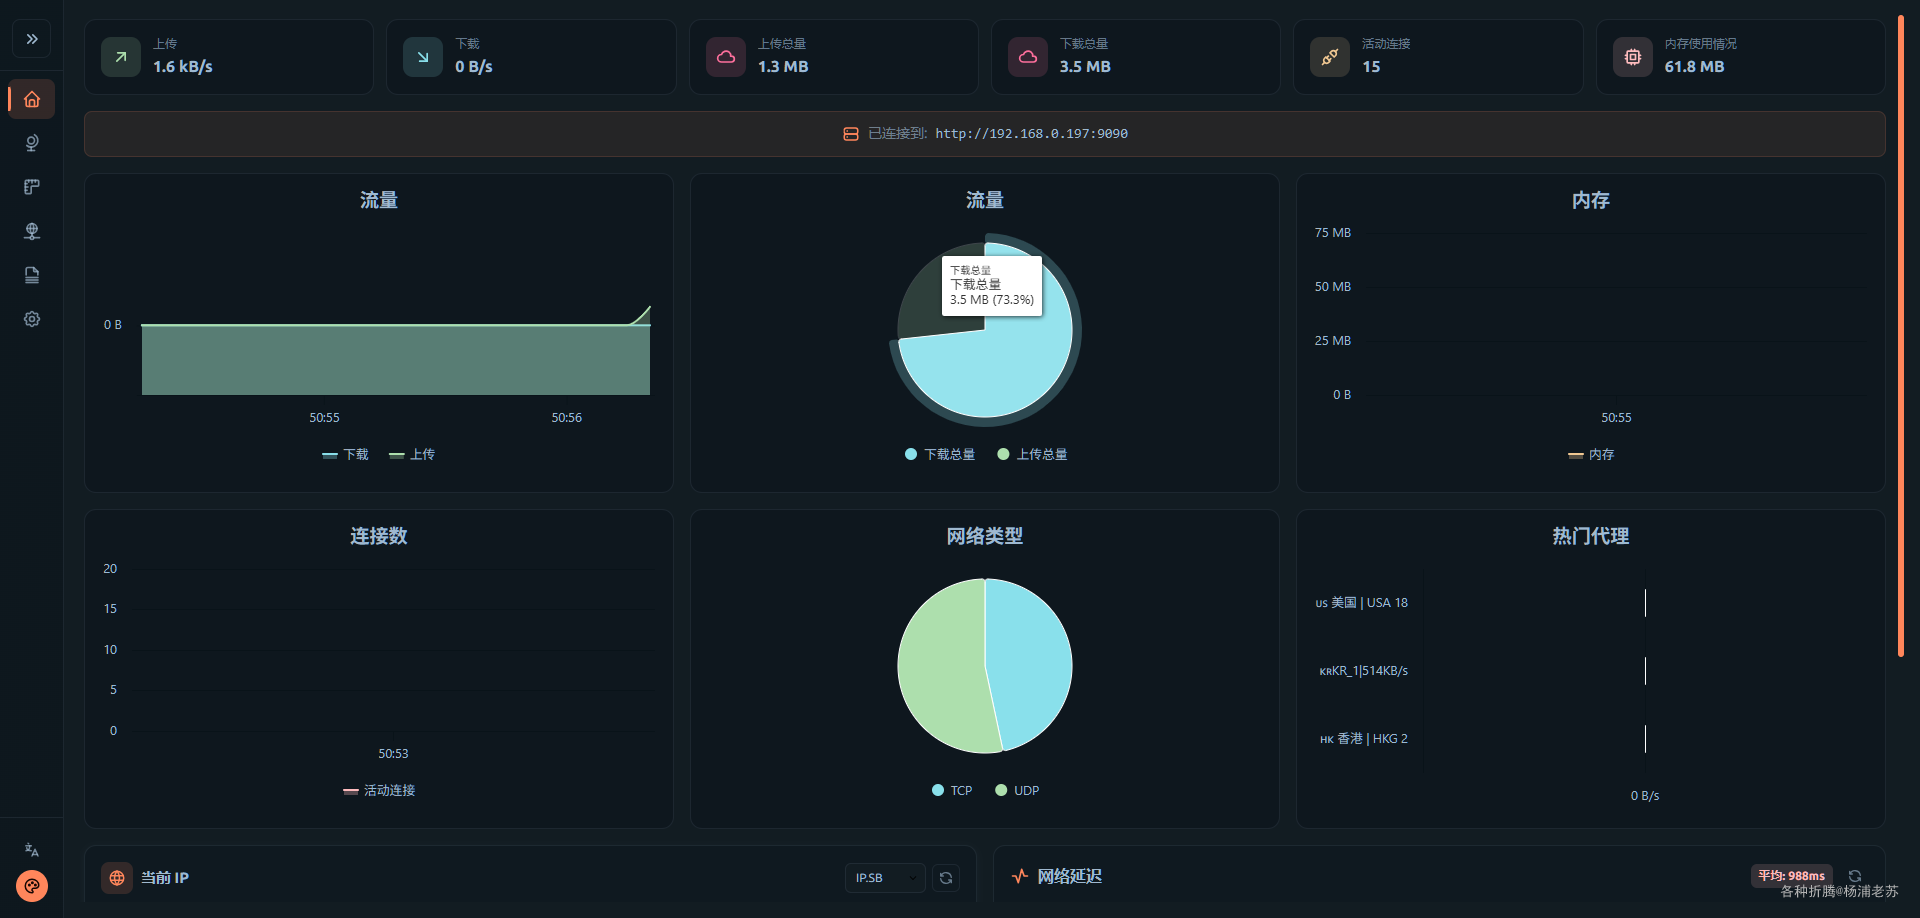
设置后端地址和密钥

登录成功后就能看到主界面
参考文档
MetaCubeX/metacubexd: Mihomo Dashboard, The Official One, XD
地址:https://github.com/MetaCubeX/metacubexd
external-ui-url 参数要如何生效? · MetaCubeX/mihomo · Discussion #1131
地址:https://github.com/MetaCubeX/mihomo/discussions/1131
mihomo配置分享 - 开发调优 - LINUX DO
地址:https://linux.do/t/topic/377071