智能化RSS阅读与管理工具Feeds Fun

简介

什么是 Feeds Fun ?

Feeds Fun 是一个自托管的新闻阅读器,支持标签、评分和人工智能功能。它能帮助用户高效管理和阅读新闻,自动为每条新闻分配标签,并允许用户根据标签进行评分和过滤。

主要特点

  1. 自动标签分配:系统会自动为新闻条目分配标签。
  2. 评分规则:用户可以创建规则,根据标签为新闻打分。
  3. 过滤与排序:支持按标签过滤新闻,并可以按分数、日期等进行排序。
  4. 多用户和单用户模式:支持多用户设置,适合不同使用场景。
  5. 阅读跟踪:能够跟踪用户已阅读的新闻内容。

应用场景

  • 个人新闻管理:用户可以集中管理多个新闻源,仅获取最感兴趣的内容。
  • 自托管解决方案:适合希望控制自己数据和隐私的用户。
  • 开发者工具:提供 API 和配置选项,便于开发者进行定制和扩展。

在线体验

如果不想安装,可以试试官方提供的在线体验,地址:https://feeds.fun
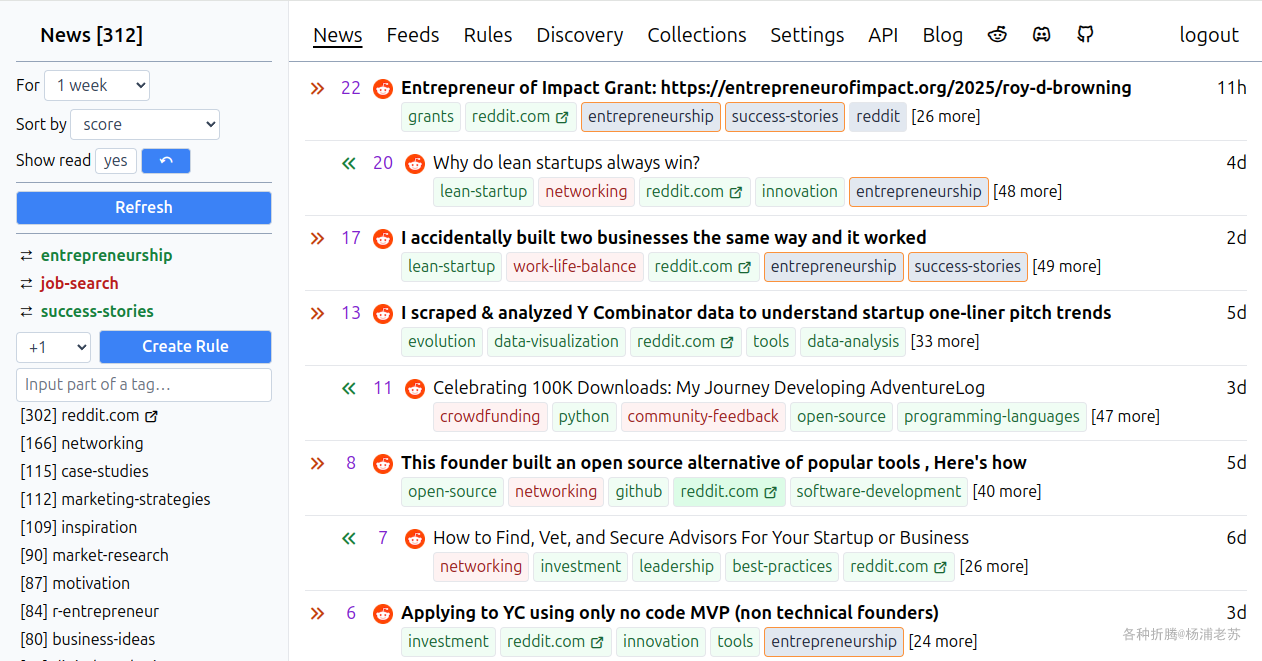
Feeds Fun 旨在为用户提供高效、智能的新闻阅读体验。

安装

在群晖上以 Docker 方式安装。

本文写作时,

  • 镜像 tiendil/feeds-fun-backend 的 latest 对应版本为 1.19.3
  • 镜像 tiendil/feeds-fun-frontend-data 的 latest 对应版本为 1.19.3

Feeds Fun 支持多用户和单用户

  • 单用户设置: https://github.com/Tiendil/feeds.fun/tree/main/docs/examples/single-user
  • 多用户设置: https://github.com/Tiendil/feeds.fun/blob/main/docs/examples/multi-user

老苏采用的是单用户模式,因为单用户模式可以不用填写 openai 和 gemini 的 key,但科学的网络是必须的,否则无法通过 AI 为每条 feeds 自动分配标签

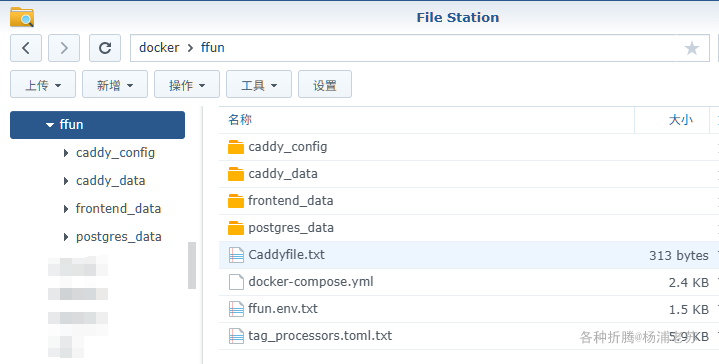
ffun.env.txt

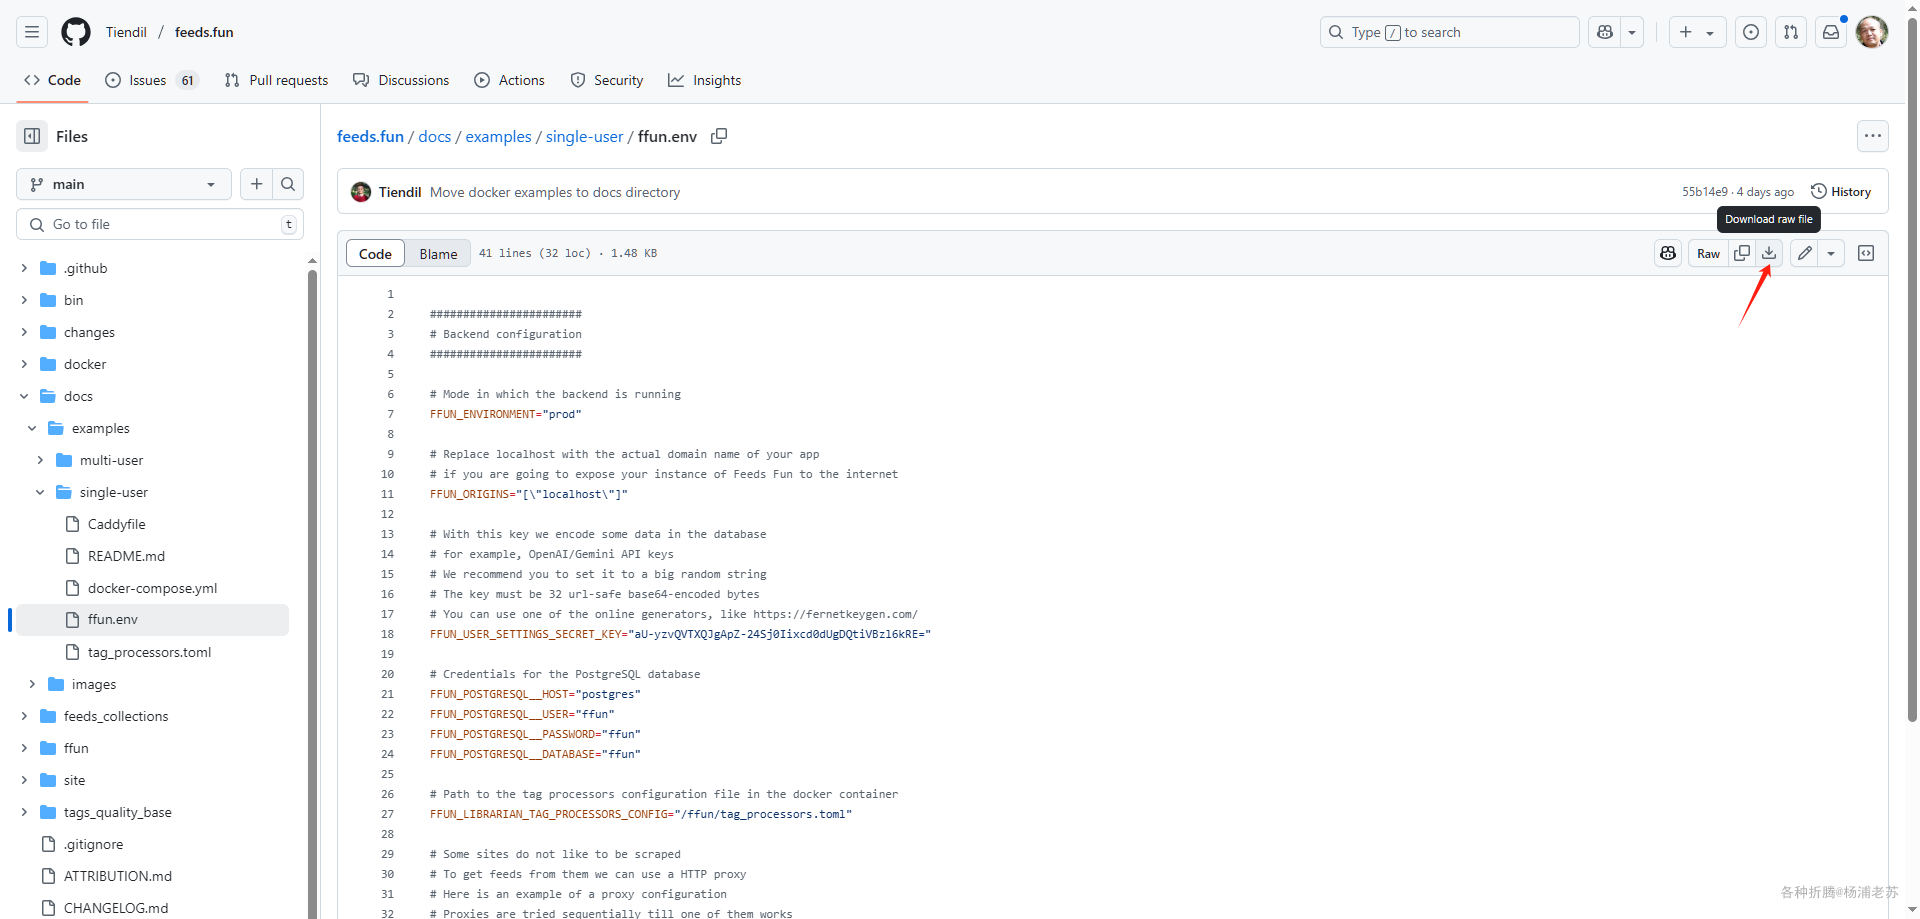
源文件: https://github.com/Tiendil/feeds.fun/blob/main/docs/examples/single-user/ffun.env

这个文件老苏只修改了文件名,用 txt 是为了方便在 file station 中编辑,但实际上内容未做任何修改
tag_processors.toml.txt

源文件:https://github.com/Tiendil/feeds.fun/blob/main/docs/examples/single-user/tag_processors.toml

这个文件也只是修改了文件名,内容未做任何修改

Caddyfile.txt

源文件:https://github.com/Tiendil/feeds.fun/blob/main/docs/examples/single-user/Caddyfile

这个也改成了 txt 文件格式,有一处要根据自己的 IP 进行修改

1
2
3
4
5
6
7
8
9
10
11
12
13
14
15
16
17
18
19
20
21
22
{
admin off
}


# Remove http:// prefix to turn on HTTPS
http://localhost {

encode gzip

route {
respond /caddy-alive-marker "Caddy works!"

reverse_proxy /api/* backend-api:8000

root * /ffun-static-data
try_files {path} /index.html
file_server
}

log
}

唯一要修改的是 localhost,老苏群晖主机的 IP 是 192.168.0.197,所以修改后👇

1
2
3
4
5
6
7
8
9
10
11
12
13
14
15
16
17
18
19
20
21
22
{
admin off
}


# Remove http:// prefix to turn on HTTPS
http://192.168.0.197 {

encode gzip

route {
respond /caddy-alive-marker "Caddy works!"

reverse_proxy /api/* backend-api:8000

root * /ffun-static-data
try_files {path} /index.html
file_server
}

log
}

docker-compose.yml

源文件:https://github.com/Tiendil/feeds.fun/blob/main/docs/examples/single-user/docker-compose.yml

这个改动相对多一些,可直接将下面的内容保存为 docker-compose.yml 文件

1
2
3
4
5
6
7
8
9
10
11
12
13
14
15
16
17
18
19
20
21
22
23
24
25
26
27
28
29
30
31
32
33
34
35
36
37
38
39
40
41
42
43
44
45
46
47
48
49
50
51
52
53
54
55
56
57
58
59
60
61
62
63
64
65
66
67
68
69
70
71
72
73
74
75
76
77
78
services:

# PostgreSQL database
postgres:
image: postgres:15.2
container_name: ffun-postgres
volumes:
- ./postgres_data:/var/lib/postgresql/data
environment:
POSTGRES_DB: ffun
POSTGRES_USER: ffun
POSTGRES_PASSWORD: ffun
healthcheck:
test: "pg_isready -U ffun -d ffun"
interval: 1s
timeout: 5s
retries: 10

# HTTP API server for Feeds Fun
backend-api:
image: tiendil/feeds-fun-backend:latest
container_name: ffun-backend-api
volumes:
- ${PWD}/ffun.env.txt:/ffun/.env # general config
- ${PWD}/tag_processors.toml.txt:/ffun/tag_processors.toml # tag processors config
environment:
FFUN_ENABLE_API: "True"
depends_on:
postgres:
condition: service_healthy
# We always run DB migrations on startup to ensure the DB schema is up to date with the code
command:
- /bin/bash
- -c
- |
ffun migrate
echo "migrations successed"
uvicorn ffun.application.application:app --host 0.0.0.0 --port 8000 --workers 1

# Background workers for download feeds and tag them
backend-workers:
image: tiendil/feeds-fun-backend:latest
container_name: ffun-backend-workers
volumes:
- ${PWD}/ffun.env.txt:/ffun/.env # general config
- ${PWD}/tag_processors.toml.txt:/ffun/tag_processors.toml # tag processors config
depends_on:
postgres:
condition: service_healthy
command:
- /bin/bash
- -c
- |
ffun migrate
echo "migrations successed"
ffun workers --loader --librarian

# Service builds frontend UI and copies it to the static data volume to be served by Caddy
frontend-data:
image: tiendil/feeds-fun-frontend-data:latest
container_name: ffun-frontend-data
volumes:
- ${PWD}/ffun.env.txt:/ffun/.env # general config
- ./frontend_data:/ffun-static-data # this volume is shared with Caddy

# Caddy web server for serving frontend and API, you can use any other web server you like
# the Caddy was chosen for its simplicity and ease of use
frontend-caddy:
image: caddy:2.10.0
container_name: ffun-frontend-caddy
ports:
- "16080:80"
- "16443:443"
volumes:
- ./caddy_data:/data
- ./caddy_config:/config
- ./frontend_data:/ffun-static-data
- ${PWD}/Caddyfile.txt:/etc/caddy/Caddyfile

然后执行下面的命令

1
2
3
4
5
6
7
8
9
10
11
12
13
# 新建文件夹 feeds.fun 和 子目录
mkdir -p /volume1/docker/ffun/{postgres_data,frontend_data,caddy_data,caddy_config}

# 进入 feeds.fun 目录
cd /volume1/docker/ffun

# 将 docker-compose.yml、ffun.env.txt、tag_processors.toml.txt、Caddyfile.txt 放入当前目录

# 一键启动数据库
docker-compose up -d postgres

# 一键启动
docker-compose up -d

建议先启动数据库,如果安装了 portainer,等数据库的状态变成 healthy 后,再一键启动其他的服务

如果没有安装 portainer,那就多等一会儿吧

运行

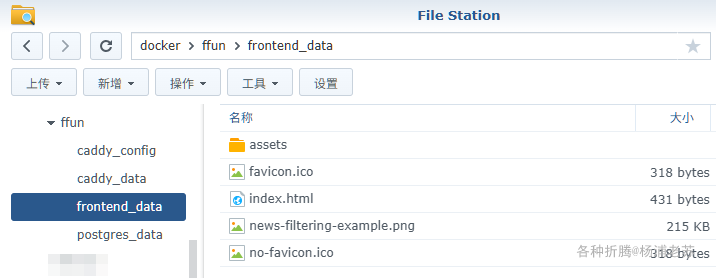
当容器 ffun-frontend-data 停止
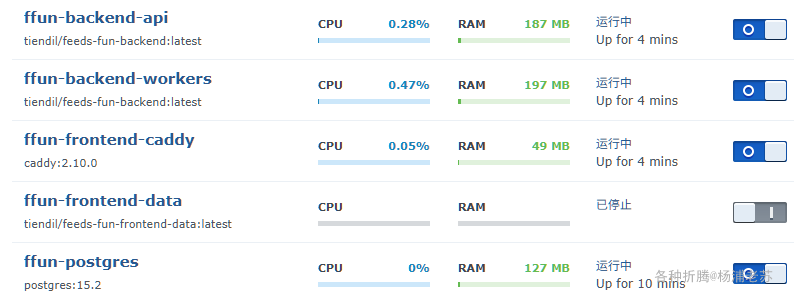
而且 frontend_data 有了编译的文件,这个时候就可以开始访问了
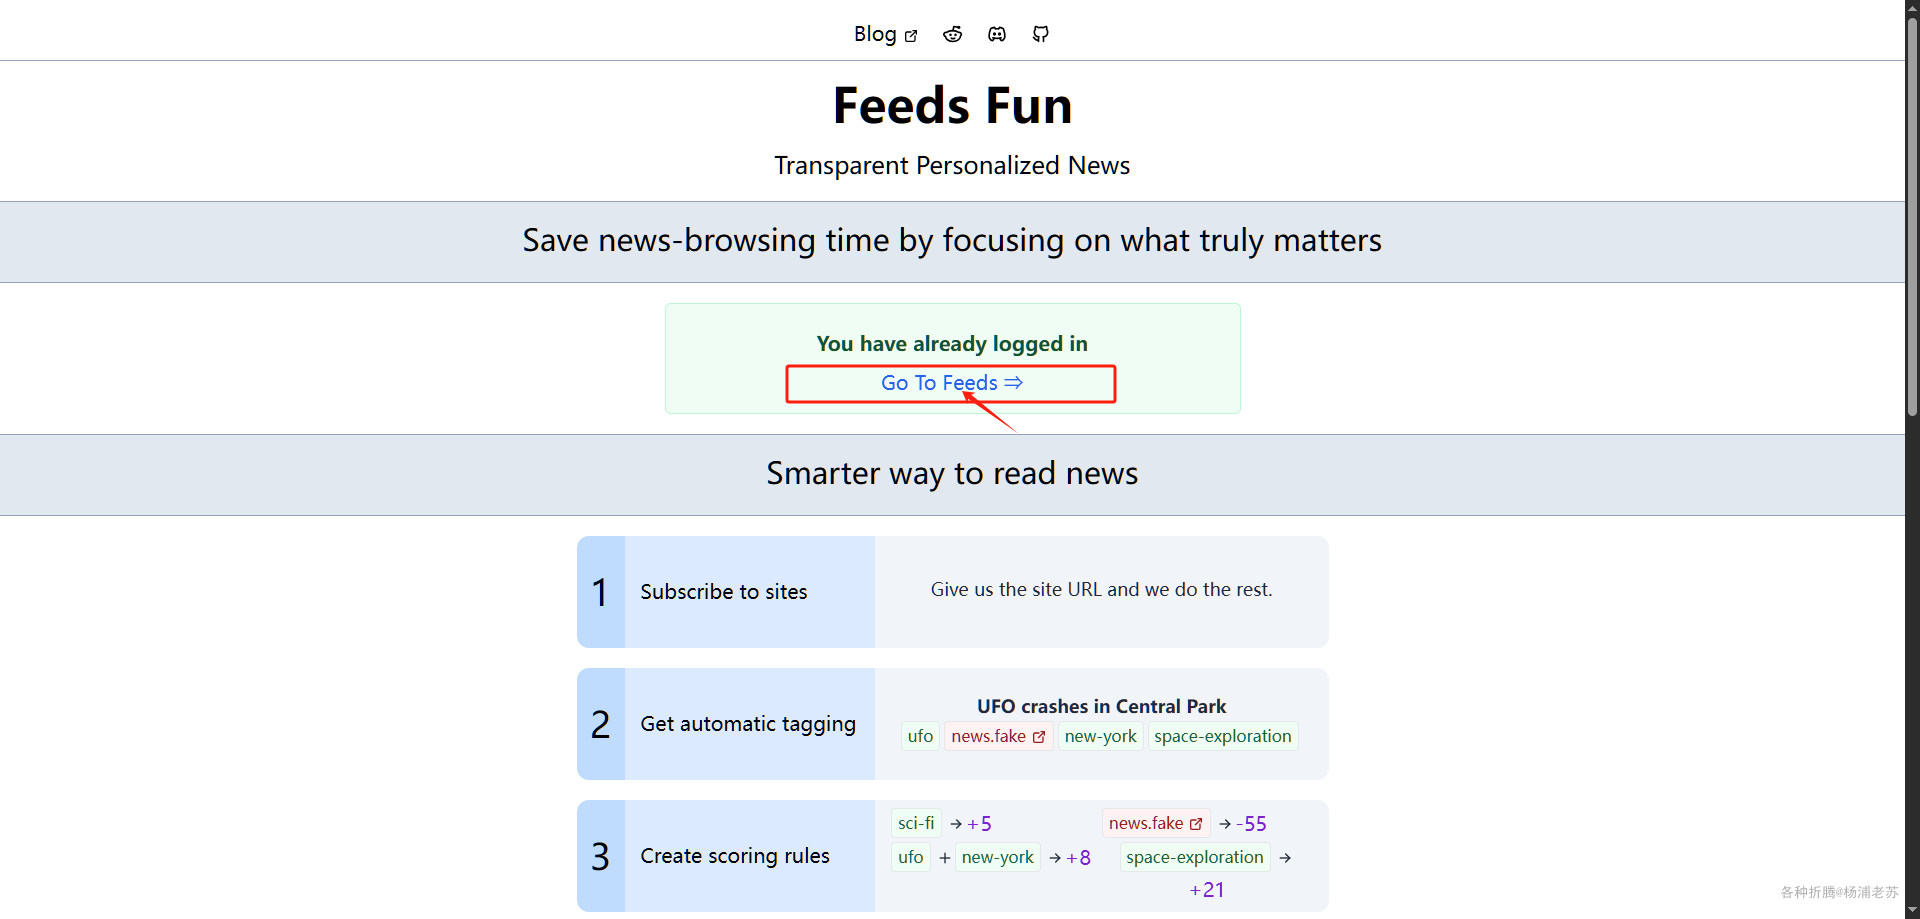
在浏览器中输入 http://群晖IP:16080 就能看到主界面
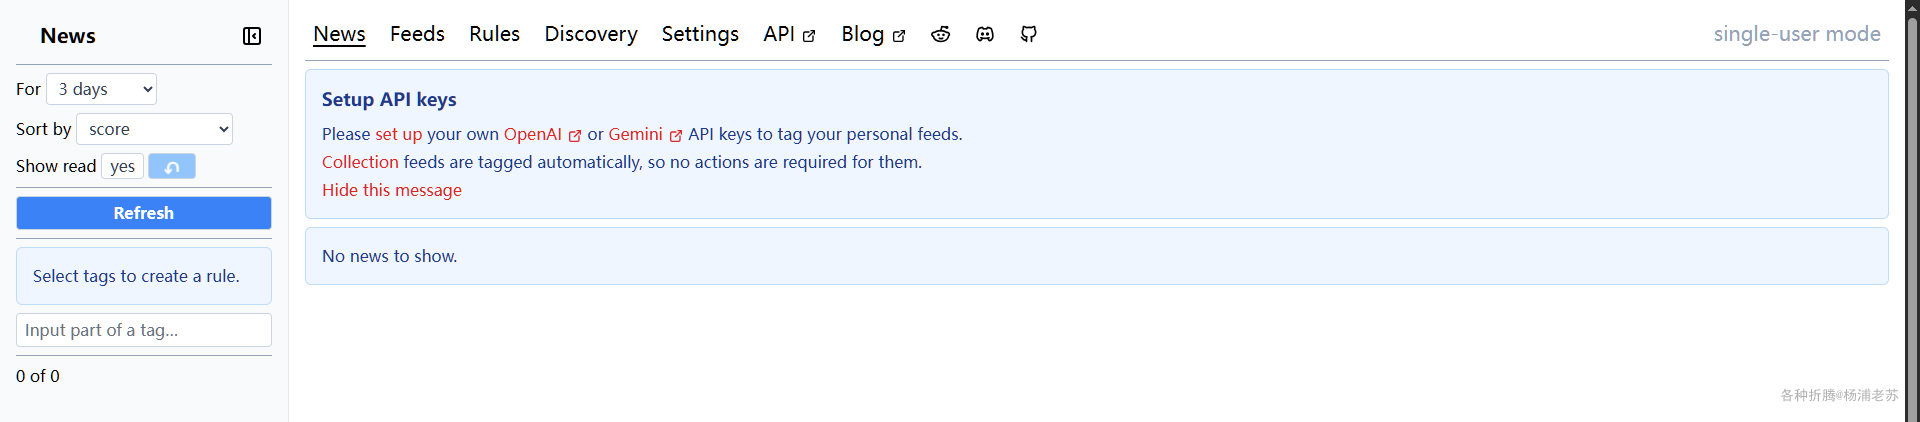
点 Go To Feeds 进入 News 界面,但因为什么都还没添加,所以是空的
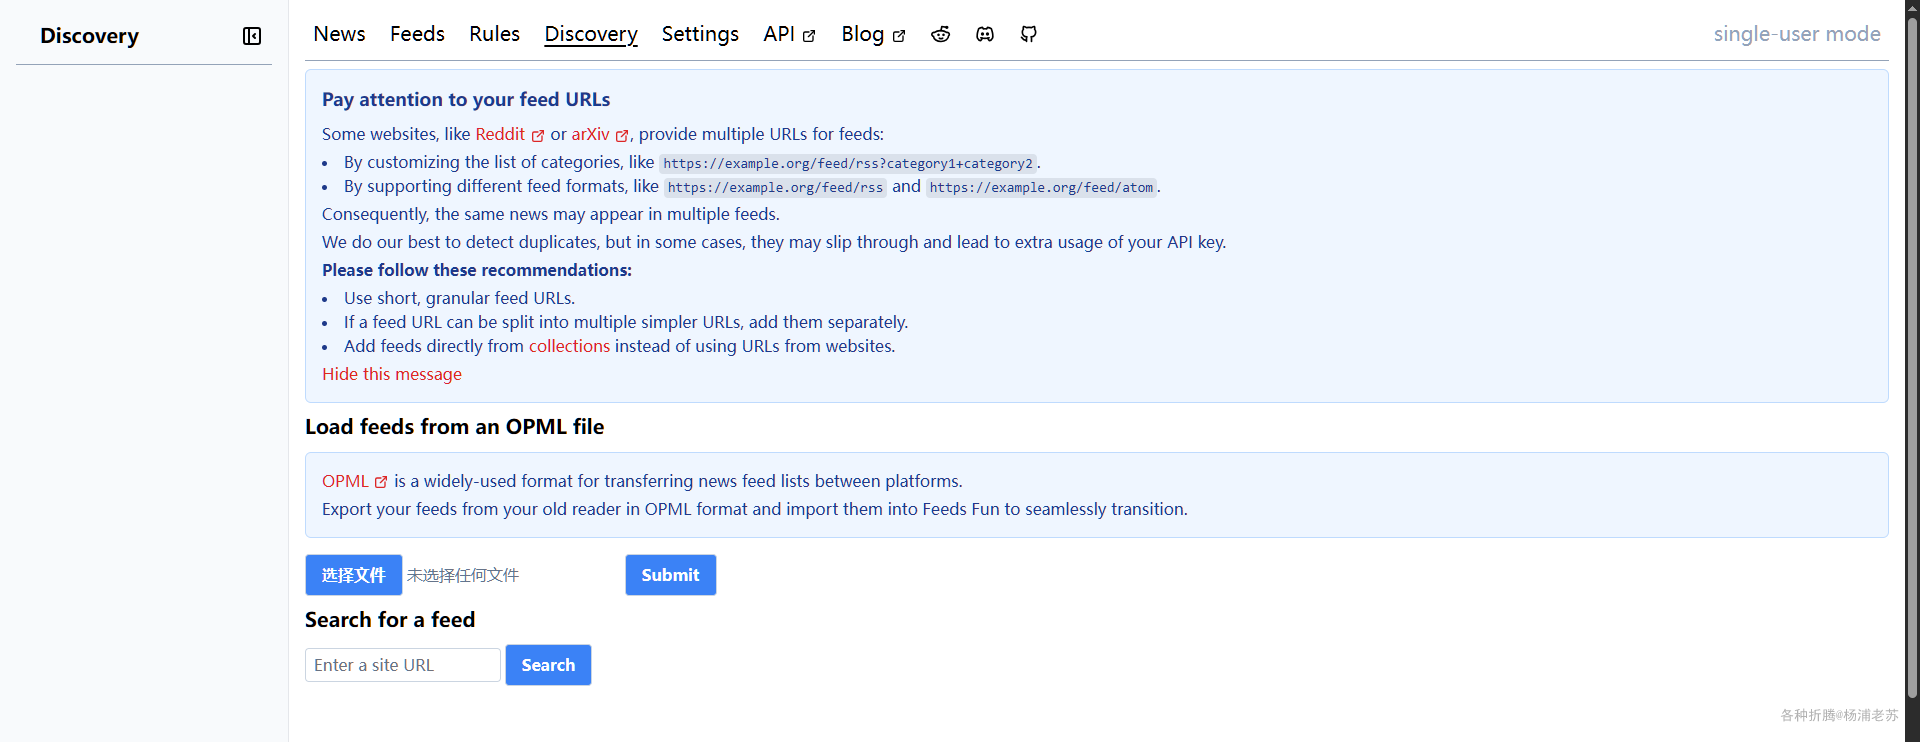
进入 Discovery ,可以添加单个站点或者导入 OPML 文件
还是以老苏的博客为例,只要填网站,点 Search 会自动搜索 feeds
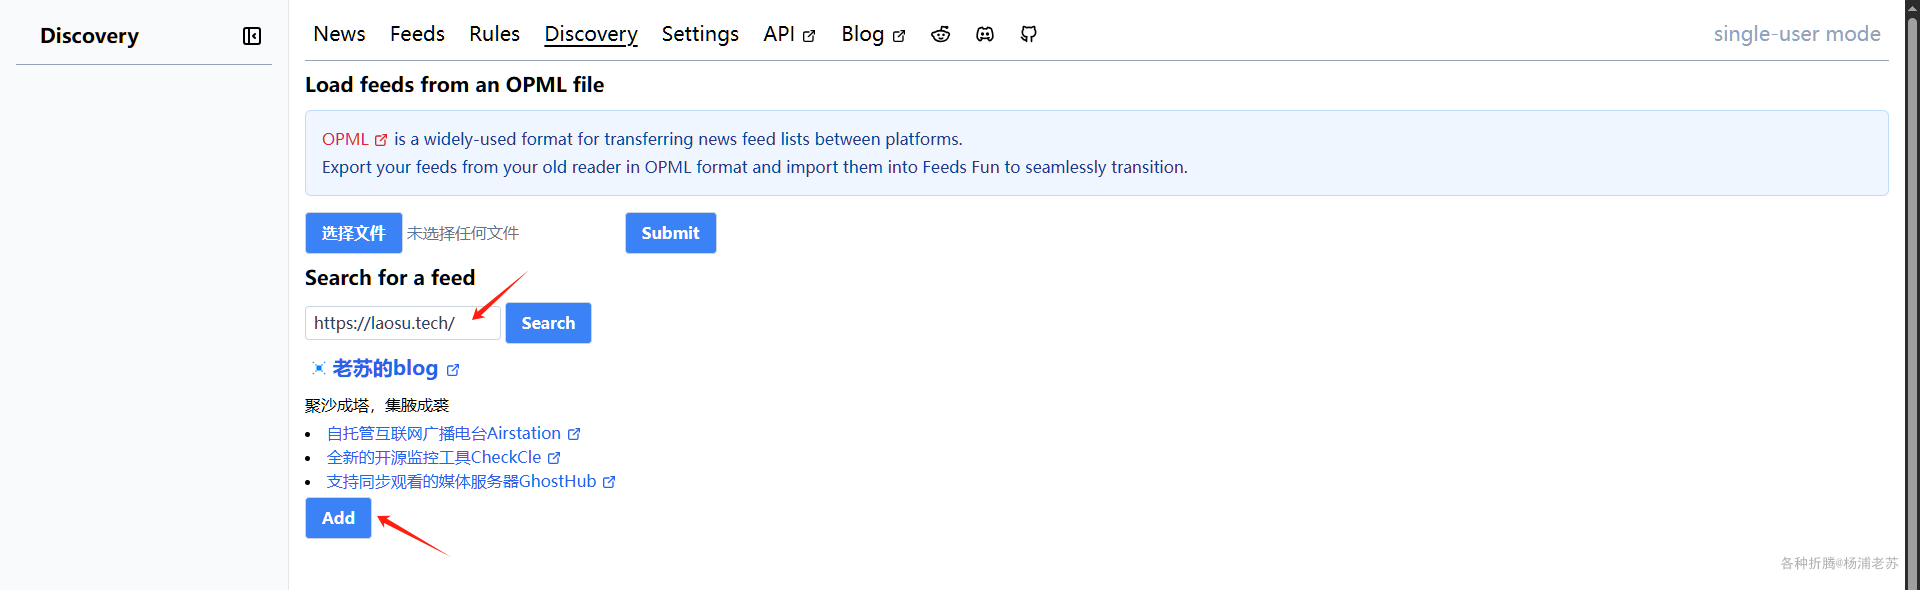
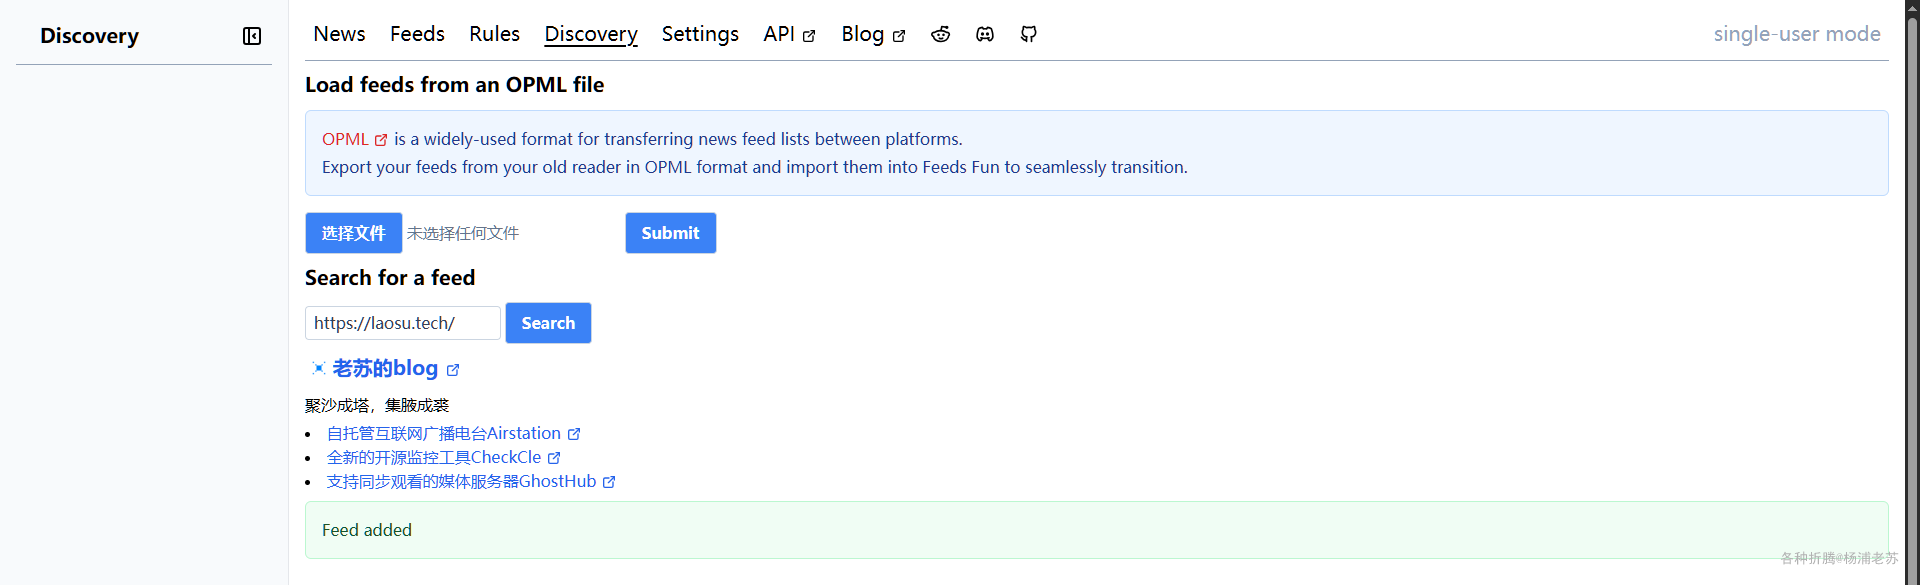
点 Add 直接添加
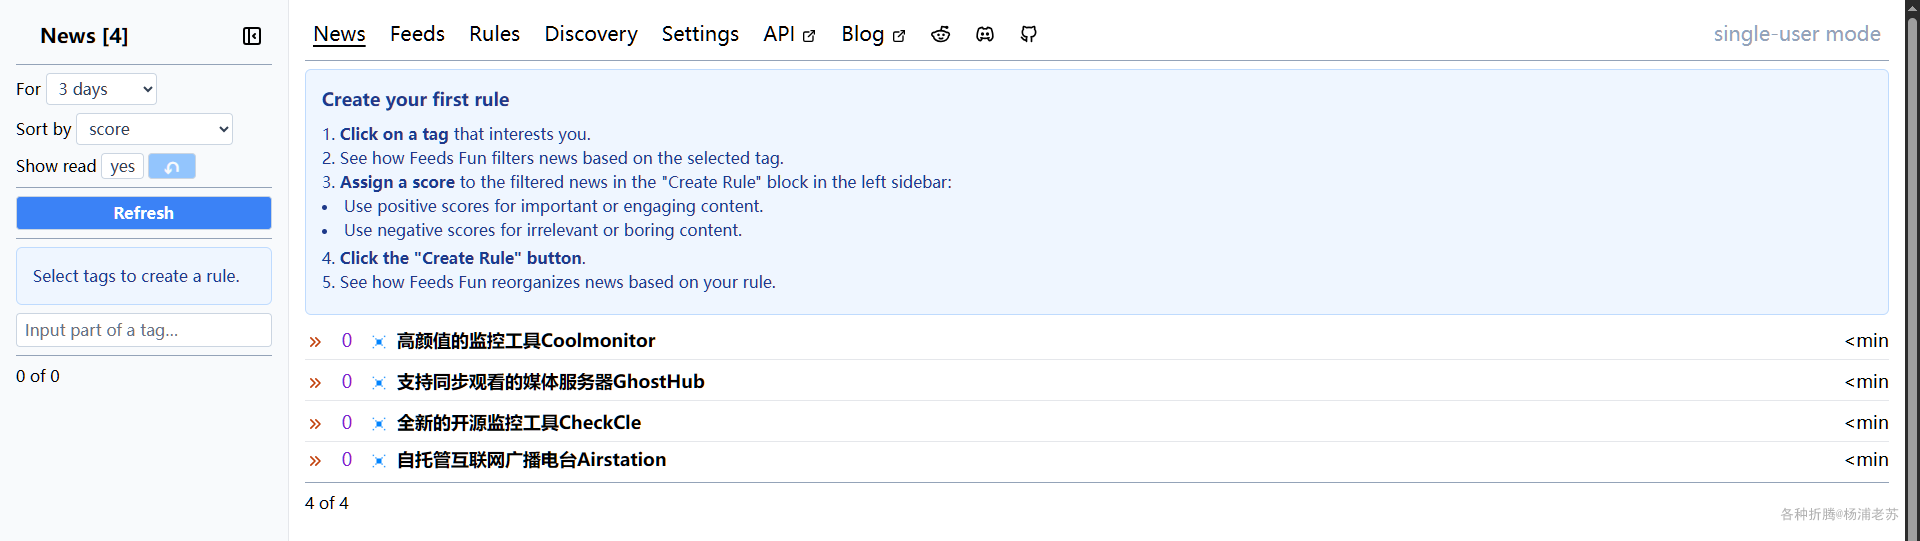
进入 News 就能看到了
多等一会儿,会看到 AI 识别的 tags
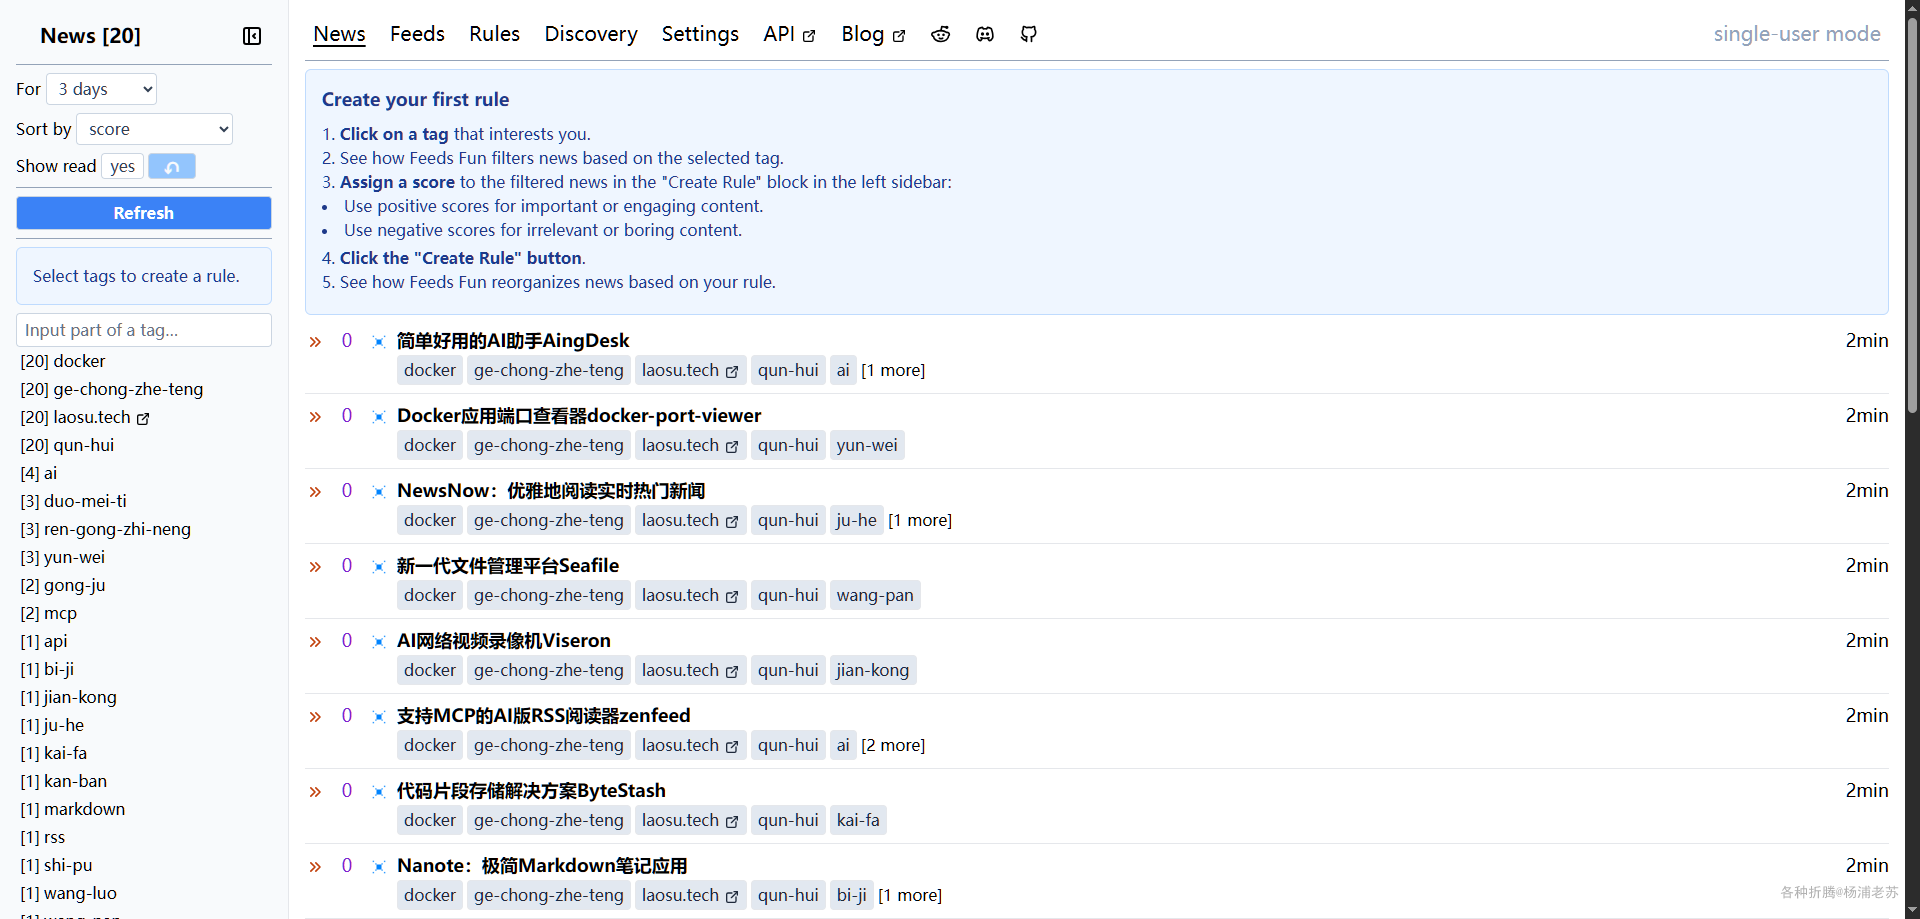
选择你感兴趣的 tags,点 Create rule
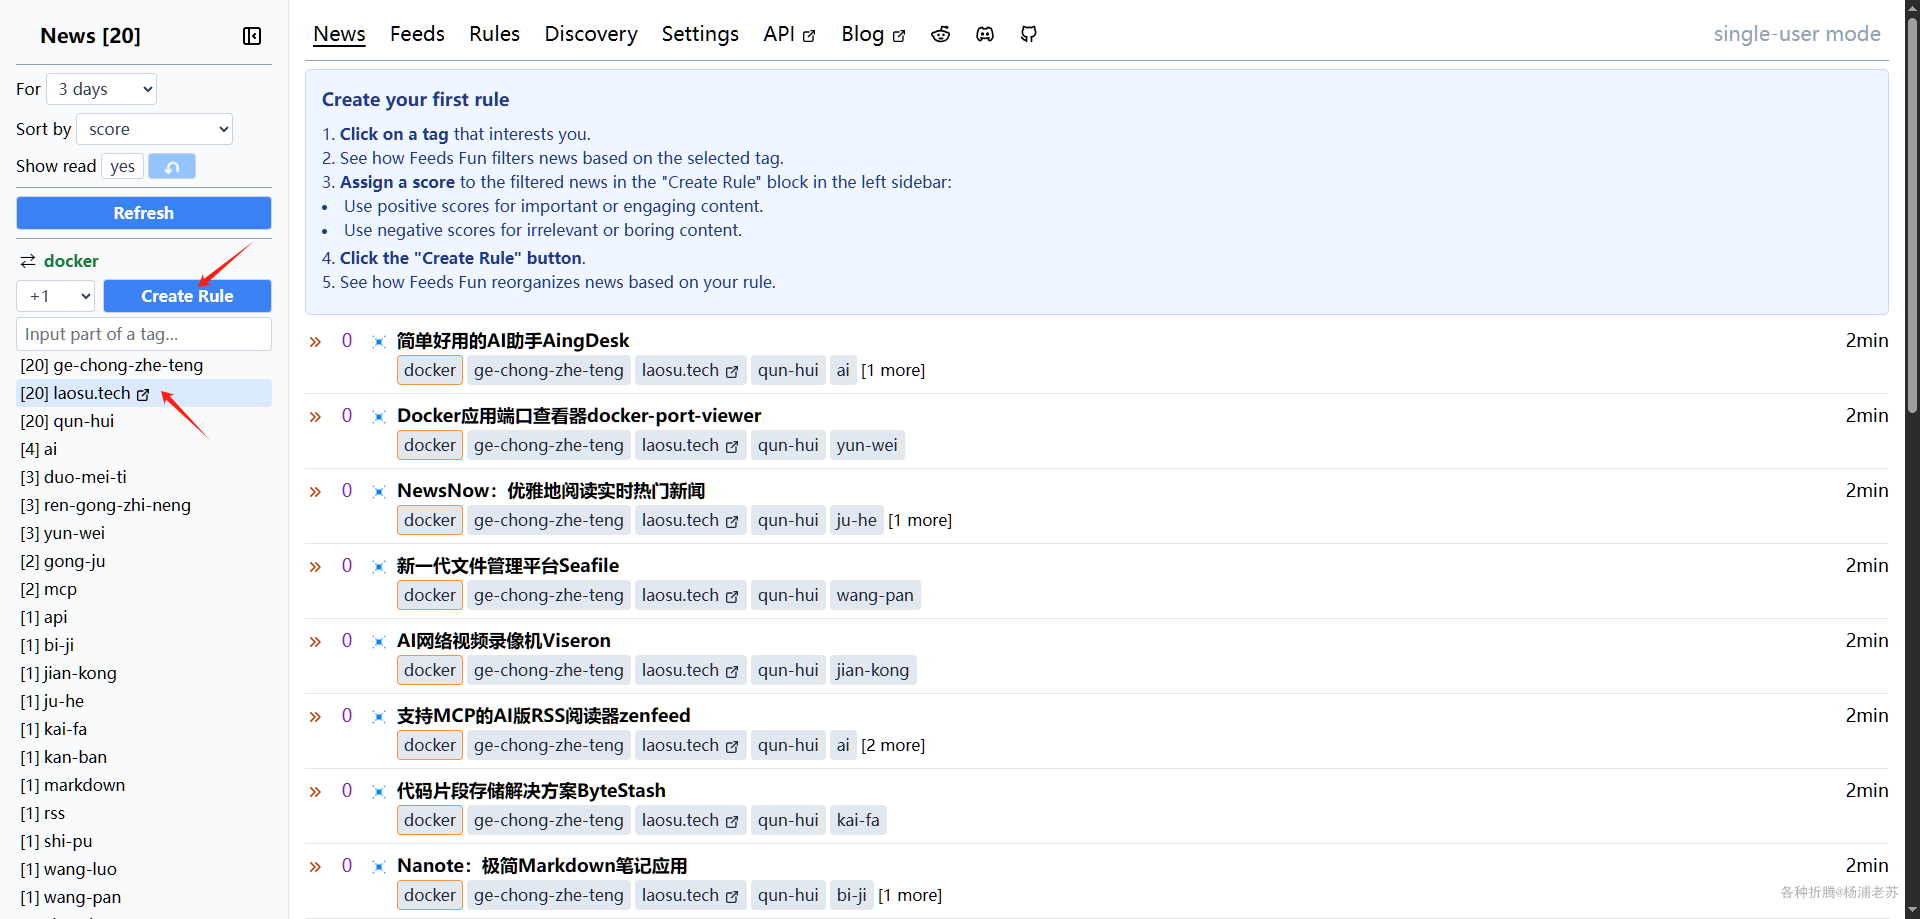
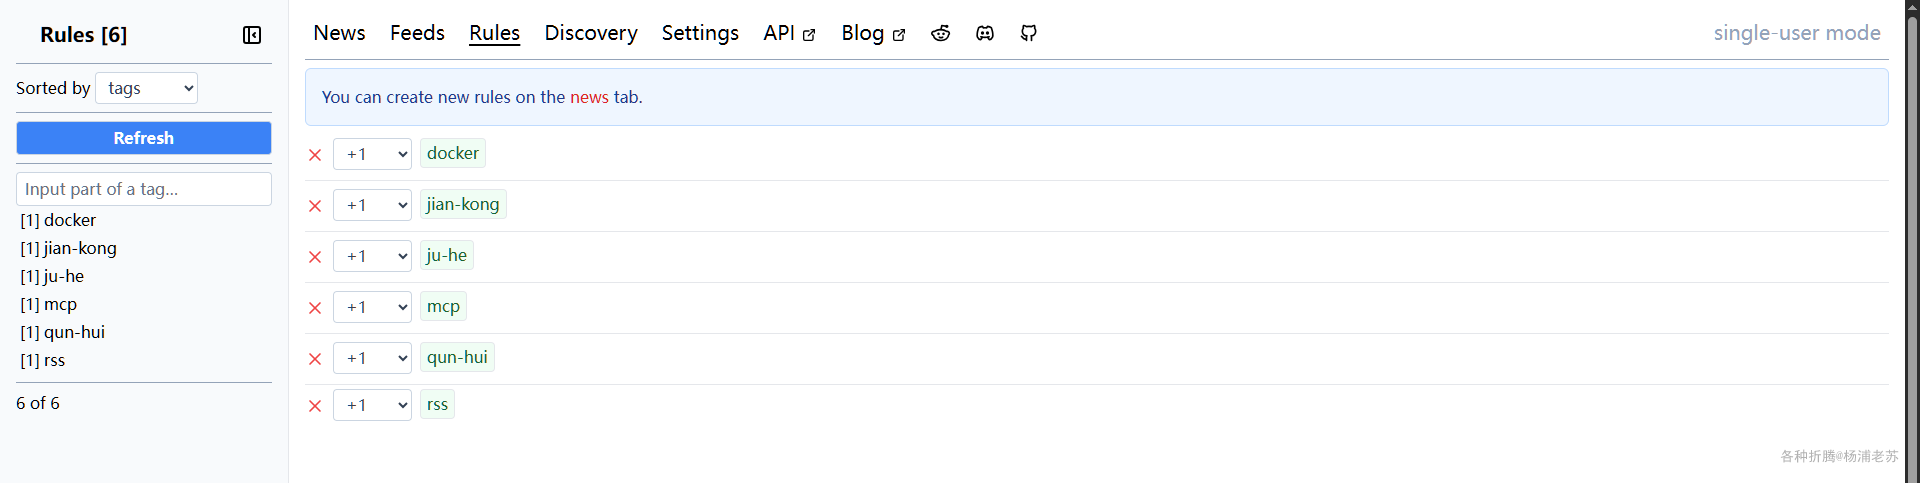
后续可以只看感兴趣的 tags,这样可以节省你的时间
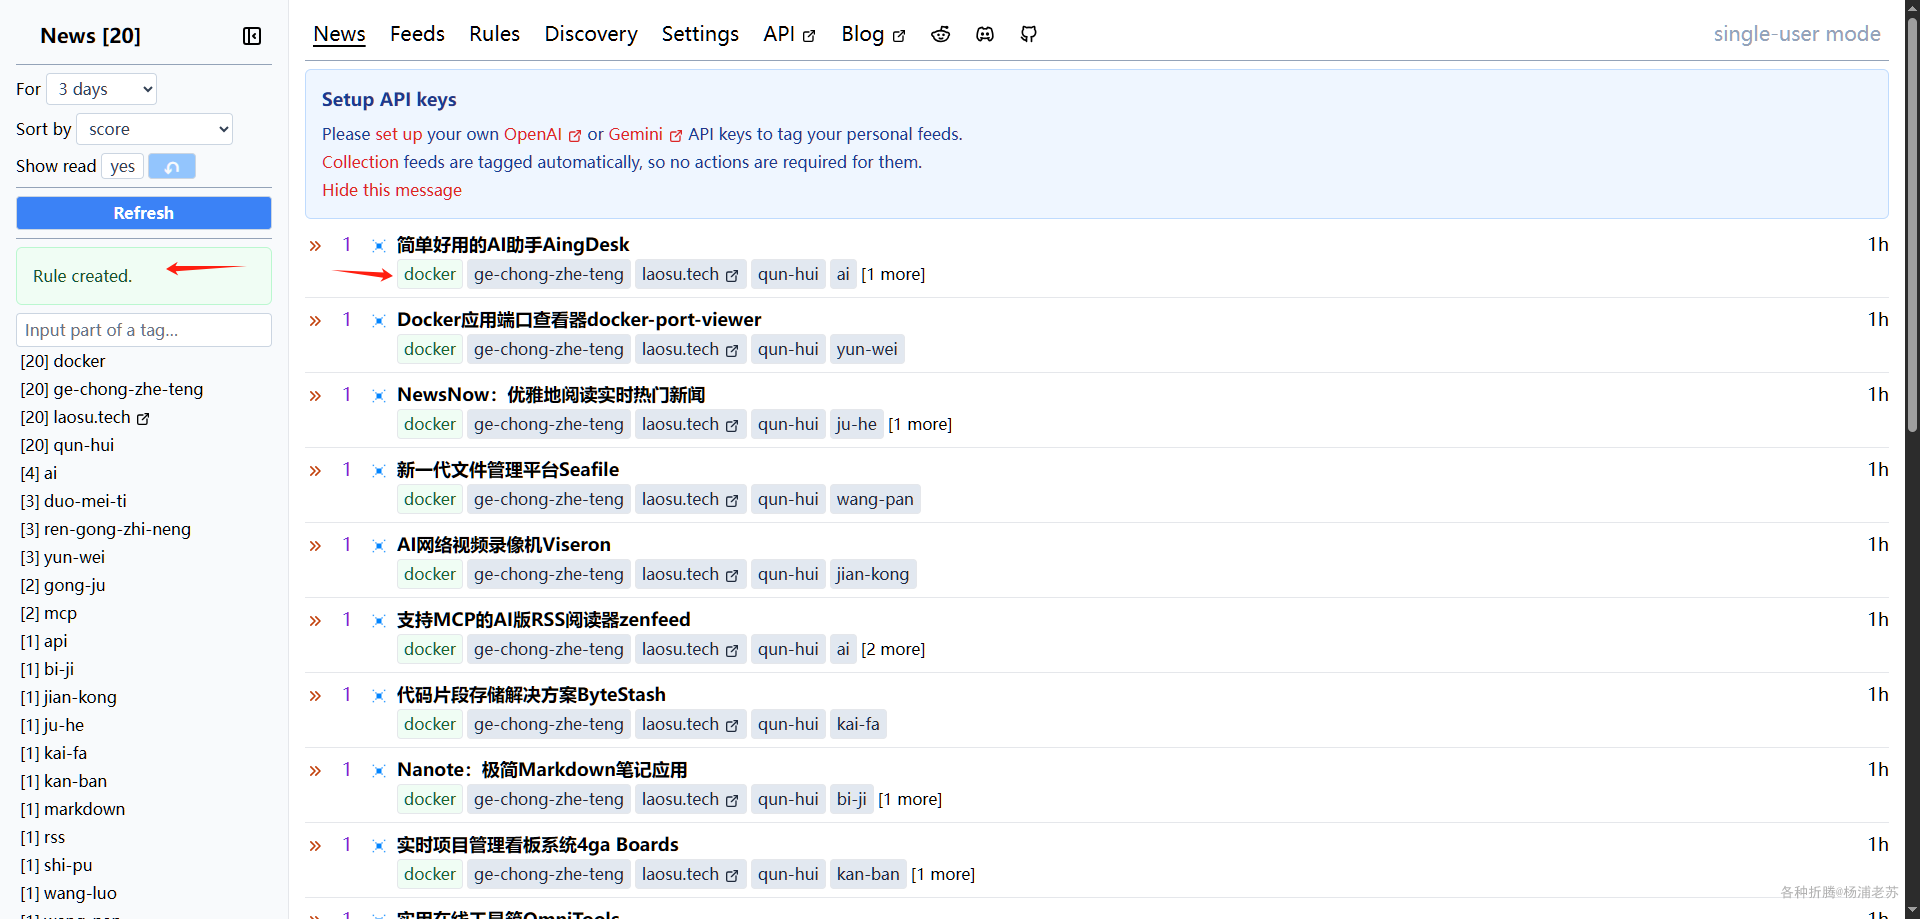
不过目前看起来, tags 不能识别为中文,而是拼音
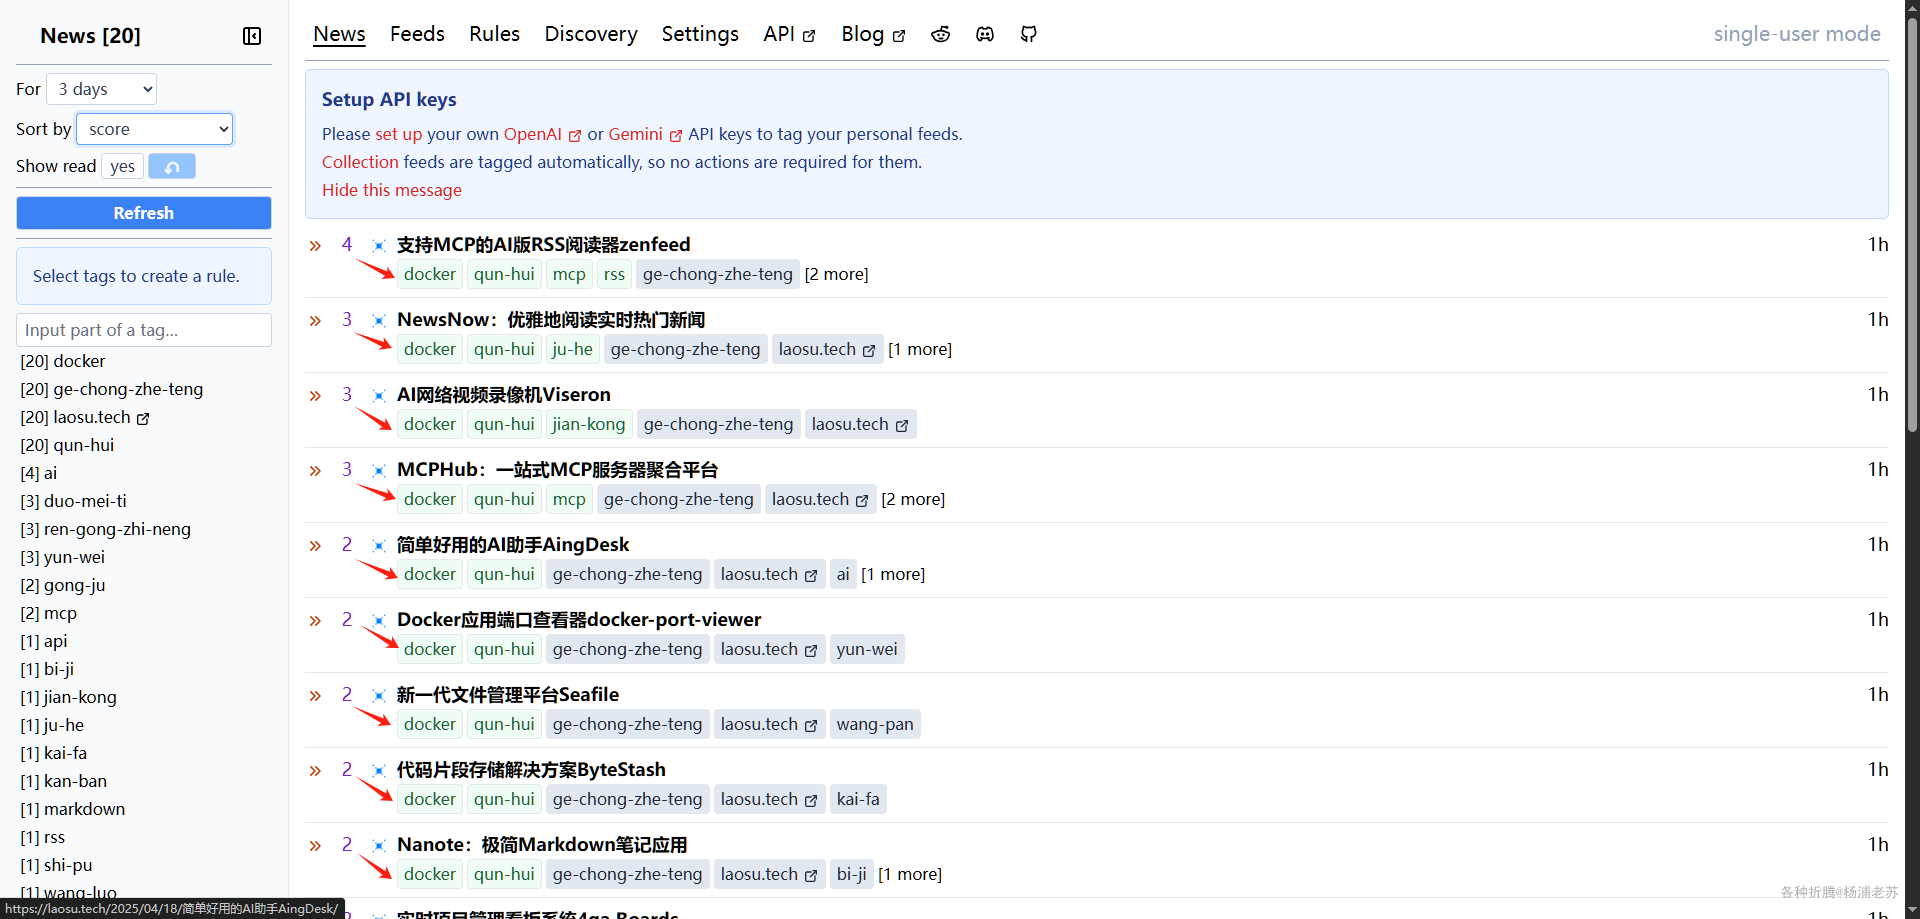
文章是按设置的 tags 的 score 来排序的,一个 tags 得 1 分,满足的 tags 越多,得分越高
老苏找到了作者 1 年前的视频,虽然有一些变化,但基本的使用方法还是一样的

参考文档

Tiendil/feeds.fun: News reader with tags, scoring, and AI
地址:https://github.com/Tiendil/feeds.fun

Feeds Fun
地址:https://feeds.fun/

Feeds Fun Blog
地址:https://blog.feeds.fun

Feeds.fun demo — news reader with tags - YouTube
地址:https://www.youtube.com/watch?v=G_Qtd_ivevg